Quilting

Set Up Your Janome 9400 for Free Motion Quilting

UPDATE: The Accessory Upgrade Kit for the Janome MC9400 has just been released and it includes 2 new feet to use when free motion quilting. For more information about the Accessory Upgrade Kit, click here.

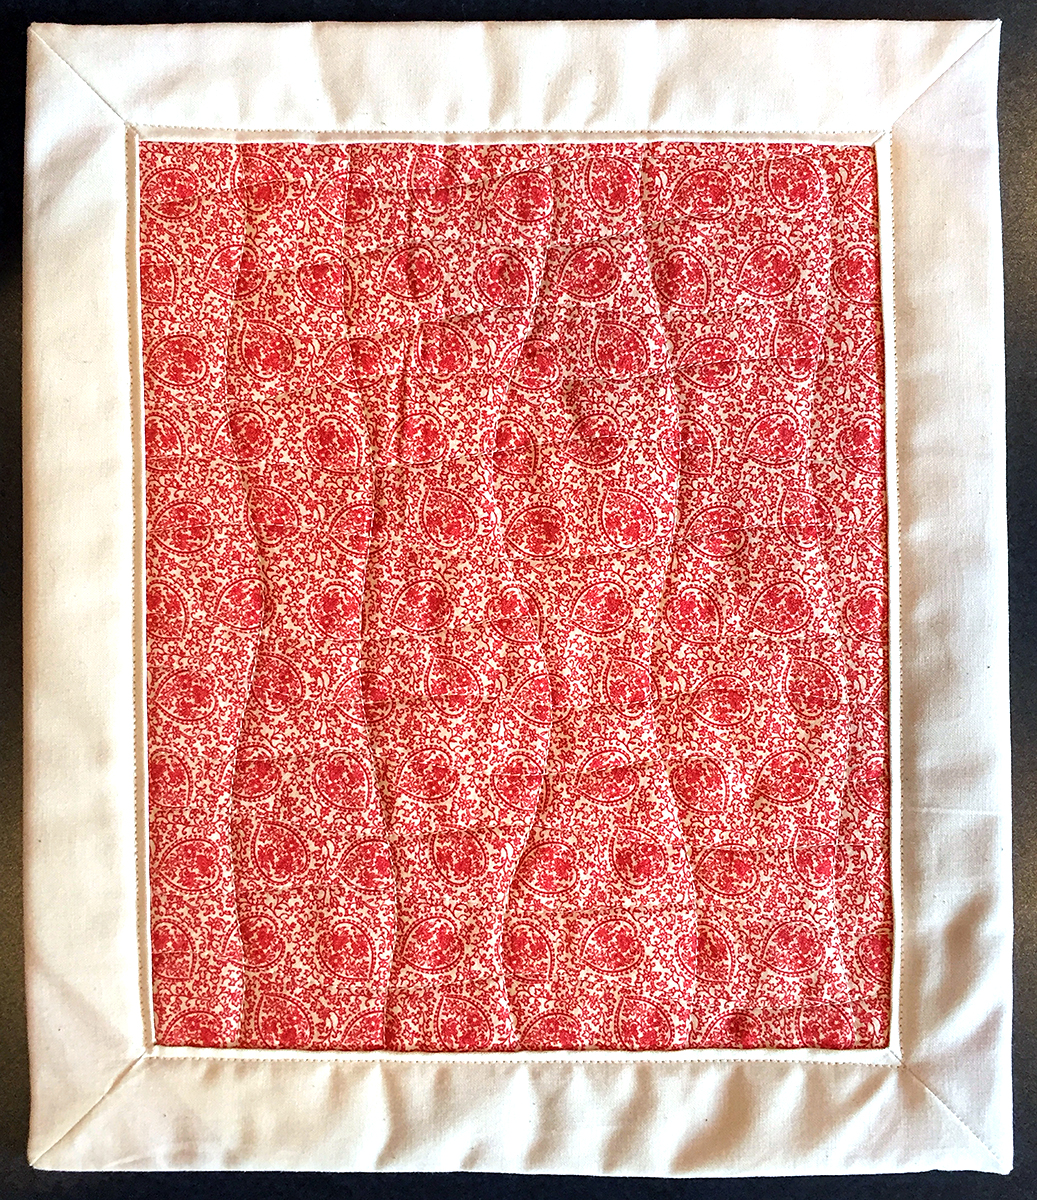
The Janome Horizon Memory Craft 9400 QCP makes it so easy to free motion quilt! With its large harp space, ability to set the speed of the machine with the adjustable speed control, and the several free motion quilting feet included in the machine, you'll truly enjoy quilting your projects with it.

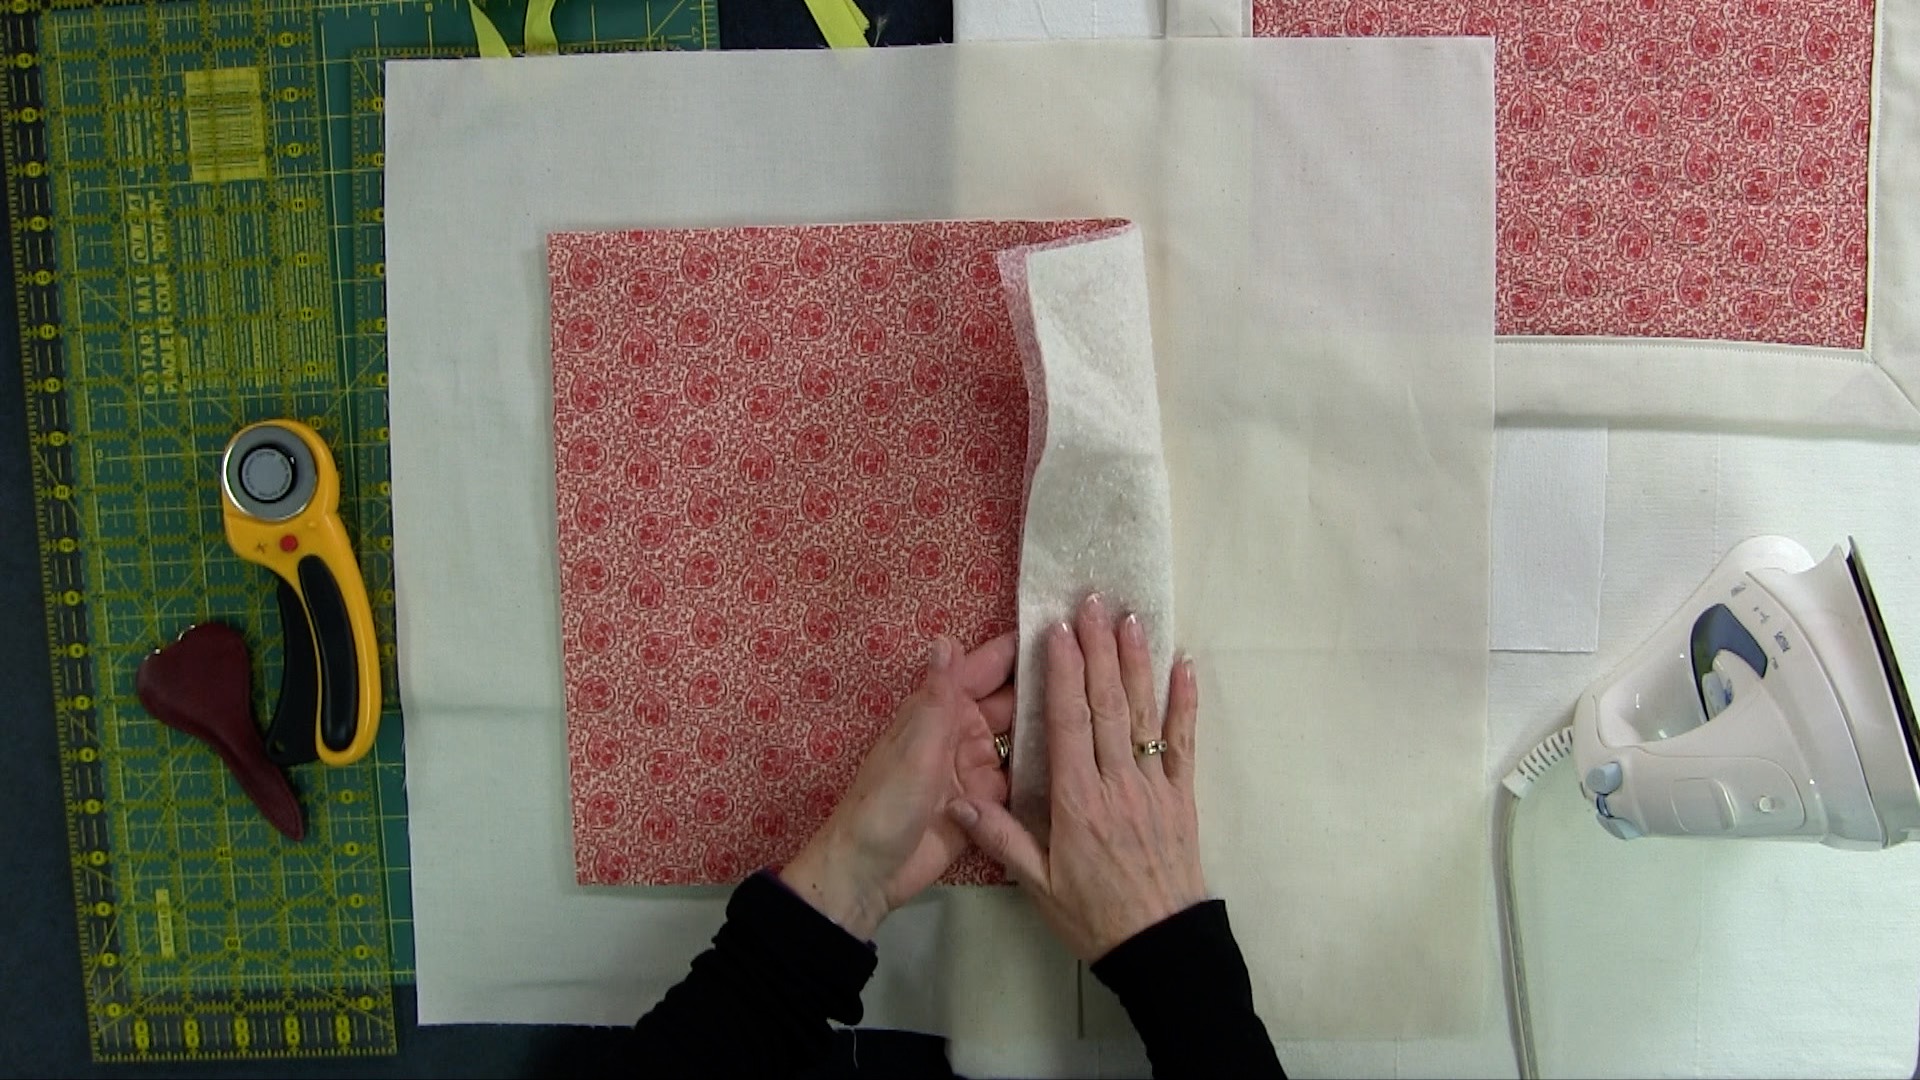
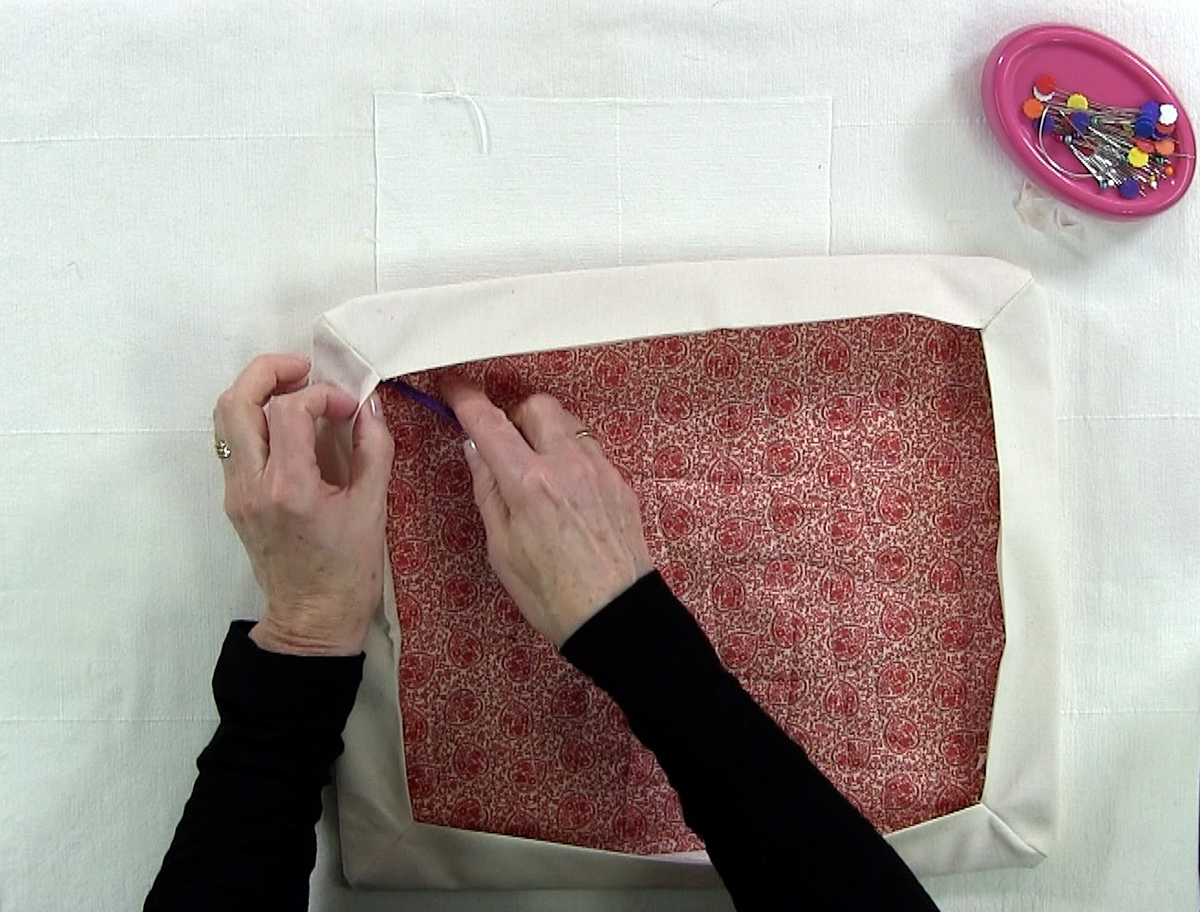
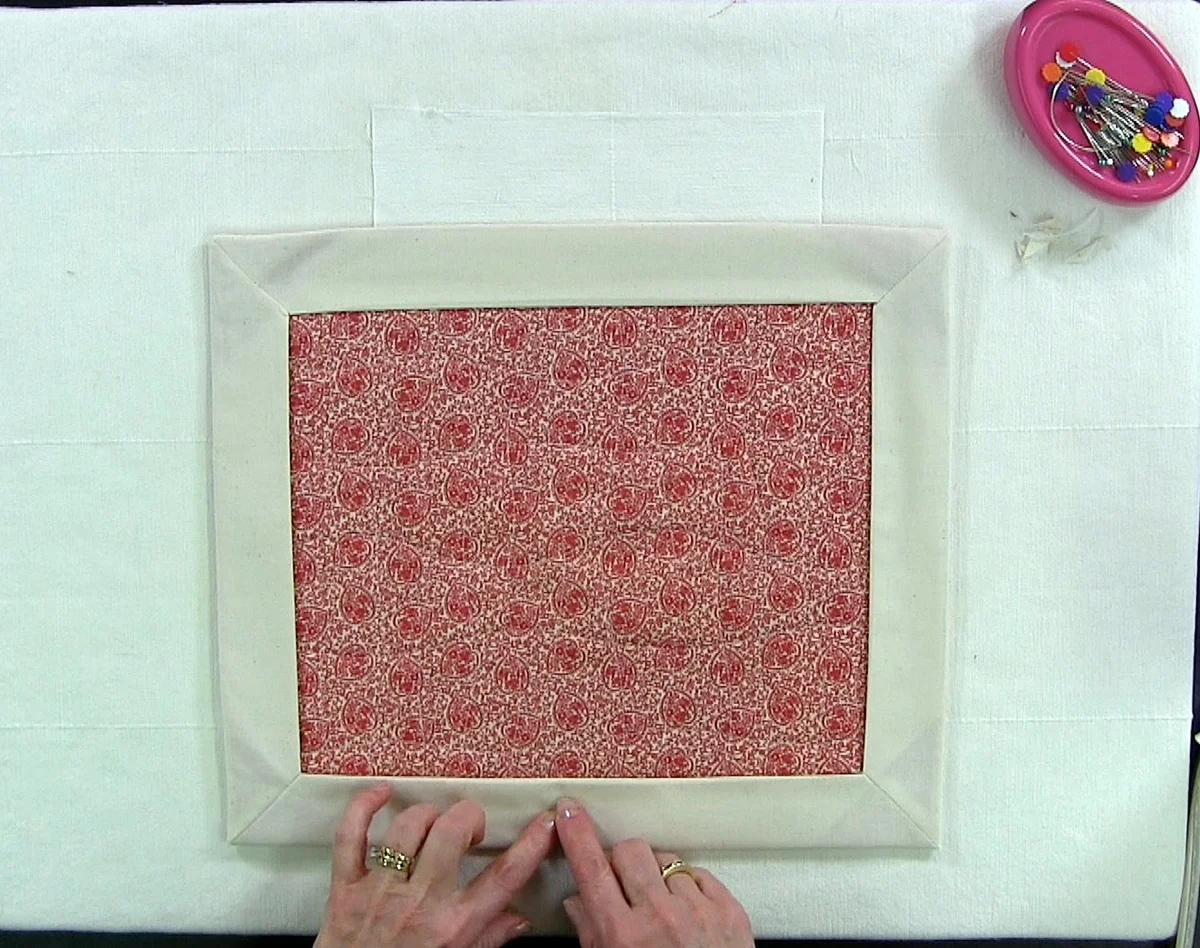
To achieve the best result when free motion quilting, I have a few items I always use: the Supreme Slider, which allows the quilt to slide under the needle and Machingers quilting gloves which help me to grip the quilt and move it easily.

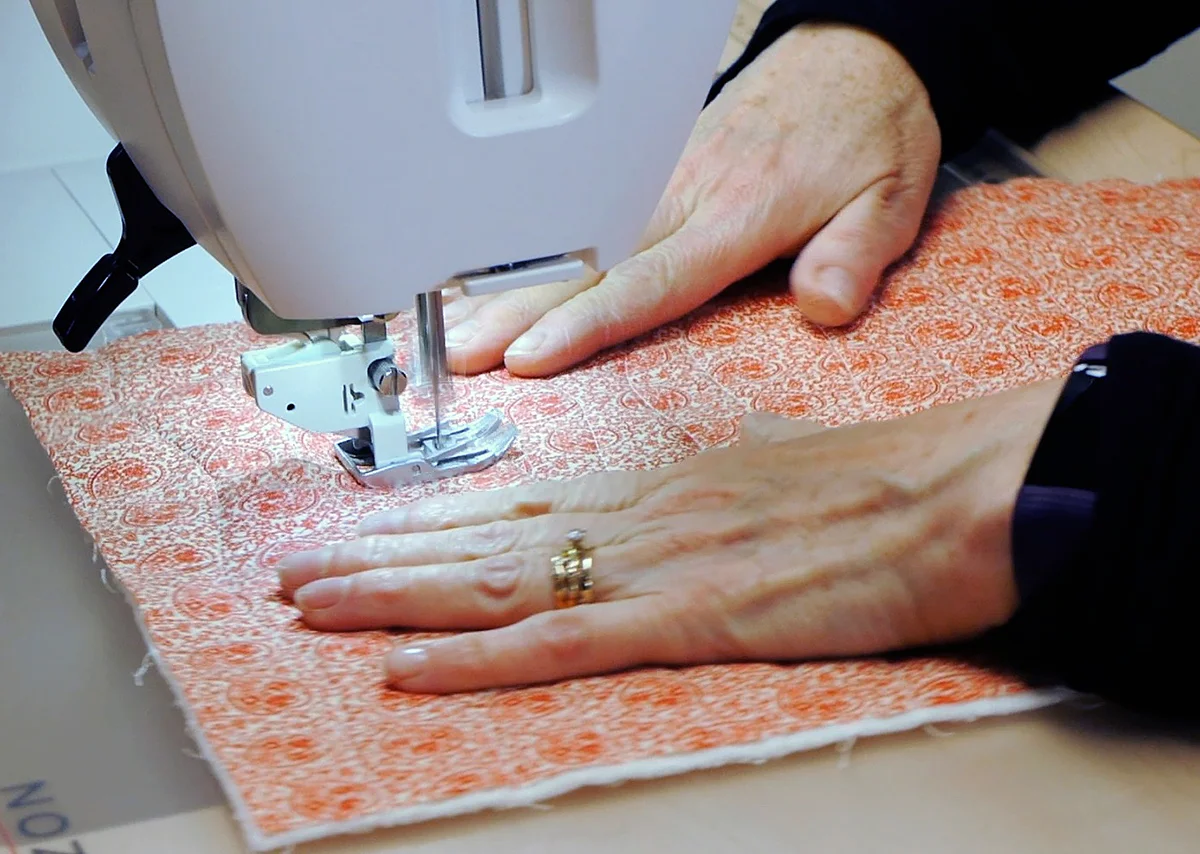
To prepare the Janome 9400, I drop the feed dogs . The most important and helpful thing I can do on the Janome 9400 is to adjust the speed control so the speed of the machine (how fast the needle goes up and down) is comfortable for me. I should be able to press the foot pedal all the way down and hold it there and the machine is stitching at a comfortable pace for me. This can vary for each quilter, so set it for what is right for you. Being able to adjust the speed control means that you don't have to think about the foot pedal at all: you just press it all the way to the floor and hold it there. One less thing to think about when free motion quilting!

It's important to use the right needle for the task and in this case, I use a purple tip Janome needle. I always use a new needle for each project which helps to give me good results. I also use the blue dot bobbin case which has less tension and works really well when free motion quilting. To find out more about Janome bobbin cases, watch this video.

There are four different free motion quilting feet included with the  Janome 9400: The PD-H foot, the  QO (open toe foot), QC (closed toe foot), and QV foot (echo quilting). The PD-H foot is typically called the free motion or darning foot and this, unlike the other feet, has an integral foot holder. Be sure that the bar on this foot goes on top of the needle bar, which will allow it to "hop" as it quilts along. The other three feet will fit on your regular presser foot holder. They attach a little differently than other presser feet, so watch the video to see exactly how to attach them so they lock in tightly.

The variety of presser feet that you can use is helpful and the Sewing Application on the Janome 9400 simplifies the choice of stitches: it does the thinking for you. You will have a choice of straight or zigzag stitches and this will depend on what needle plate you have installed on the Janome 9400. Once you choose a stitch, the Janome 9400 suggests which presser foot would give the best results when using this stitch. If you choose straight stitch 2 or zigzag stitch 2, you have the ability to change the height of the presser foot to the best height for the quilt thickness. I like a sewing machine that guides me to the choices that will give me the best results!

To see how to set up the Janome Horizon Memory Craft 9400 QCP for free motion quilting, click on the image below to watch it on my YouTube channel.

If you are hesitant to try free motion quilting on your Janome 9400, don't be! The features on the Janome Horizon Memory Craft 9400 QCP will help you in your free motion quilting journey and make this part of your project easy and enjoyable.

Creatively,

Kim's signature small aqua.jpg
 

Download the free Get Out of the Ditch! guide to learn how to start free motion quilting by clicking here.

P.S. Did you know that you can sign up to receive FREE emails full of quilting goodness? Just click here to receive FREE content directly in your email inbox every few weeks from Chatterbox Quilts. I know you'll be glad you did!

P.P.S. I am an Amazon affiliate and will receive a small amount of compensation if your purchase a product by clicking through links in this blogpost. This allows me to continue to provide you with FREE content each week. Thank you.

10 Favourite Easter Projects

We've had so much snow in Calgary this winter that it's hard to believe that it is almost Easter. While I feel that I should still be stitching up snowmen, I think it's time to start thinking about flowers, bunnies and Easter eggs.

I've found 10 cute Easter designs that I think you will enjoy - and you still have time to create them. Here are a few of my favourites:

1. 10 Free Bunny Sewing Patterns

What would Easter be without bunnies? Diy-crush has curated lots of sweet bunny patterns for you to stitch up. 

 
From diy-crush.com

From diy-crush.com


2.  Hippity Hoppity Easter Mini Quilt

More bunnies, but this time in a pieced wall hanging. Hippity Hoppity Easter Mini Quilt is from Nadra of Ellis & Higgs. I think you could have lots of fun choosing fabrics for these bunnies and I might be tempted to add a fluffy tail to them too!

 
Hippity Hoppity Easter Mini Quilt from Ellis & Higgs

Hippity Hoppity Easter Mini Quilt from Ellis & Higgs


3. Easter Brights

If you're wondering where the Easter eggs are hiding, you'll find some of them in Easter Brights from Chatterbox Quilts. 

 
Easter Brights from Chatterbox Quilts

Easter Brights from Chatterbox Quilts


4. Fancy Felt Egg

If you want to do a small felt project embellished with hand embroidery stitches, check out the Fancy Felt Egg from Wendi Gratz at Shiny Happy World. 

 
Fancy Felt Egg from Happy Shiny World

Fancy Felt Egg from Happy Shiny World


5. EggIE Softies

If you have little ones in your house, they'll love the EggIE softies. Fun for them and a great way to use up your fabric scraps and trims. 

 
EggIE Softies from Fiona Carter

EggIE Softies from Fiona Carter


6. Easter Bunny Pillow

Now that it's warming up (everywhere but Calgary!), you won't be needing your warm winter sweaters. Recycle your worn ones into this Easter Bunny pillow from Better Homes & Gardens.

 
Easter Bunny Pillow from Better Homes & Gardens

Easter Bunny Pillow from Better Homes & Gardens


7. Easter Table Runner

Here's a super cute table runner to make and it will be quilted up quickly as it uses the quilt as you go technique. Check out the Easter Table Runner from Patchwork Posse

 
Easter Table Runner from Patchwork Posse

Easter Table Runner from Patchwork Posse


8. Quilted Carrot Table Runner

I'm sure all these bunnies must be getting hungry! I've got just the solution: the Quilted Carrot Table Runner from Better Homes & Gardens.

 
Quilted Carrot Table Runner from Better Homes & Gardens

Quilted Carrot Table Runner from Better Homes & Gardens


9. Easter Treats

We've got the bunnies, the eggs, the carrots and even some flowers, but I'm missing the best part of Easter: chocolate! Easter Treats by Chatterbox Quilts includes a chocolate bunny between spring blooms. 

 
Easter Treats by Chatterbox Quilts

Easter Treats by Chatterbox Quilts


10. Decorating Easter Eggs with Lori Kennedy

In case you need some help quilting some of these projects, Lori Kennedy of The Inbox Jaunt has a wonderful tutorial on Easter egg free motion quilting. 


I'll be on Spring Break next week, so I'll be back with you in two weeks. I hope you have a wonderful (and warmer than Calgary) Easter. 

Creatively,

Kim's signature small aqua.jpg
 

How to Use Estate Sale Finds in Your Quilt Studio

I love going to estate sales and that's where I find vintage linens and where I've also picked up some of my vintage sewing machines. There are always a lot of cute trinkets and smaller kitchen items that can be helpful in the quilt studio.

I have a hard time saying no to anything cute, but I really need to think about what I'm going to do with these items if I do buy them. Thank goodness I've found a way to incorporate them in my quilt studio (and can thereby justify my purchases to my hubby).

I share my quilt studio with my two cats, Teeka and Victor, and this means that things have to be "cat proof" or unbreakable. This pretty much rules out lovely china dishes, but there are lots of silver-plated items at estate sales, so I'm usually able to find something that would be useful.

To see what types of items I buy at estate sales with the intention of putting them to use in my quilt studio, you can watch the video below or on my YouTube channel.

Do you repurpose vintage items that you buy to use in your quilt studio? Leave a comment below to let me know what types of items you use to help organize your quilt studio.

Creatively,


Kim's signature small aqua.jpg
 

P.S. Did you know that you can sign up to receive FREE emails full of quilting goodness? Just click here to receive FREE content directly in your email inbox every few weeks from Chatterbox Quilts. I know you'll be glad you did!

Wavy Line Walking Foot Quilting

Recently I've been exploring walking foot quilting on the Janome Horizon Memory Craft 9400 QCP and have been loving the results!

 
Walking Foot quilting top.jpg
 

When you talk about quilting your projects, most people think that you are talking about free motion quilting, but that isn't always the case. You can get great results by using your walking foot to do your quilting.

In one of my previous blogposts, I showed my readers how to make a no binding self-metered placemat, perfect for setting your table or for gift giving. If you haven't read this blogpost yet, you can read all about it here. I quilted the centre of these placemats using my walking foot and I was thrilled with how quick and fun it was to do!

 
No binding placemat staged.jpg
 

I chose to do a wavy design both vertically and horizontally on the project. This was so easy as I really couldn't go wrong with this type of design.

 
No binding placemat full.jpg
 

I started by stitching a wavy line vertically in the centre of the placemat and then continued to stitch wavy lines on either side of it. Once I was finished stitching in this direction, I repeated this process horizontally. I didn't mark my lines, but just eyeballed the distances between each line. 

There are so many variations possible with just this wavy line quilting:

  • you could vary the waviness of the line to be tighter or looser

  • you could vary the distance between the lines vertically

  • you could vary the distance between the lines horizontally

  • You could do wavy line quilting diagonally across your project

There are just so many possibilities with this simple quilting design.

 
Back of top after quilting.jpg
 

To see how I quilted the placemat, just click on the image below to watch a video on my YouTube channel that provides more information.

Do you use your walking foot to do your quilting or do you prefer to free motion your quilts? Have you tried wavy line quilting with your walking foot? Leave me a comment below to let me know.

Creatively,

Kim's signature small aqua.jpg
 

Did you know that you can sign up to receive FREE emails full of quilting goodness? Just click here to receive FREE content directly in your email inbox every few weeks from Chatterbox Quilts. I know you'll be glad you did!


Easy No Binding Self-Mitered Placemats

Valentine's Day is fast approaching and I've got a sweet project for you - that won't add any extra calories to your diet!

I like to make a special meal for my family on Valentine's Day and love to set the table with all things Valentine. This year I'll be setting my Valentine's Day table with a set of easy to make placemats that I created using my Janome Horizon Memory Craft 9400 QCP.

 
No binding placemat staged.jpg
 

The AccuFeed Flex system on my Janome 9400 made it super easy to do the wavy line stitching I used on this project. It’s easy to see where I’m stitching and using the AccuFeed Flex system evenly feeds my fabric and batting together without any stretching of the top fabric. It’s one of my favourite features on the Janome 9400 and I know I’ll be doing more walking foot quilting with this machine.

These placemats are so quick and easy to make, but the best part is that they don't require any binding. 

Let me explain what you'll need for this project:

2 Fat Quarters - one solid fabric and one patterned (preferably with a heart-filled fabric)

Batting – I would suggest 100% cotton low loft batting

That Purple Thang or similar to push out corners (include Amazon link)

Usual quilting supplies

That's about it! See, I told you it would be simple! 

You'll also need a good sewing machine, of course, which in my case is the Janome Horizon Memory Craft 9400 QCP. It was my best helper as I used the walking foot and AccuFeed Flex system on the machine for the quilting.

Since I wanted to make a set of placemats for Valentine’s Day, I used a heart-patterned vintage feeling fabric for the centre of the placemat and the solid fabric for the borders and backing (it’s all one piece).

You'll need to decide on what you want the finished size of the placemat to be and cut the fabric you’ve chosen for your placemat centre and your batting to this size. In my example, I used a 12” x 14” piece of fabric and this would be the actual size of my placemat.

Now, let’s get into a bit of math: don’t worry, it’s really not that complicated – believe me, if it was, it wouldn’t be me telling you about it!

To determine the cut size of the backing/border fabric (solid fabric in my example), decide on the size you want the borders to be. I wanted the borders to be 1½” wide. I then multiplied this number by 4: 1½” x 4 = 6” and added this amount to the length of the centre fabric. This was 14” + 6” = 20”.

I then did the same calculation for the width of the centre fabric, which was 12”. There were also 1½” wide borders on the top and bottom, so I multiplied this by 4: 1½” x 4 = 6” and added this to the centre fabric width of 12” for a total of 18” (6” + 12”).

Still with me?

The figures that we just calculated are the size that you’ll be cutting from the backing/border fabric. So, in my example, I cut a piece of fabric 18” wide by 20” long and this would be the backing and borders on the placemat.

Just to review: the centre fabric and batting were cut 12” x 14” and the backing was cut 18” x 20”.

 
Top and Batting cut to 12" x 14" with Backing cut to 18" x 20"

Top and Batting cut to 12" x 14" with Backing cut to 18" x 20"


The next step in the placemat construction is to quilt the top and batting together. I used the walking foot on my Janome 9400 to do this and did some wavy line quilting vertically and horizontally. This was fun and so easy with the help of the AcuFeed Flex system on the Janome 9400. No bunched fabric and it kept both the batting and fabric together without even using pins!

 
Quilting the top and batting with the Janome Horizon Memory Craft 9400 QCP's amazing walking foot with AcuFeed Flex system

Quilting the top and batting with the Janome Horizon Memory Craft 9400 QCP's amazing walking foot with AcuFeed Flex system


After the quilting is finished, it’s time to centre the quilted top onto the backing and then stitch everything together ¼” in from the outside edge of the quilted centre. You may find pins helpful here to keep everything in place.

 
Be sure to centre the quilted top and batting when you are pinning it to the backing

Be sure to centre the quilted top and batting when you are pinning it to the backing


This next part is when the mitered corners are created and it’s almost like magic! Trim off all 4 corners of the backing on a diagonal to remove excess fabric. Be sure that you are ¼” away from the corner of the quilted centre.

 
Trim off the excess batting on a diagonal

Trim off the excess batting on a diagonal


Fold in each of the sides (the backing) to meet the quilted centre and press them to keep them in place.

 
Press the sides to keep them in place

Press the sides to keep them in place


Flip the placemat over and match adjacent sides, being sure to line up at the corner and down the side. Pin to keep in place.

 
Line up adjacent sides and pin to prepare for stitching

Line up adjacent sides and pin to prepare for stitching


Once everything is pinned properly – don’t make the mistake I did – you can stitch the seam at each corner with a ¼” seam.

 
Be sure to backstitch at the beginning and end to hold the seam in place

Be sure to backstitch at the beginning and end to hold the seam in place


When you have finished this stitching, you can trim the excess fabric and batting on the corners and then flip the corners out to the front and push out all the corners using That Purple Thang or similar tool (be careful not to poke too aggressively or you may end up with a hole in your corner!).

 
Push corners out gently with That Purple Thing or similar tool

Push corners out gently with That Purple Thing or similar tool


Press the placemat down and then topstitch the open edge all around the interior of the placemat with a ¼” seam or you could use a decorative stitch. If you want to do additional quilting in the border, you could do that too.

 
Topstich 1/4" in from edge to complete the placemat

Topstich 1/4" in from edge to complete the placemat


Now that you’ve seen how easy it is to make one of these placemats, keep going so you’ll have a complete set of 4 or 8 or…?

I think that a set of placemats would make a perfect wedding or house warming gift and with this pattern you can design them to any size you want.

 
Top View.jpg
 

This was the first time I’d used the walking foot for quilting and I was pleased at how easy the AcuFeed Flex system on the Janome Horizon Memory Craft 9400 QCP made it. I’ll definitely be doing more walking foot quilting on future projects. 

Click on the image below to view a video on my YouTube channel that shows you the step-by-step process to make these easy placemats.

Click here if you would like to see my favourite quilting tools.

I hope you'll try creating these easy placemats on your own. You could make a set for every holiday!

Creatively,

Kim's signature small aqua.jpg
 

Download the free Get Out of the Ditch! guide to learn how to start free motion quilting by clicking here.

P.S. Are you serious about improving your quilting? Do you want to connect with other committed quilters in a supportive, safe environment?  If you answered “yes” to these questions, you need to join The Quilter’s Way. The Quilter’s Way is the only quilting membership site that includes both training and an active, supportive online community. Don’t wait another day! Join now.

P.P.S. Did you know that you can sign up to receive emails full of FREE quilting goodness? Click here to receive FREE content directly in your email inbox every few weeks from Chatterbox Quilts. I know you'll be glad you did!

P.S. I am an Amazon affiliate and, if you purchase items by clicking through the links in this post ,I will receive a small amount of commission. This doesn’t cost you any more $$$, but helps me to continue creating free content for you. Thanks!