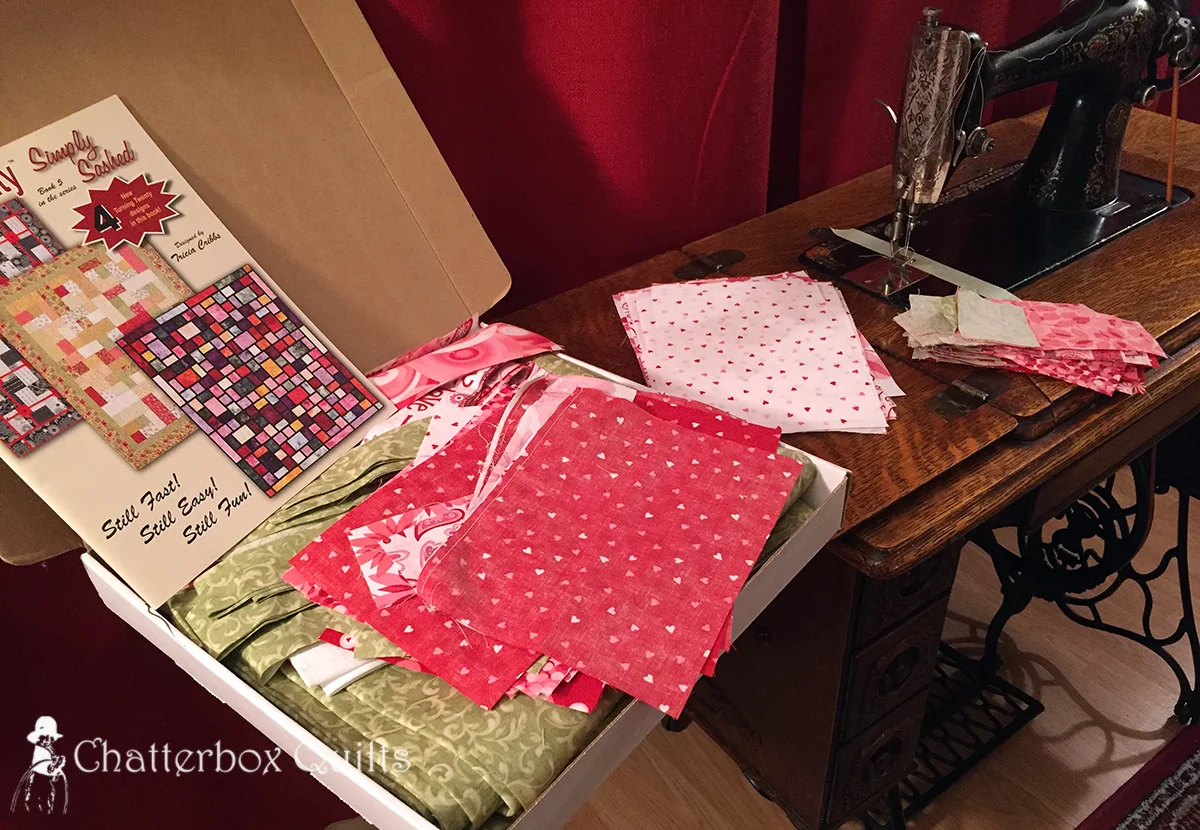
I pulled out one of my "to do" projects and thought that I had better get it done! I had set these fabrics aside about two years ago to create a project from Turning Twenty - Simply Sashed and that was about as far as I got with this pattern. What got me finally started on making this quilt? My Singer 66 Red Eye treadle sewing machine. Watch my Youtube video on how I acquired this machine.

A start on the blocks
When I bought this machine, I didn't know how to treadle and it does take a bit of practise. What could be a better way to learn how to operate it than to do lots of piecing?
Just a bit more piecing to be done - ie. lots more piecing to be done!
I'm making the lap size of Sew Easy! in the book and I'm enjoying the process so far.
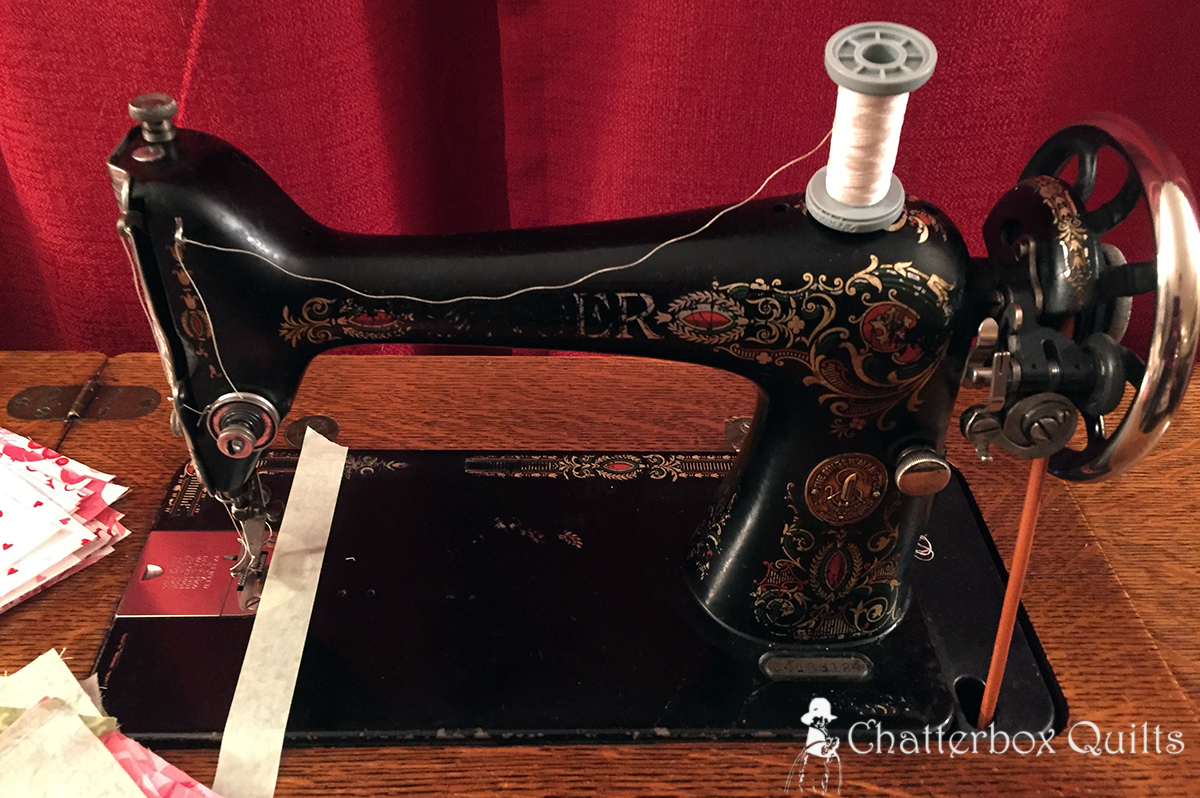
Using the Singer 66 means making a few adjustments. This machine doesn't have a light on it, which isn't too much of a problem as I have it set up in front of my livingroom window. I do have to use a light to stitch in the evening.
The Singer 66 doesn't have a marked needle plate, so sewing with a 1/4" seam allowance could be a bit of a guesstimate - never a good idea when piecing. I just measured from the needle over and used a strip of painter's tape as a guide. Some vintage machines come with a seam guide, but as I don't have one for this machine, I am making do.
Making sure I get that 1/4" seam allowance right on
While I find treadling quite relaxing and definitely quieter than using a machine with an electric motor, I have to remember to start turning the hand wheel towards me first before getting my feet in on the action. This is a bit of an adjustment as I'm used to using my foot to get the machine going. Of course if I forget and just start treadling, invariably the hand wheel starts to go backwards, rather than forwards, and this snaps the upper thread. I really don't like rethreading the needle so I'm quickly learning to think before I start stitching.

I love treadling!
I've been making good process on this project and enjoying my treadling.

I really like these fabrics and they're coming together well.

Now to do a bit of pressing before the next step.
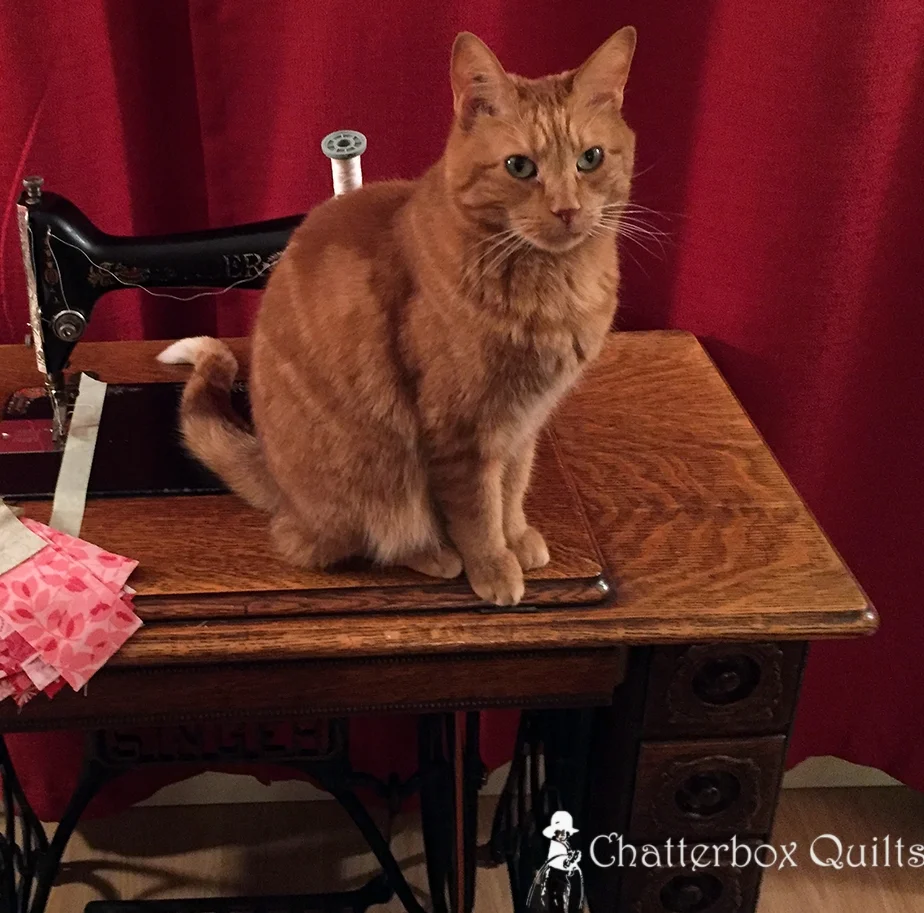
Of course I always have help when I'm at the machine - whether it's foot power or electric power. Sometimes the help can be more of a hindrance, but it's always nice to have company.

Better move that tail, Charlie, or it might be part of the quilt!
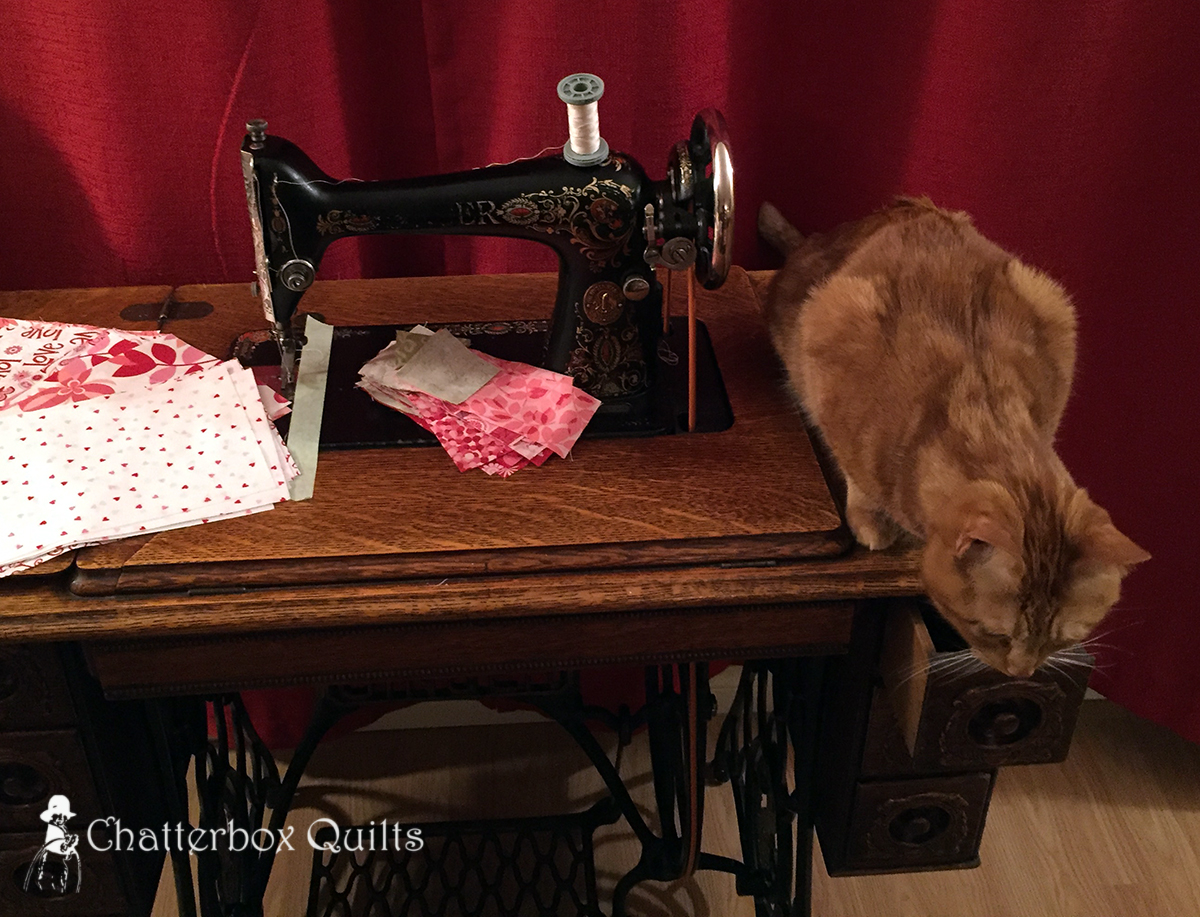
That's a better spot for you, Charlie...
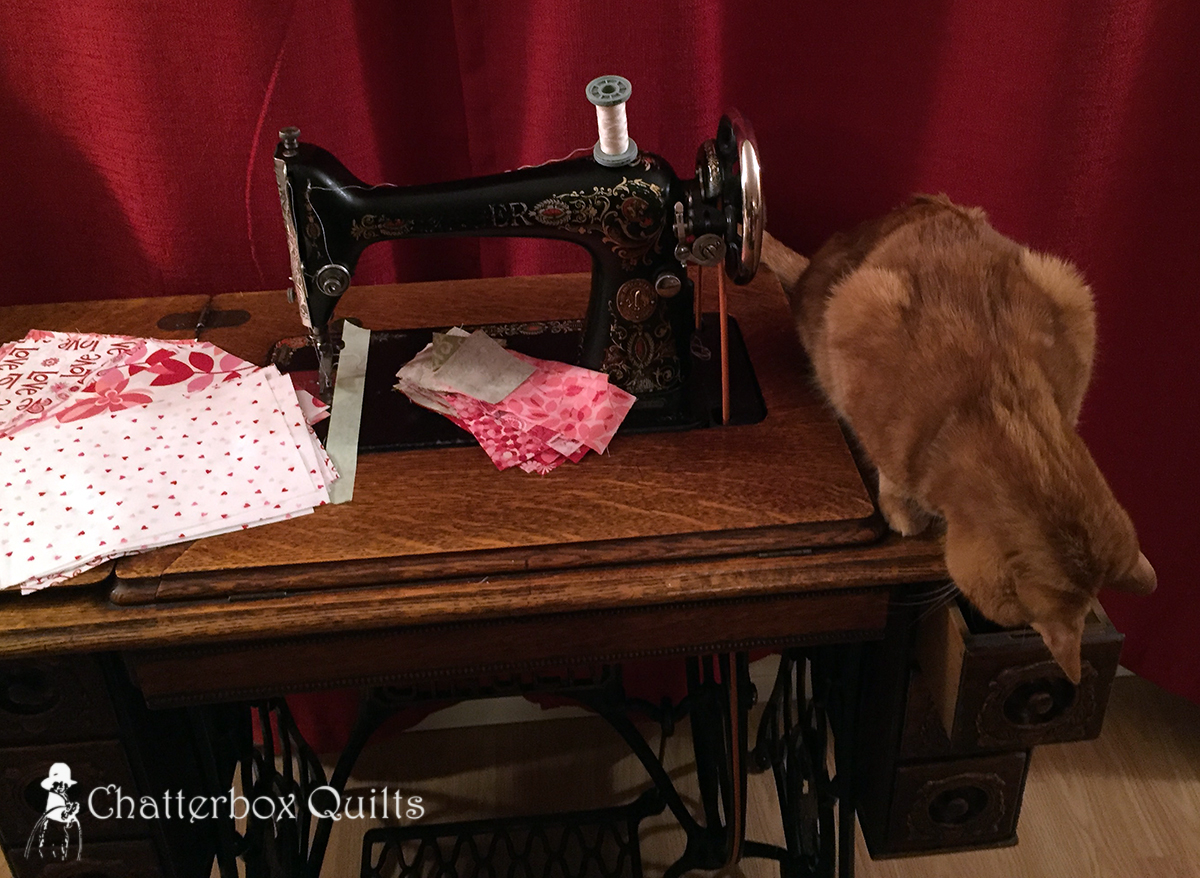
but stay out of the drawers!
I even had the opportunity to wind a bobbin on the machine which is something I hadn't yet attempted. I used a reproduction bobbin and it worked fine. I think the bobbin winders on these vintage machines may work even better than a modern one.

Glad that my Singer 66 Red Eye is performing as well as I'd hoped it would.
I still have some more work to do to finish the top, but my treading skills have definitely improved. I'm looking forward to more stitching and piecing on my Singer 66 Red Eye sewing machine.
If you are thinking of buying a vintage sewing machine you may be interested in my eBooks for buyers (click here). If you are thinking of selling your machine you may be interested in my How To Sell a Vintage Sewing Machine eBook.
Creatively,
P.S. I am an Amazon affiliate and will receive a small compensation if you purchase an item by clicking through the link in this blogpost. Thanks, this allows me to keep creating blogposts and video tutorials for you.