
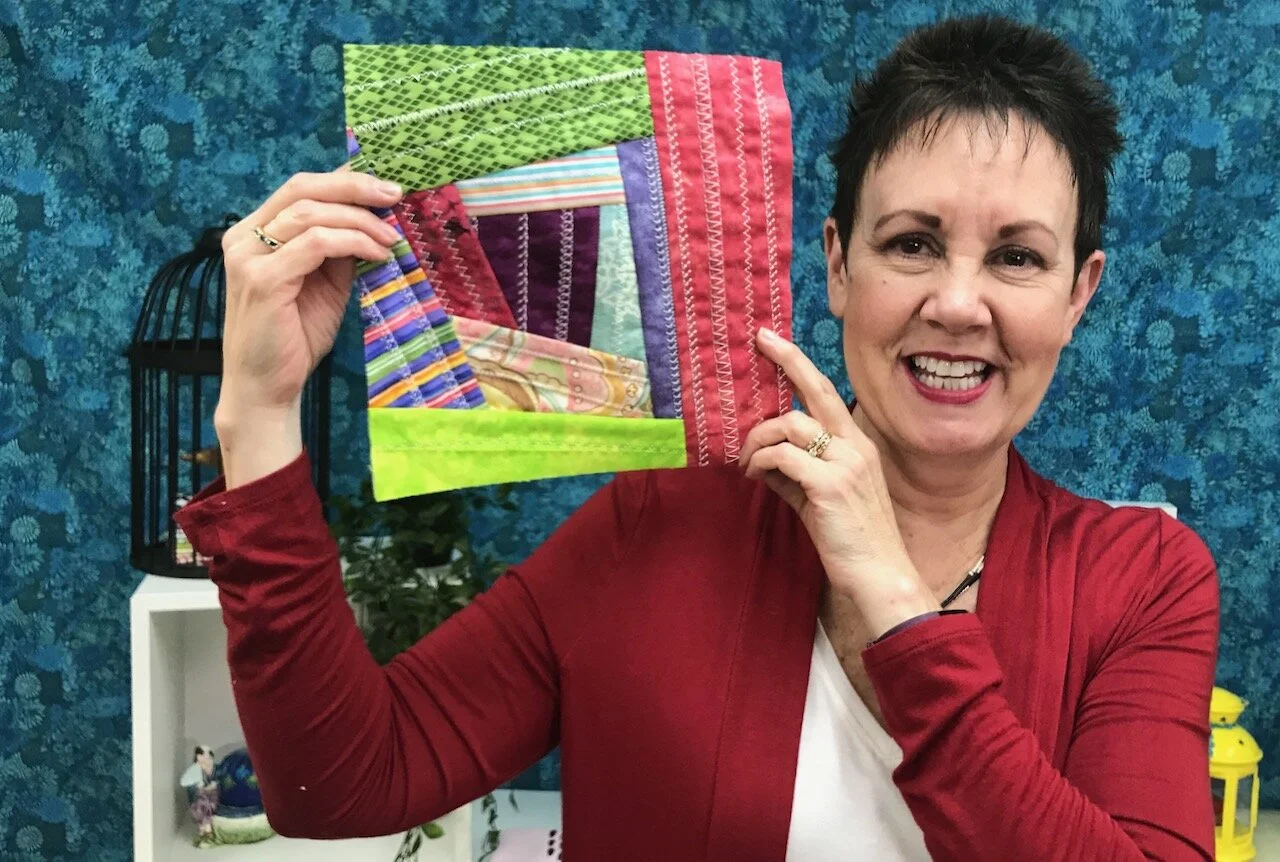
Have you tried the Quilt as You Go or QAYG (try and pronounce that acronym!)? If you haven’t, you’ll have to try it. It is fun and, while you can create a regular block with it, I like to use an improvisational approach to this technique.
Chatterbox Quilts’ Blog
Helping Quilters Learn and Improve
Have you tried the Quilt as You Go or QAYG (try and pronounce that acronym!)? If you haven’t, you’ll have to try it. It is fun and, while you can create a regular block with it, I like to use an improvisational approach to this technique.
The biggest problem I hear from quilters when it comes to the quilting part of their project is that they don’t know what motif to put on their quilt. They’re afraid that they’ll “ruin” their quilt, either through lack of skill or poor quilt motif choice. I’m not going to say that you can’t ruin a quilt through poor choices in these areas, but there are 4 considerations that I think will help you to avoid “ruining” your quilt.
Do you use the pillowcase method to finish your quilt projects? Do you know about the pillowcase method? If you don’t, I’m going to tell you all about it and you are going to love this easy way to finish smaller projects.
The pillowcase method is a way to finish your quilts without binding them. Yes, you know I hate binding, so this is one of my go-to techniques for avoiding it! You’ll need:
Your quilt top
Batting cut to the size of your quilt top
Backing cut to the size of your quilt top
No binding strips!
You are going to layer the 3 parts of your quilt as follows, from the bottom up:
Batting
Quilt top, right side up
Backing, wrong side up
Pin these 3 layers together around the raw edges, leaving a gap so you can turn it right side out later on. The size of the gap depends on the size of your project: a 3” to 4” is okay for most small to medium size projects. Leave a larger unsewn area is you are working on a bigger project.
After pinning the 3 layers together, sew around the outside of the sandwich with a ¼” seam, remembering to leave that unsewn gap for turning. I like to use a walking foot to do this. Clip off the corners and turn the project right side out, pushing out the corners (I like to use That Purple Thang to do this). Hand sew the opening closed and your project is now ready for quilting.
For detailed instructions, click on the image below.

Have you ever used the pillowcase method before? If so, let me know your results in the Comments below.
Creatively,

Download the free Get Out of the Ditch! guide to learn how to start free motion quilting by clicking here.
P.S. Are you serious about improving your quilting? Do you want to connect with other committed quilters in a supportive, safe environment? If you answered “yes” to these questions, you need to join The Quilter’s Way. The Quilter’s Way is the only quilting membership site that includes both training and an active, supportive online community. Don’t wait another day! Join now.
P.P.S. Did you know that you can sign up to receive emails full of FREE quilting goodness? Click here to receive FREE content directly in your email inbox every few weeks from Chatterbox Quilts. I know you'll be glad you did!
P.S. I am an Amazon affiliate and, if you purchase items by clicking through the links in this post, I will receive a small amount of commission. This doesn’t cost you any more $$$, but helps me to continue creating free content for you. Thanks!
Last Thursday I explained my technique for straightening the edge of my fabric before I started cutting into it. This Telecast Thursday I want to show you how to cut strips from your fabric after it's been straightened.
It's important to learn the correct cutting method so that you don't get wavy strips. It's so frustrating to cut 10 strips only to realize that each one has a big wave - or two - in it! Certainly not desirable!
To properly understand this technique and learn the little tips that will help you in cutting your fabric strips, watch the video below or on my YouTube channel.

Keep in mind that this is my method for cutting fabric strips: there are other ways to do this that you might want to investigate too.
What are your best tips for cutting fabric strips? Leave me a comment below telling me your favourite technique.
Creatively,

I'd love to have you join me and hundreds of other quilters in my private Chatterbox Quilts' Facebook group. This encouraging and sharing group provides lots of help and inspiration to all quilters.
It's another Telecast Thursday and this week I'm addressing a question that I've heard many times: how to I cut my fabric? Do I use the lines on my ruler? Do I use the lines on the cutting mat?
There are many ways to cut your fabric, but you always want to start your cutting with a straight edge, so the most important part of cutting your fabric is how to straighten your edge so the rest of your cuts will be straight.
I use the lines on my ruler to straighten up my fabric edge and I'll show you that in the video below, but before I can start cutting, I want to be sure that my fabric is folded evenly. if the fabric is askew, so will be the cuts!
Watch the video below to see my technique or view it on my YouTube channel.

There are many ways to straighten your fabric edge, but this is the method that works best for me.
How do you straighten the edge of your fabric? Leave me a Comment below to describe your technique.
Creatively,

P.S. I invite you to join my private Chatterbox Quilts' Facebook group. This encouraging group is the place to learn and share with other quilters.
