
Looking for a quick Valentine's Day project to create with your Brother Scan N Cut? I have just the one for you!

Charlie helped in the fabric selection for this project
I decided to whip up a quick wall hanging for Valentine's Day using some of the pre-loaded designs in my Scan N Cut. Here's the tutorial, so you can create your own wall hanging.
I wanted to create a vintage-y look with some scallops and hearts, so I decided to have a sprinkling of hearts on a scalloped background. This was so easy as these designs are already included in the Scan N Cut library.

Background layer was design BA-A010 in the designs already in the Scan N Cut
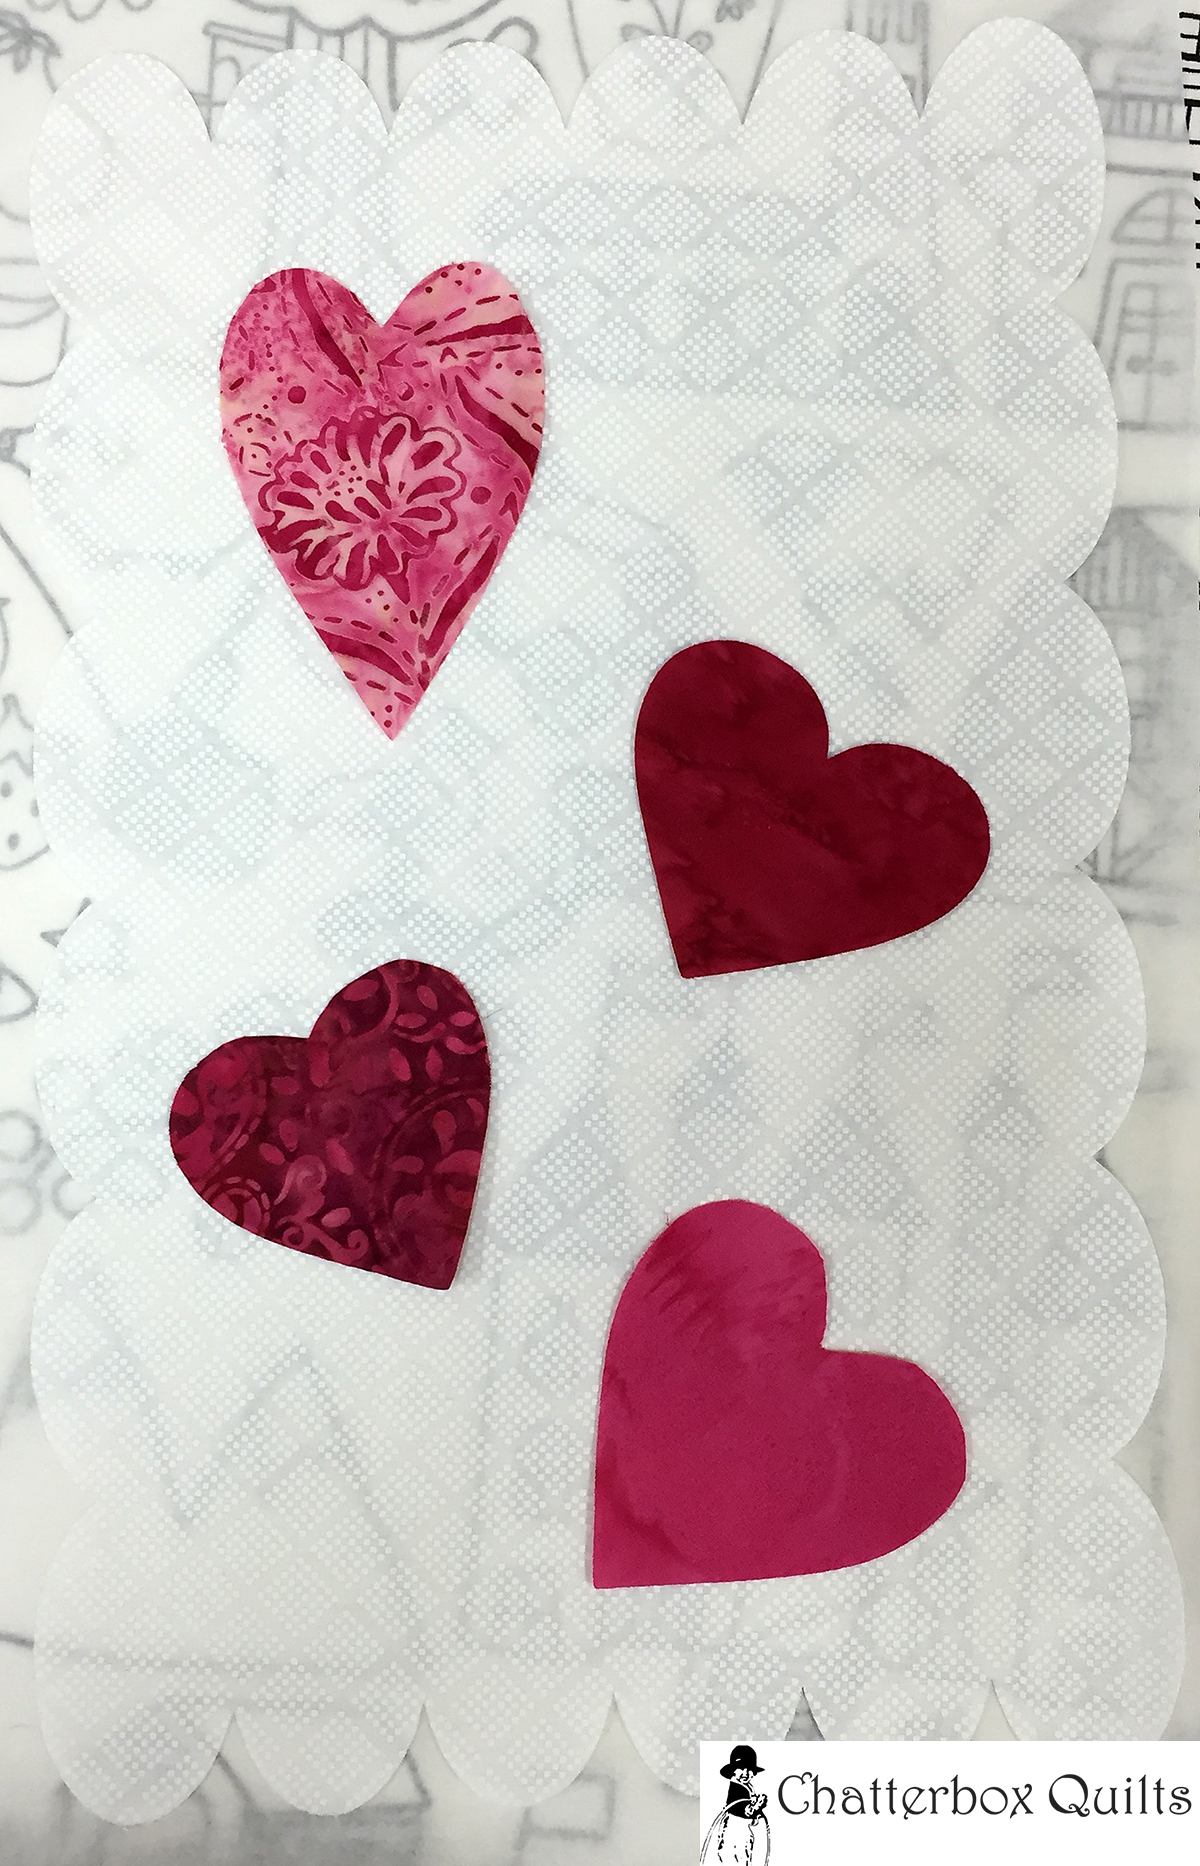
I chose a scalloped design for the appliqué background layer and enlarged it to be 10" x 16" (okay, it was really 10.01 x 16", but that's just a smidge off). I saved this to my library so I could use it again. Then I selected the heart motif and created four hearts; making each one a slightly different width and height.

Heart #1

Heart #2

Heart #3

Heart #4
Then the fun part began: choosing the fabrics! I decided to go with batiks for the hearts and managed to find 4 different reds/pinks for them. I decide to stick with a white fabric for the scalloped appliqué background so the hearts would really contrast with it. I also chose the patterned pink batik for the layer under the scalloped background
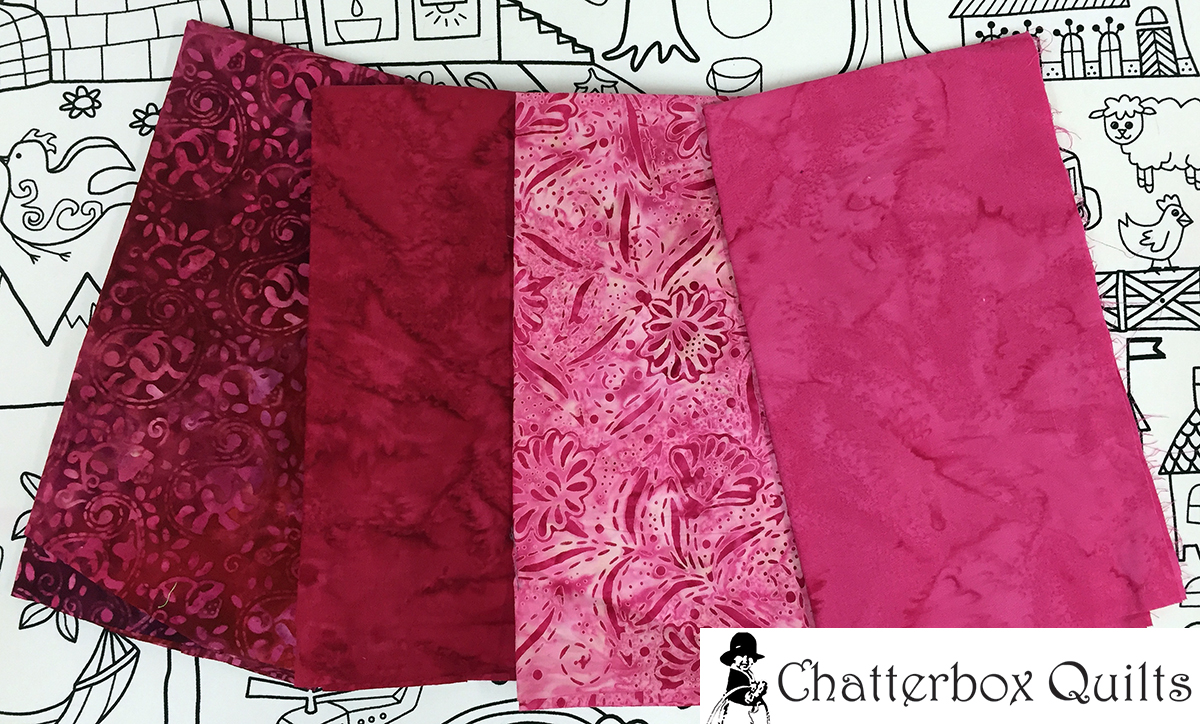
Lovely shades of red and pink batiks for the heart appliqués
I applied fusible web to the back of the heart fabrics, loaded them onto my Scan N Cut sheet and cut out the hearts. Easy!
Next, I fused fusible web to the back of the fabric that was going to scalloped and cut out the layer that would be underneath the hearts. Note, that I used the 12" x 24" mat to cut this part.
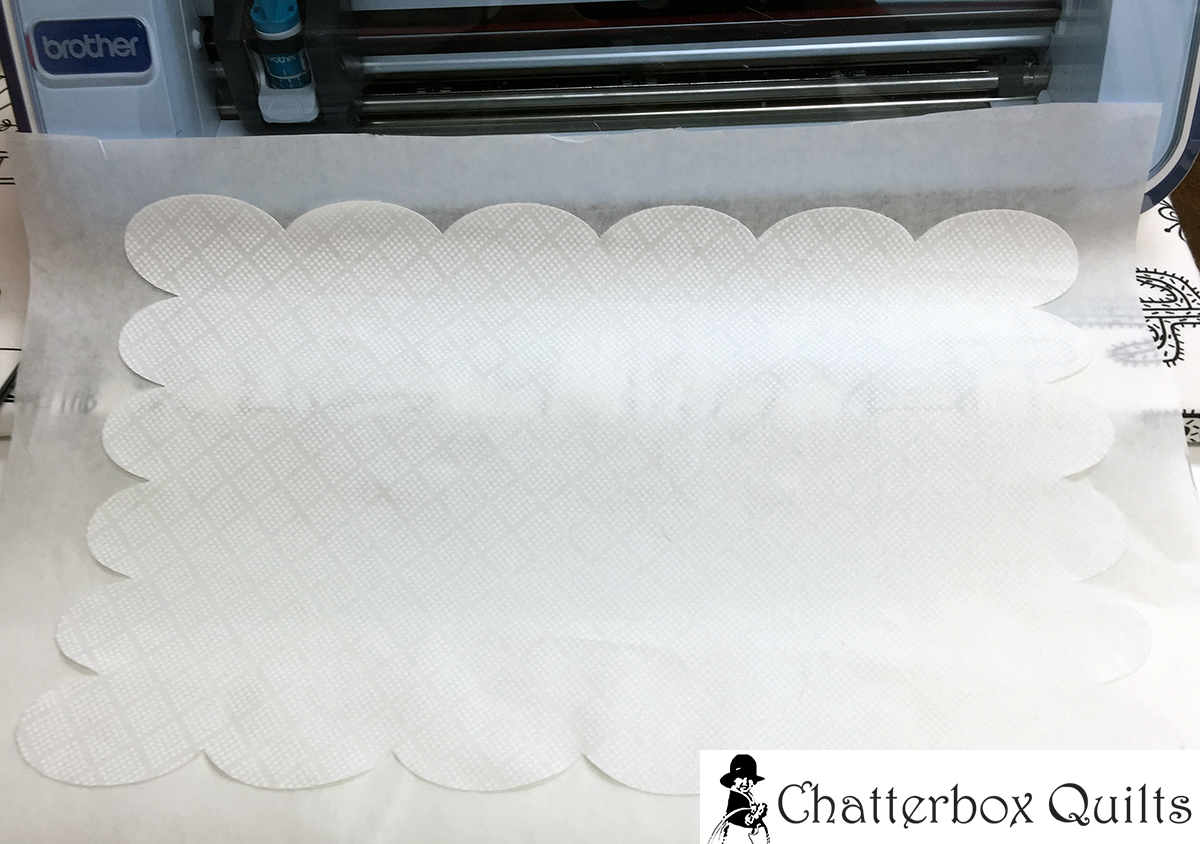
Lovely scalloped background all cut out!
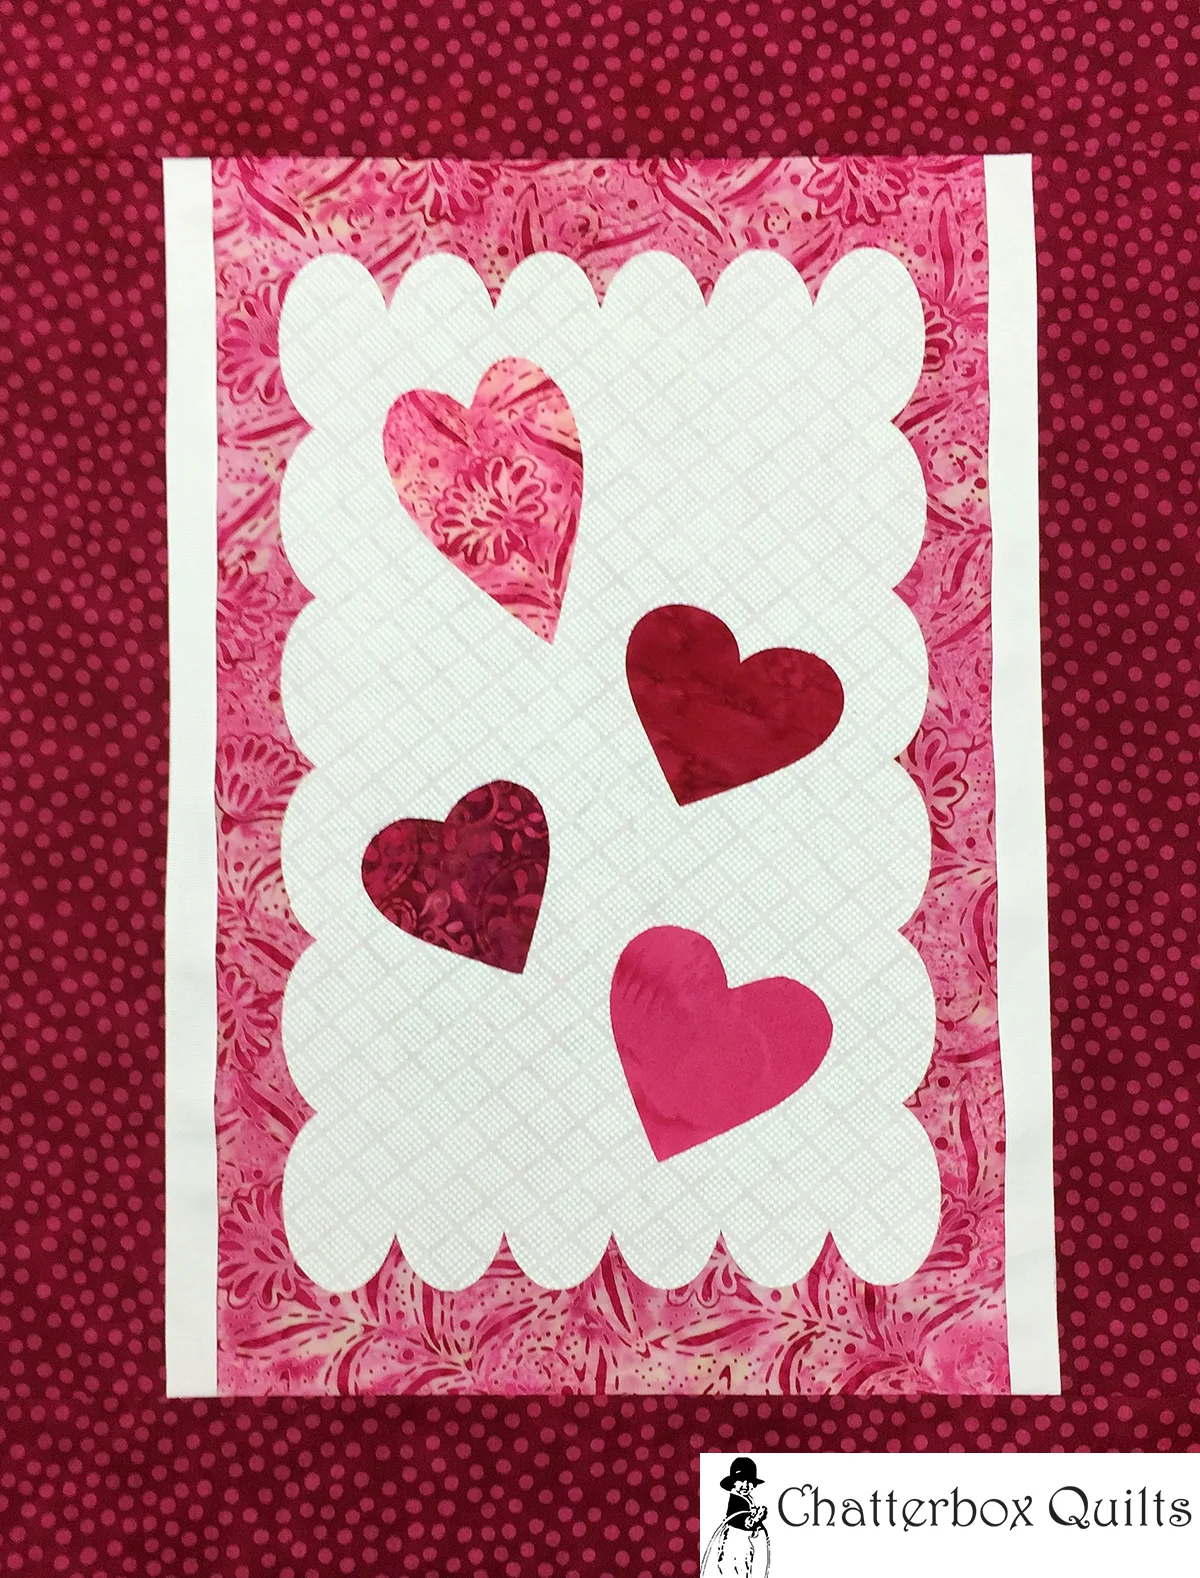
I arranged and fused the hearts to the scalloped background and then fused it all to a large piece (14" X 18") of pink batik. It was looking really great! I wanted to add a border around it all, so I selected a pink and red polka dot fabric and cut out 3" borders.
Hearts fused to the scalloped appliqué background
I thought it needed a bit more pizazz, so I inserted some 1" white ribbon between the background and the border – sort of like a flange. (I always save ribbons from gifts, candy boxes, etc. just for this purpose). I did this only on the sides so it created a nice linear frame before the outer border.

Next I added the top and bottom borders. Here's what the wall hanging looked like at this point.
I was pleased with it but thought it needed a little something – how about some buttons? I just happen to have a few of these in my stash… so it was easy to find several different colours and types to jazz up the hearts.

Heart #1 all buttoned up!
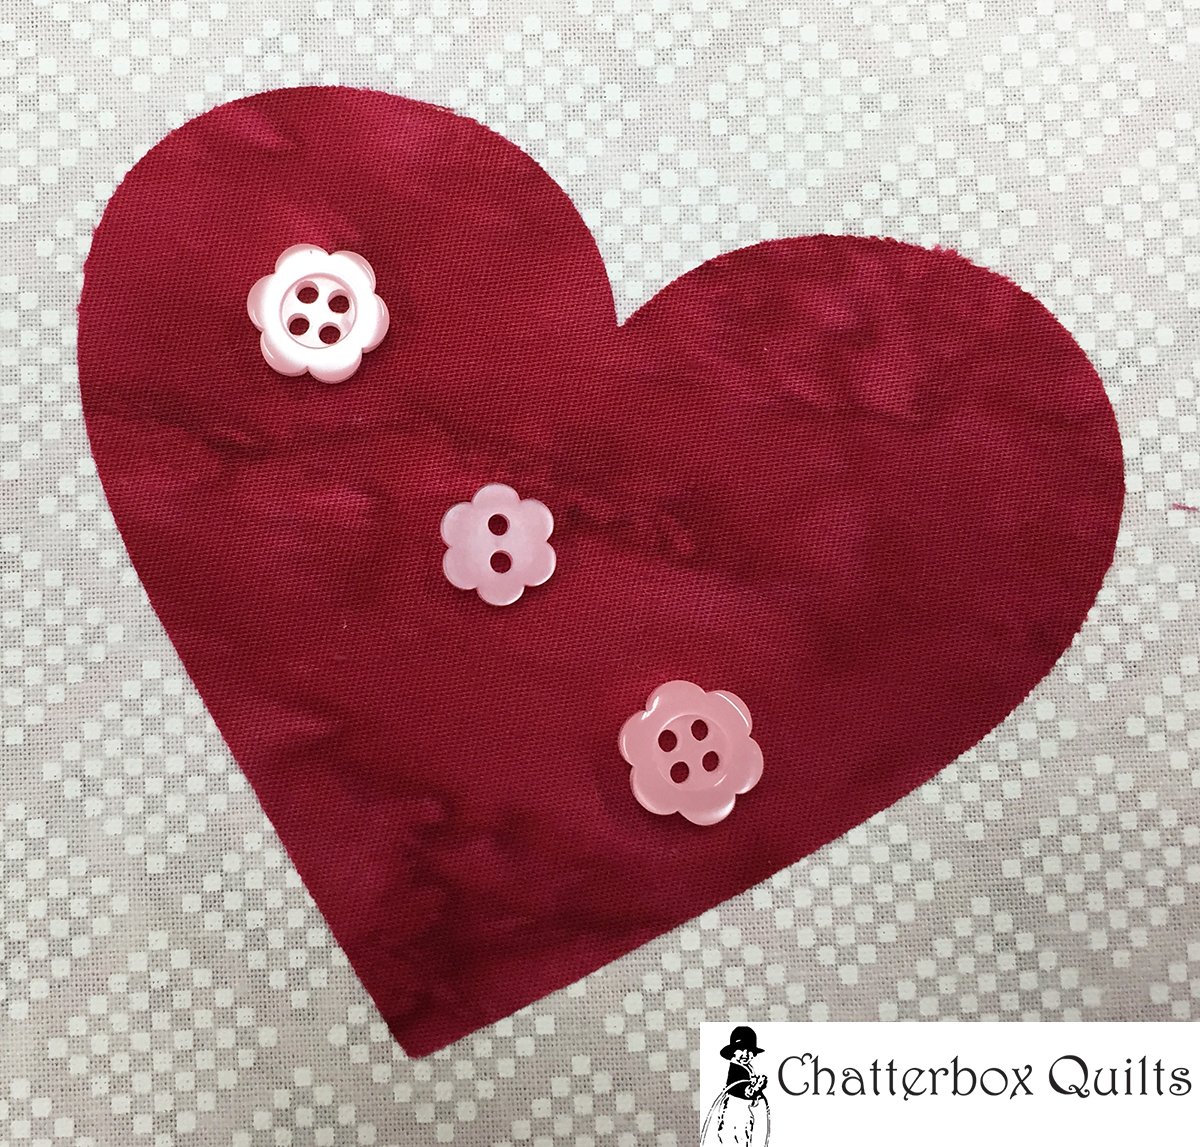
Heart #2 looks great with floral buttons in pink

I used tiny buttons on Heart #3

I decided to add four buttons on the last heart - just because ;}
Here's a look at the final wall hanging top.

Yes, I know that there are only 3 buttons on the last heart - which one do you like better?
Since this is a wall hanging, I've decided to leave the edges of the appliqués unfinished (I know, daring, right?!). I just have to quilt this wall hanging and then stitch on the buttons (I may get lazy and just glue them on) and I'll have the perfect Valentine's Day decoration.
There's still time to create this Valentine's Day project with your own Scan N Cut machine, so I hope you'll give it a try.
Creatively,
