One of the most frequent questions that I get asked is: “What sewing machine should I buy?”
Here is what you should keep in mind when shopping for a new or “new-to-you” sewing machine.
1. Determine the type of stitching you want your new machine to do.
Whether you’re looking for a new sewing machine or a “new-to-you” sewing machine, you’ll need to consider the use to which you will put your machine. You may be a seamstress who creates clothing, a home dec stitcher who makes drapes and furniture covers or you may be a quilter, like me. Consider what type of stitching you are currently doing and might be doing in the next year. I don’t look further ahead then that as there will be new sewing machine models available to consider at that time.
2. Create a “must have” list of features and options that your perfect sewing machine needs to have.
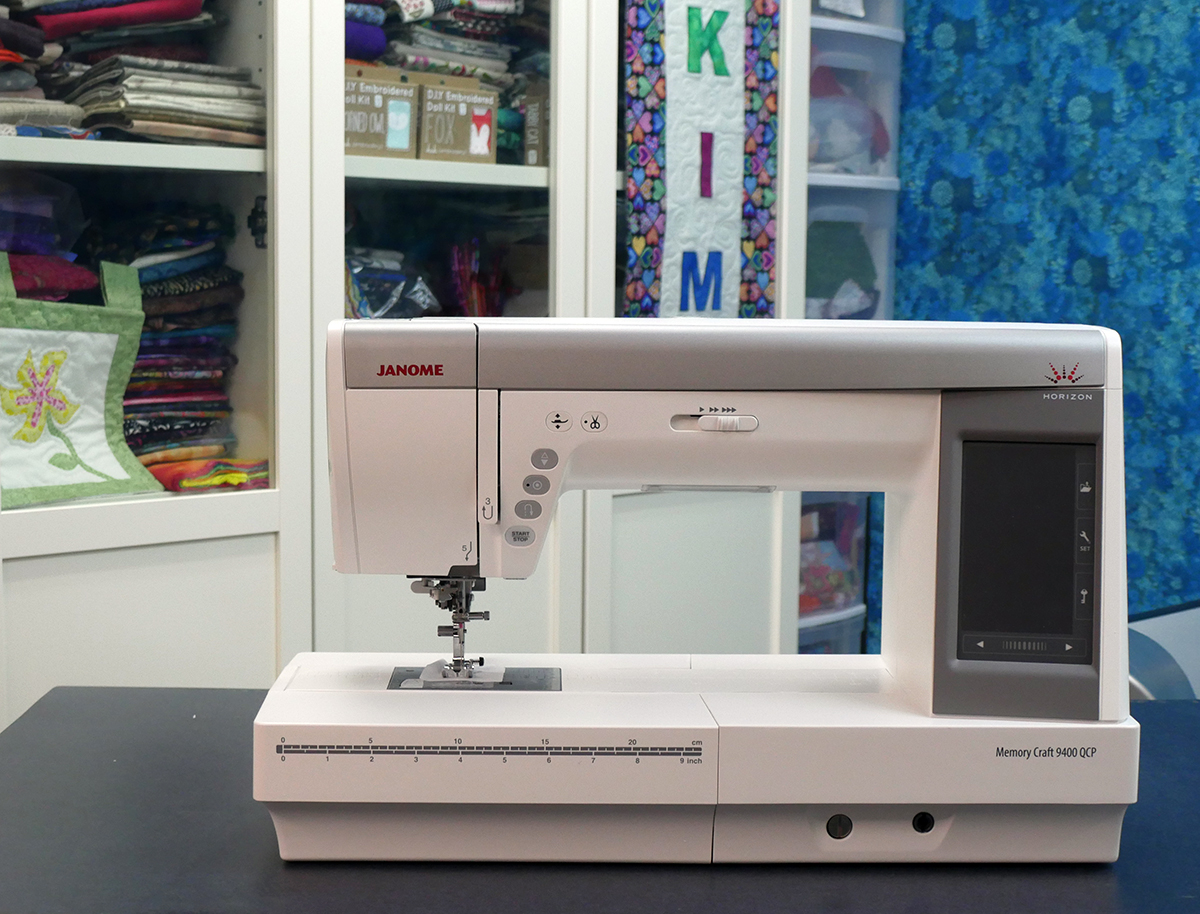
If you’re a quilter, you will want to ensure that the sewing machine is able to form a good straight stitch. This is the most important consideration when you are quilting as this is the stitch that is used the most. There are other options available that will make quilting easier and more enjoyable, such as a needle up/down feature, speed control, and knee lifter, to name a few. If you’re a seamstress, you will want to have decorative stitches, a good buttonhole feature, and a free arm for handling small stitching pieces. If you create pillows and drapes, you’ll want decorative stitches and attachments, such as a ruffler. Determine what your “must haves” are and make a list. This will help to keep you on track when you are actually shopping for your machine.

Photo courtesy of janome.com
Be sure that your “must have” list is your list, not the list of one of your fellow stitchers. Every stitcher will have different items that are “must haves” when they are shopping for a sewing machine. You need to determine what yours are. Don’t be swayed by one of your stitching friends who “must have” a certain feature that you know you won’t really use: stick to what you absolutely have to have in a sewing machine.
3. Decide on your budget.
This is a big one! You must decide how much money you can realistically spend on a sewing machine. You can spend thousands of dollars on a sewing machine, but you don’t need to to get a good machine. Only you will know what is feasible when it comes to what you can afford to spend, so determine what this is and stick to it! You want to be sure that you’ll still be able to buy fabric and notions to use with your sewing machine.
4. Decide if you need to get a brand new sewing machine.
If this is your first sewing machine or if you have a very limited budget, buying a used sewing machine might be ideal for you. Some stitchers buy a new sewing machine when a new model comes out and they have to sell their current machine to afford the new one. This is an opportunity for you to purchase a gently used sewing machine at a very good discount.
5. Do your research.
Before you start going to the sewing machine shop to try out a potential purchase (and yes, you always want to try them out before buying), do some research about the machine online. You can check in groups to see if other sewists have this machine and how they like it and read the machine manual to see its capabilities and features.
6. Narrow your selection.
You may’ve looked at lots of sewing machines online, but now you need to narrow your selection down to about 3 machines. This will save you time when you actually try them out in the store (who has time to test out 15 sewing machines?). Your final potential selections will all have the “must haves” on your list. They will have additional features, of course, but they will all have the “must haves”. These are the machines that you will want to try out at the sewing machine shop.
7. Stitch test drive.
Now you’re ready to actually try stitching with the three models you selected. Be sure to take the type of fabric or material that you will be stitching with your ideal machine. Try out the various features. Determine what attachments come with it and if you’ll have to buy additional ones to do the type of stitching you do. If you do have to buy optional attachments, what is the price range? Don’t be swayed in trying other models that don’t have your “must haves” on them. Refer to your list and make notes about each model. While you might be able to make a decision on that same visit, you can certainly come back another time once you’ve had a chance to review your notes.
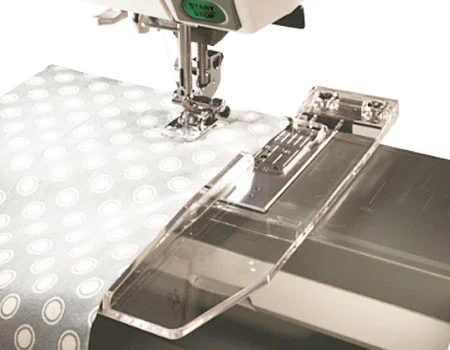
Photo courtesy of janome.com
For more information on shopping for a sewing machine, click on the image below.

Remember: The perfect sewing machine for you is one that fits your needs and falls within your budget.
Do you have any tips on shopping for a new or new-to-you sewing machine? Post them in the Comments below.
Creatively,

P.S. Are you serious about improving your quilting? Do you want to connect with other committed quilters in a supportive, safe environment? If you answered “yes” to these questions, you need to join The Quilter’s Way. The Quilter’s Way is the only quilting membership site that includes both training and an active, supportive online community. Don’t wait another day! Join now. The Quilter’s Way is the only quilting membership site that includes both training and an active, supportive online community. Don’t wait another day! Join now.
P.P.S. Did you know that you can sign up to receive emails full of FREE quilting goodness? Click here to receive FREE content directly in your email inbox every few weeks from Chatterbox Quilts. I know you'll be glad you did!
P.S. I am an Amazon affiliate and, if you purchase items by clicking through the links in this post ,I will receive a small amount of commission. This doesn’t cost you any more $$$, but helps me to continue creating free content for you. Thanks!