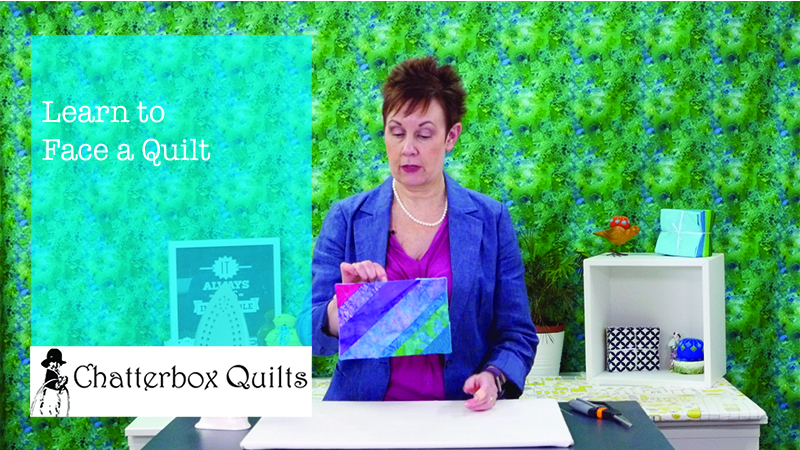
Skip the Binding and Face Your Quilt!
I hate to bind my quilts. If you have been following me for awhile, you’ve probably heard me say this once or twice (at least!). I recently found a method to use facing on a quilt, rather than binding. Robbi Joy Eklow had a blogpost on this and I tried it and have used it on several projects so far with great results.
I’ve found several reasons to love this method of finishing my quilt edges:
it’s also a great way to use up leftover binding strips. The facing strips are 2½”, so leftover binding strips work perfectly.
It’s a great way to use up scrap fabric. The facing strips don’t have to be all the same fabric, so you can use up lots of your scraps using this method. You can even stitch scrap fabric strips together to get the facing strip length that you need.
This method saves time. The facing strips don’t go all the way around the quilt edge, so there is less hand sewing to do. Yes!!
This is the perfect way to finish your quilt edges when you don’t want the “frame” that binding creates.
This method automatically creates hanging corners so you don’t need to add a hanging sleeve.
With so many advantages, I know you’re going to want to try out this technique so let’s find out how to face a quilt.
You’ll need:
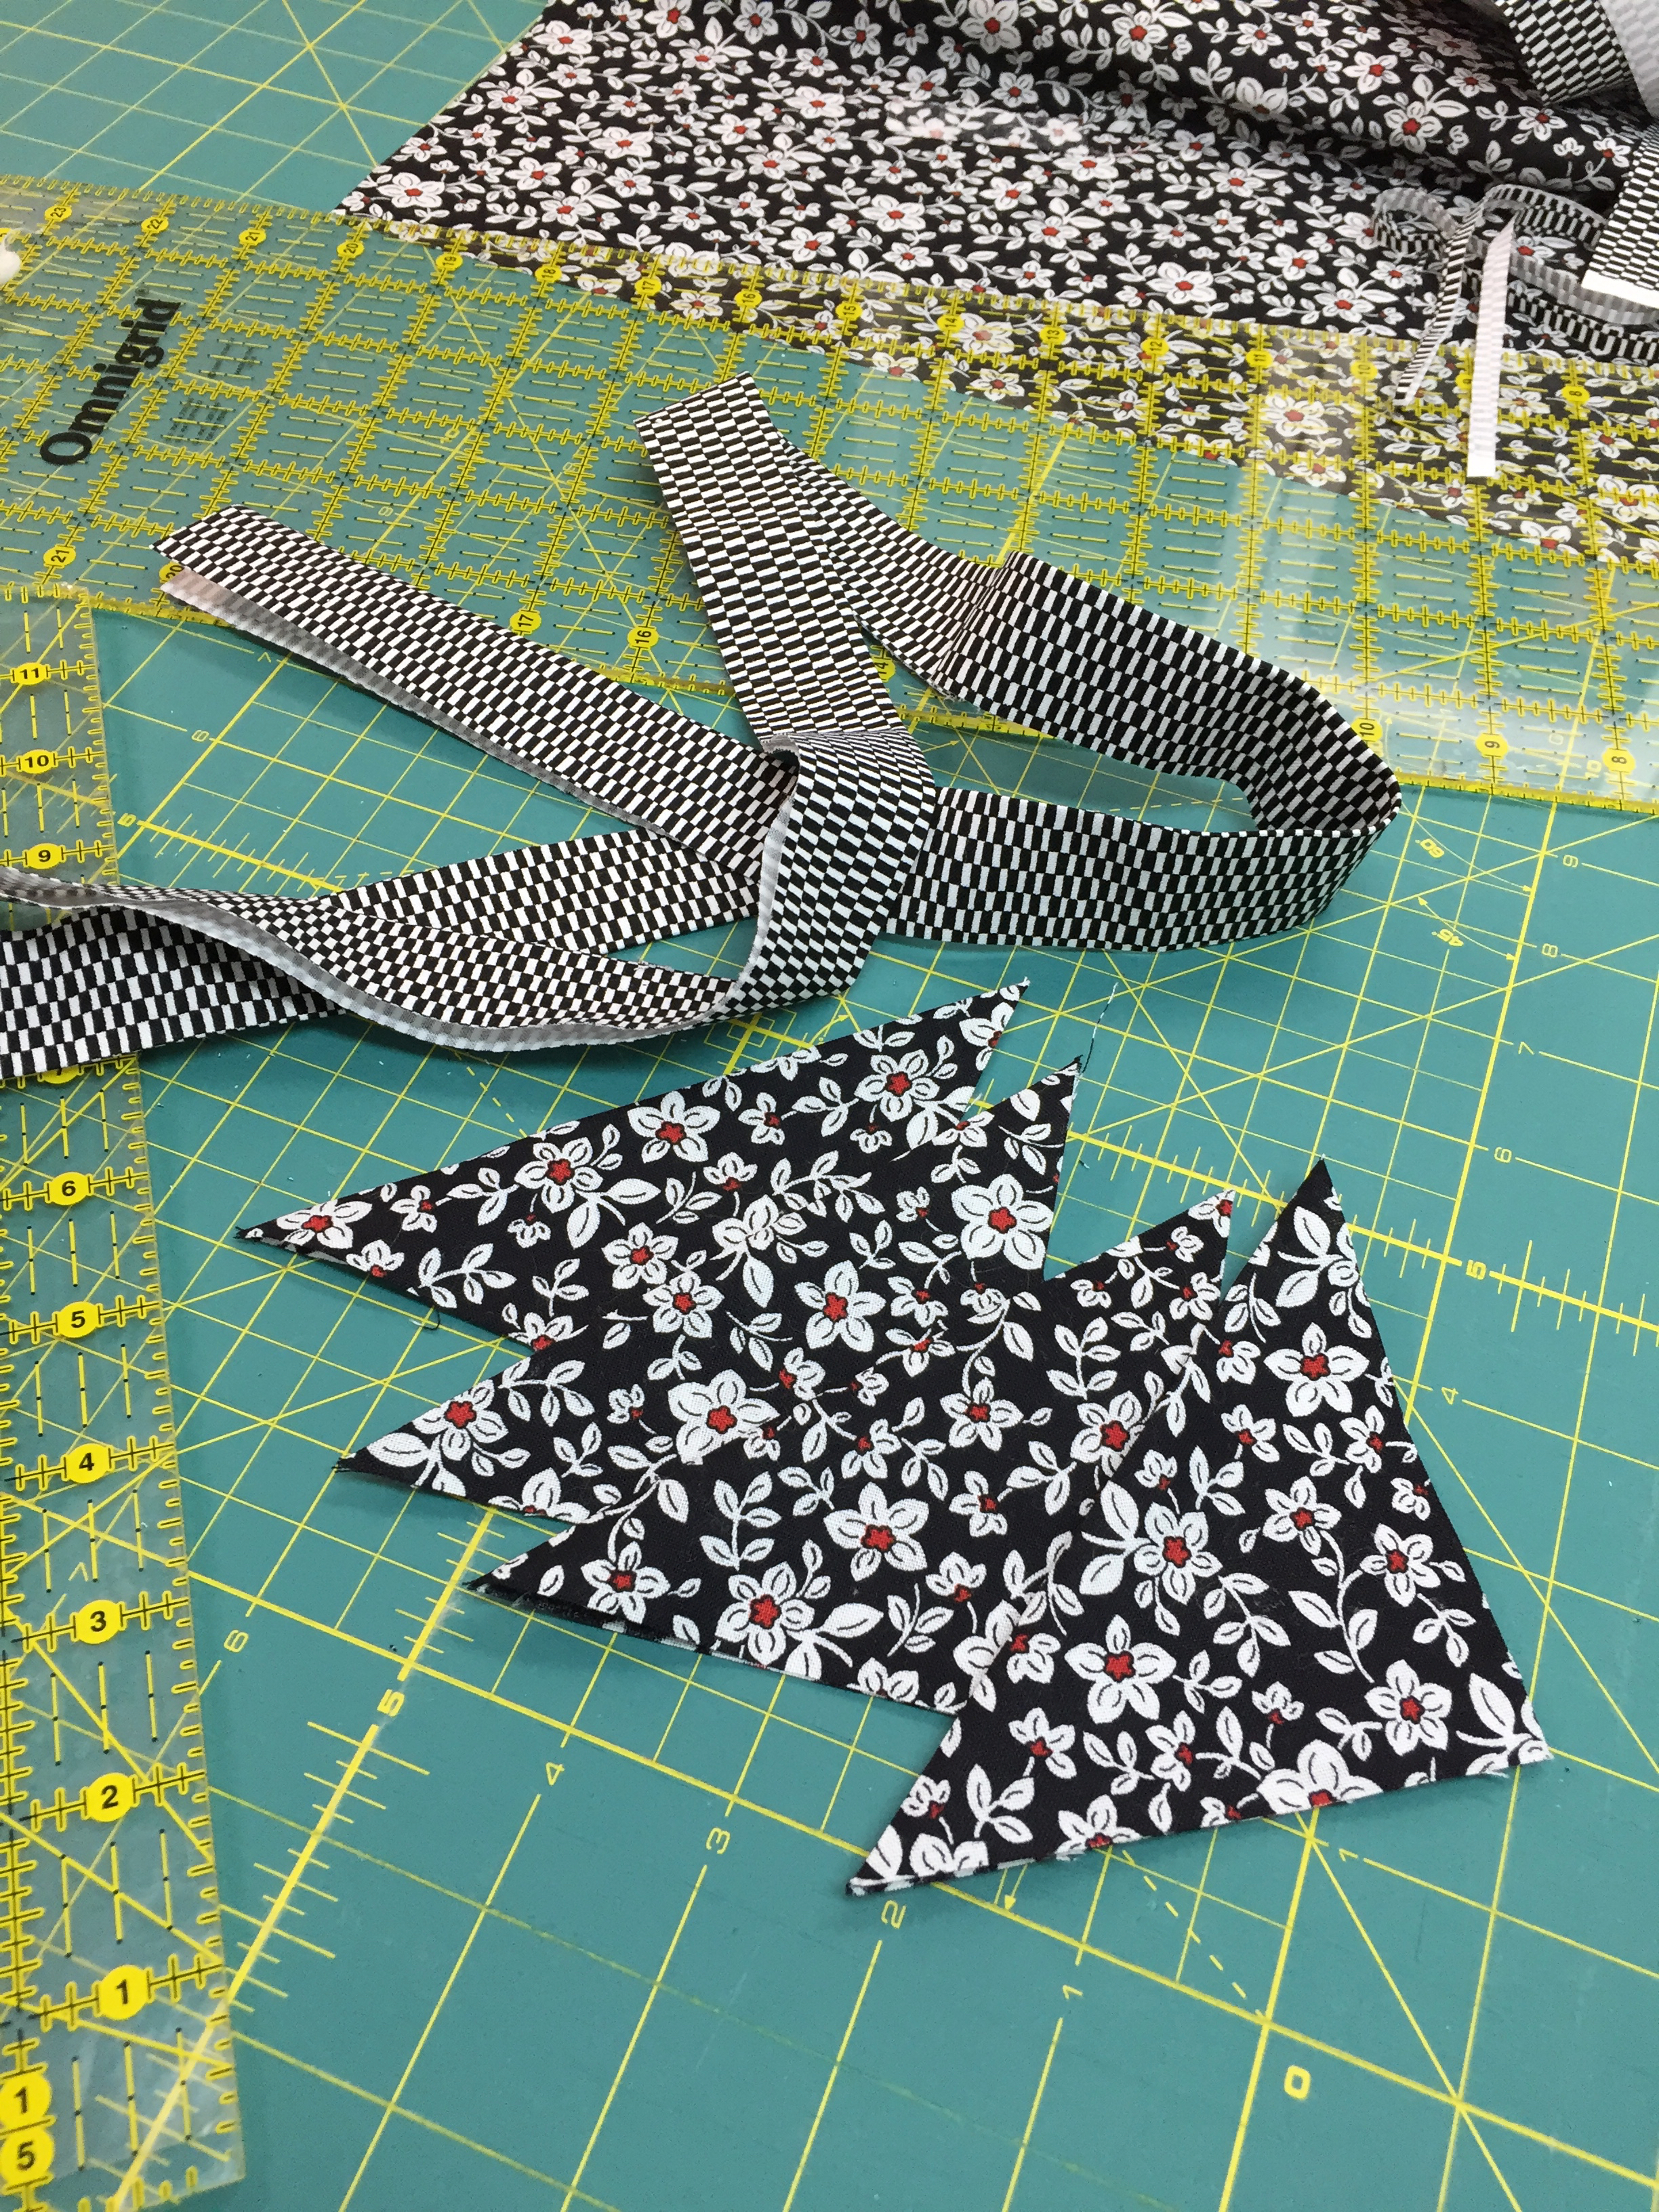
2½” strips of fabric that are the length of each of the project sides, less 2”. You can cut the strips in advance or cut them as you stitch along. The fabric doesn’t have to match for the 4 strips nor does it have to coordinate with the project front as you won’t see the facing. Prepare this fabric as you would for a binding – fold it in half and press.
4 – 3” or 4” squares of fabric for the corners. You might see this fabric a bit on the front, so use the same fabric for all the squares. Fold the squares on the diagonal to form triangles, wrong sides together, and press.
Let’s face our quilt!
At one corner on the top of the quilt, match the raw edges of the folded fabric square with the raw edges of the project. Pin in place. Repeat for the other corners.
Starting on one side of the project, pin a 2 ½” strip about 1” in from the corner on the front of the project. The strip should cover part of the folded fabric square. Start at the quilt’s edge and stitch the facing strip using a ¼” seam. Cut the facing strip about 1” from the corner (if you haven’t already cut it to size), covering part of the next folded fabric square. Continue stitching to the corner. Stop stitching and break thread.

Continue adding the 2½” facing strips on all of the other sides, starting the strip about 1” in from the corner and ending it 1” in from the far corner. Be sure that the 2½” facing strips cover part of the folded fabric squares (now triangles) in each corner.
Once all of the 2½” facing strips have been sewn on, go back to where the stitching crosses each other in the corners and stitch diagonally through this juncture a few times to reinforce the stitching.

Now it’s time to do some ironing. Using steam, press the facing strips out towards the edge of the quilt project. They will be heading over to the back side of the quilt, so be sure to press them well.
To help ease these strips towards the back of the quilt, you can top stitch the facing strips. Stitch a scant ¼” in from the seam line on the facing strips. Moving your needle position over so that you are stitching a scant ¼” inch will help.

Next, trim off the excess fabric towards the corners. There is quite a bit of bulk with this method, so trimming off the corner fabric will help. Starting at the end of one of the facing strips, angle your scissors towards the corner and cut off the fabric, batting, etc. Be sure you don’t clip through that diagonal stitching you did at each corner!

Let’s get those facing strips to the back where they belong! Use your iron and plenty of steam to press the facing strips to the back of the quilt. You can gently pull on the facing strips as you press to help. If some of the quilt top shows on the back, that’s okay. You just don’t want the facing strips to show on the front.
Once you have them all pressed to the back, you can flip the folded fabric squares to the back too. Press out the corners with a blunt object – I like to use That Purple Thang to do this.
You now have a perfectly faced quilt project and the folded fabric squares can be used to hang the project.

The final step is to hand stitch the facing strips to the quilt (yes, there is still some hand stitching to be done with this method), but if you don’t get to this right away, no worries as there aren’t any raw edges that might fray to worry about.
For a step-by-step tutorial on this technique, click the image below.
Click here if you would like to see my favourite quilting tools.
Creatively,

Download the free Get Out of the Ditch! guide to learn how to start free motion quilting by clicking here.
P.S. Are you serious about improving your quilting? Do you want to connect with other committed quilters in a supportive, safe environment? If you answered “yes” to these questions, you need to join The Quilter’s Way. The Quilter’s Way is the only quilting membership site that includes both training and an active, supportive online community. Don’t wait another day! Join now.
P.P.S. Did you know that you can sign up to receive emails full of FREE quilting goodness? Click here to receive FREE content directly in your email inbox every few weeks from Chatterbox Quilts. I know you'll be glad you did!
P.S. I am an Amazon affiliate and, if you purchase items by clicking through the links in this post ,I will receive a small amount of commission. This doesn’t cost you any more $$$, but helps me to continue creating free content for you. Thanks!