It's Here: The Janome 9400 Ruler Foot Upgrade

You’ve been waiting for it and it’s finally here! The Janome Horizon Memory Craft 9400 QCP Accessory Upgrade Kit. What is it and how to I upgrade my machine? Let me tell you!

 
Janome 9400 Upgrade Kit box.jpg
 

The Accessory Upgrade Kit contains a USB that will allow you to upgrade the software in your Janome 9400 to allow you to use the four new feet that are included in the kit. I’m especially excited about one of these feet in particular: the QR foot, which will allow you to use rulers when quilting on your Janome 9400.


Now while you probably want to just start attaching and playing around with those new feet, you need to stop, hide them out of sight, and upgrade the software on your Janome 9400 first.

You will have received a manual with the Accessory Upgrade Kit and the instructions for updating the machine software are on page 5, so turn to that page to start. You’ll also need the USB stick that came in the Accessory Upgrade Kit.


Before you upgrade your Janome 9400, you want to be sure that it needs upgrading! You will need to upgrade it if the software version in your Janome 9400 is 2.0 or a lower number. If it is a higher version (number) than this, you won’t need to install this upgrade.

How can you tell what version of the Janome 9400 you have? It’s easy! Turn on the Janome 9400 and watch in the bottom right-hand corner of the display screen. You will see “Ver.” and a number. My Janome 9400’s version was 1.0, so I knew that I was okay to upgrade it using the USB stick that came in the Accessory Upgrade Kit. This information is only shown for a few seconds, so keep your eyes on the bottom right-hand corner of the display so you’ll see it when you turn on the machine.

Assuming that you need to upgrade to version 2.1, turn off your Janome 9400 and get your USB stick. Remove the cap and insert it into the port on the right side of the machine. Press it in firmly so it is secure. Now comes the magic part!

Press and hold both the Needle Up/Down and the Lockstitch buttons as you turn on the Janome 9400. Hold both of these buttons until the display screen turns to yellow. This should happen quite quickly, so you won’t have cramped fingers!

As the software installs, there will be a colour bar that comes down the display screen, starting with medium blue and then changing briefly to red and then to aqua – it’s almost like playing with the colour wheel! Finally, the screen will return to a solid medium blue colour and will say “FINISH” on it (see the image on the manual page above). This means that the software install was successful.

Turn off your Janome 9400, pull the USB stick out of the machine and put the cap back on it. Now when you turn on your Janome 9400, you should see that it has been updated to “Ver. 2.1”.

That was easy, wasn’t it?!

One more quick thing to do. Get out your original instruction manual that came with your Janome 9400 and turn to page 97 for instructions on how to reset everything to the default state. Press on the Set button (wrench icon) on the display screen and scroll through the options, using the arrows at the bottom of the screen until you come to “Reset All to Defaults” and press “Yes”. You can then choose “OK” to return to the Home screen.

To follow along with me as I upgrade my Janome 9400, click on the image below.

I'll have more information about using the four new feet with the Janome 9400, so be sure that you are subscribed to my blog or my YouTube channel to be notified when these are posted. 

Do you have your Accessory Upgrade Kit yet? Let me know in the Comments below.

Creatively,

Kim's signature small aqua.jpg
 

P.S. Did you know that you can sign up to receive FREE emails full of quilting goodness? Just click here to receive FREE content directly in your email inbox every few weeks from Chatterbox Quilts. I know you'll be glad you did!

Book Review: American Quilt Treasures

American Quilt Treasures by Martingale & Company is a beautiful, hard-bound coffee-table book that you will enjoy reading and return to again and again for inspiration for your own quilt projects. NB: Patterns are not included in this book.

 
American Quilt Treasures.jpg

Photo courtesy of Martingale


These quilts are from the International Quilt Study Center and Museum and include quilts that are over one hundred years old! I was amazed at the complexity and condition of these quilts.

While the fabrics used in these quilts are not ones that I typically use in my own quilt projects, I could still admire the fine workmanship that was in each of these quilts.

While there were many pieced quilts in the book, there are also appliqué quilts included in American Quilt Treasures. I’m partial to appliqué designs, although I’m not a hand appliquér, and there were several quilts that I found especially attractive. I loved the designs and could only imagine how long it must’ve taken to do these hand appliqué and hand quilted projects. Certainly these quilters had more patience than I do!

The photographs in the book show the full quilt and also several detailed photos allowing you to see the fabric choices and stitching and then the overall effective of the quilt. It’s always so amazing to me the difference between the specific up-close details and the effect that is created. Truly fascinating.

 
Image courtesy of Martingale

Image courtesy of Martingale


These quilts provide historical information, showing us what colours and types of fabric were available and what designs were popular at a certain point in time.

Many of these quilts were still so vibrant in colour and modern in nature that they could’ve been made just yesterday. Some of them look similar to the modern quilts that are being created today.

I see American Quilt Treasures as a guide for how to create effective quilts. I found myself analyzing the choice of fabrics, the contrast and play of light and dark fabrics, and even the blocks or appliqués that the quilt maker chose. Lots to learn from this book.

Click on the image below to watch a video on my YouTube channel that provides more information.

Get your own copy of American Quilt Treasures by clicking here.

Creatively,

Kim's signature small aqua.jpg
 

P.S. Did you know that you can sign up to receive FREE emails full of quilting goodness? Just click here to receive FREE content directly in your email inbox every few weeks from Chatterbox Quilts. I know you'll be glad you did!

P.P.S. I am an Amazon affiliate and will receive a small amount of compensation if you purchase a product by clicking through links in this blogpost. This allows me to continue to provide you with FREE content each week. Thank you.

10 Favourite Easter Projects

We've had so much snow in Calgary this winter that it's hard to believe that it is almost Easter. While I feel that I should still be stitching up snowmen, I think it's time to start thinking about flowers, bunnies and Easter eggs.

I've found 10 cute Easter designs that I think you will enjoy - and you still have time to create them. Here are a few of my favourites:

1. 10 Free Bunny Sewing Patterns

What would Easter be without bunnies? Diy-crush has curated lots of sweet bunny patterns for you to stitch up. 

 
From diy-crush.com

From diy-crush.com


2.  Hippity Hoppity Easter Mini Quilt

More bunnies, but this time in a pieced wall hanging. Hippity Hoppity Easter Mini Quilt is from Nadra of Ellis & Higgs. I think you could have lots of fun choosing fabrics for these bunnies and I might be tempted to add a fluffy tail to them too!

 
Hippity Hoppity Easter Mini Quilt from Ellis & Higgs

Hippity Hoppity Easter Mini Quilt from Ellis & Higgs


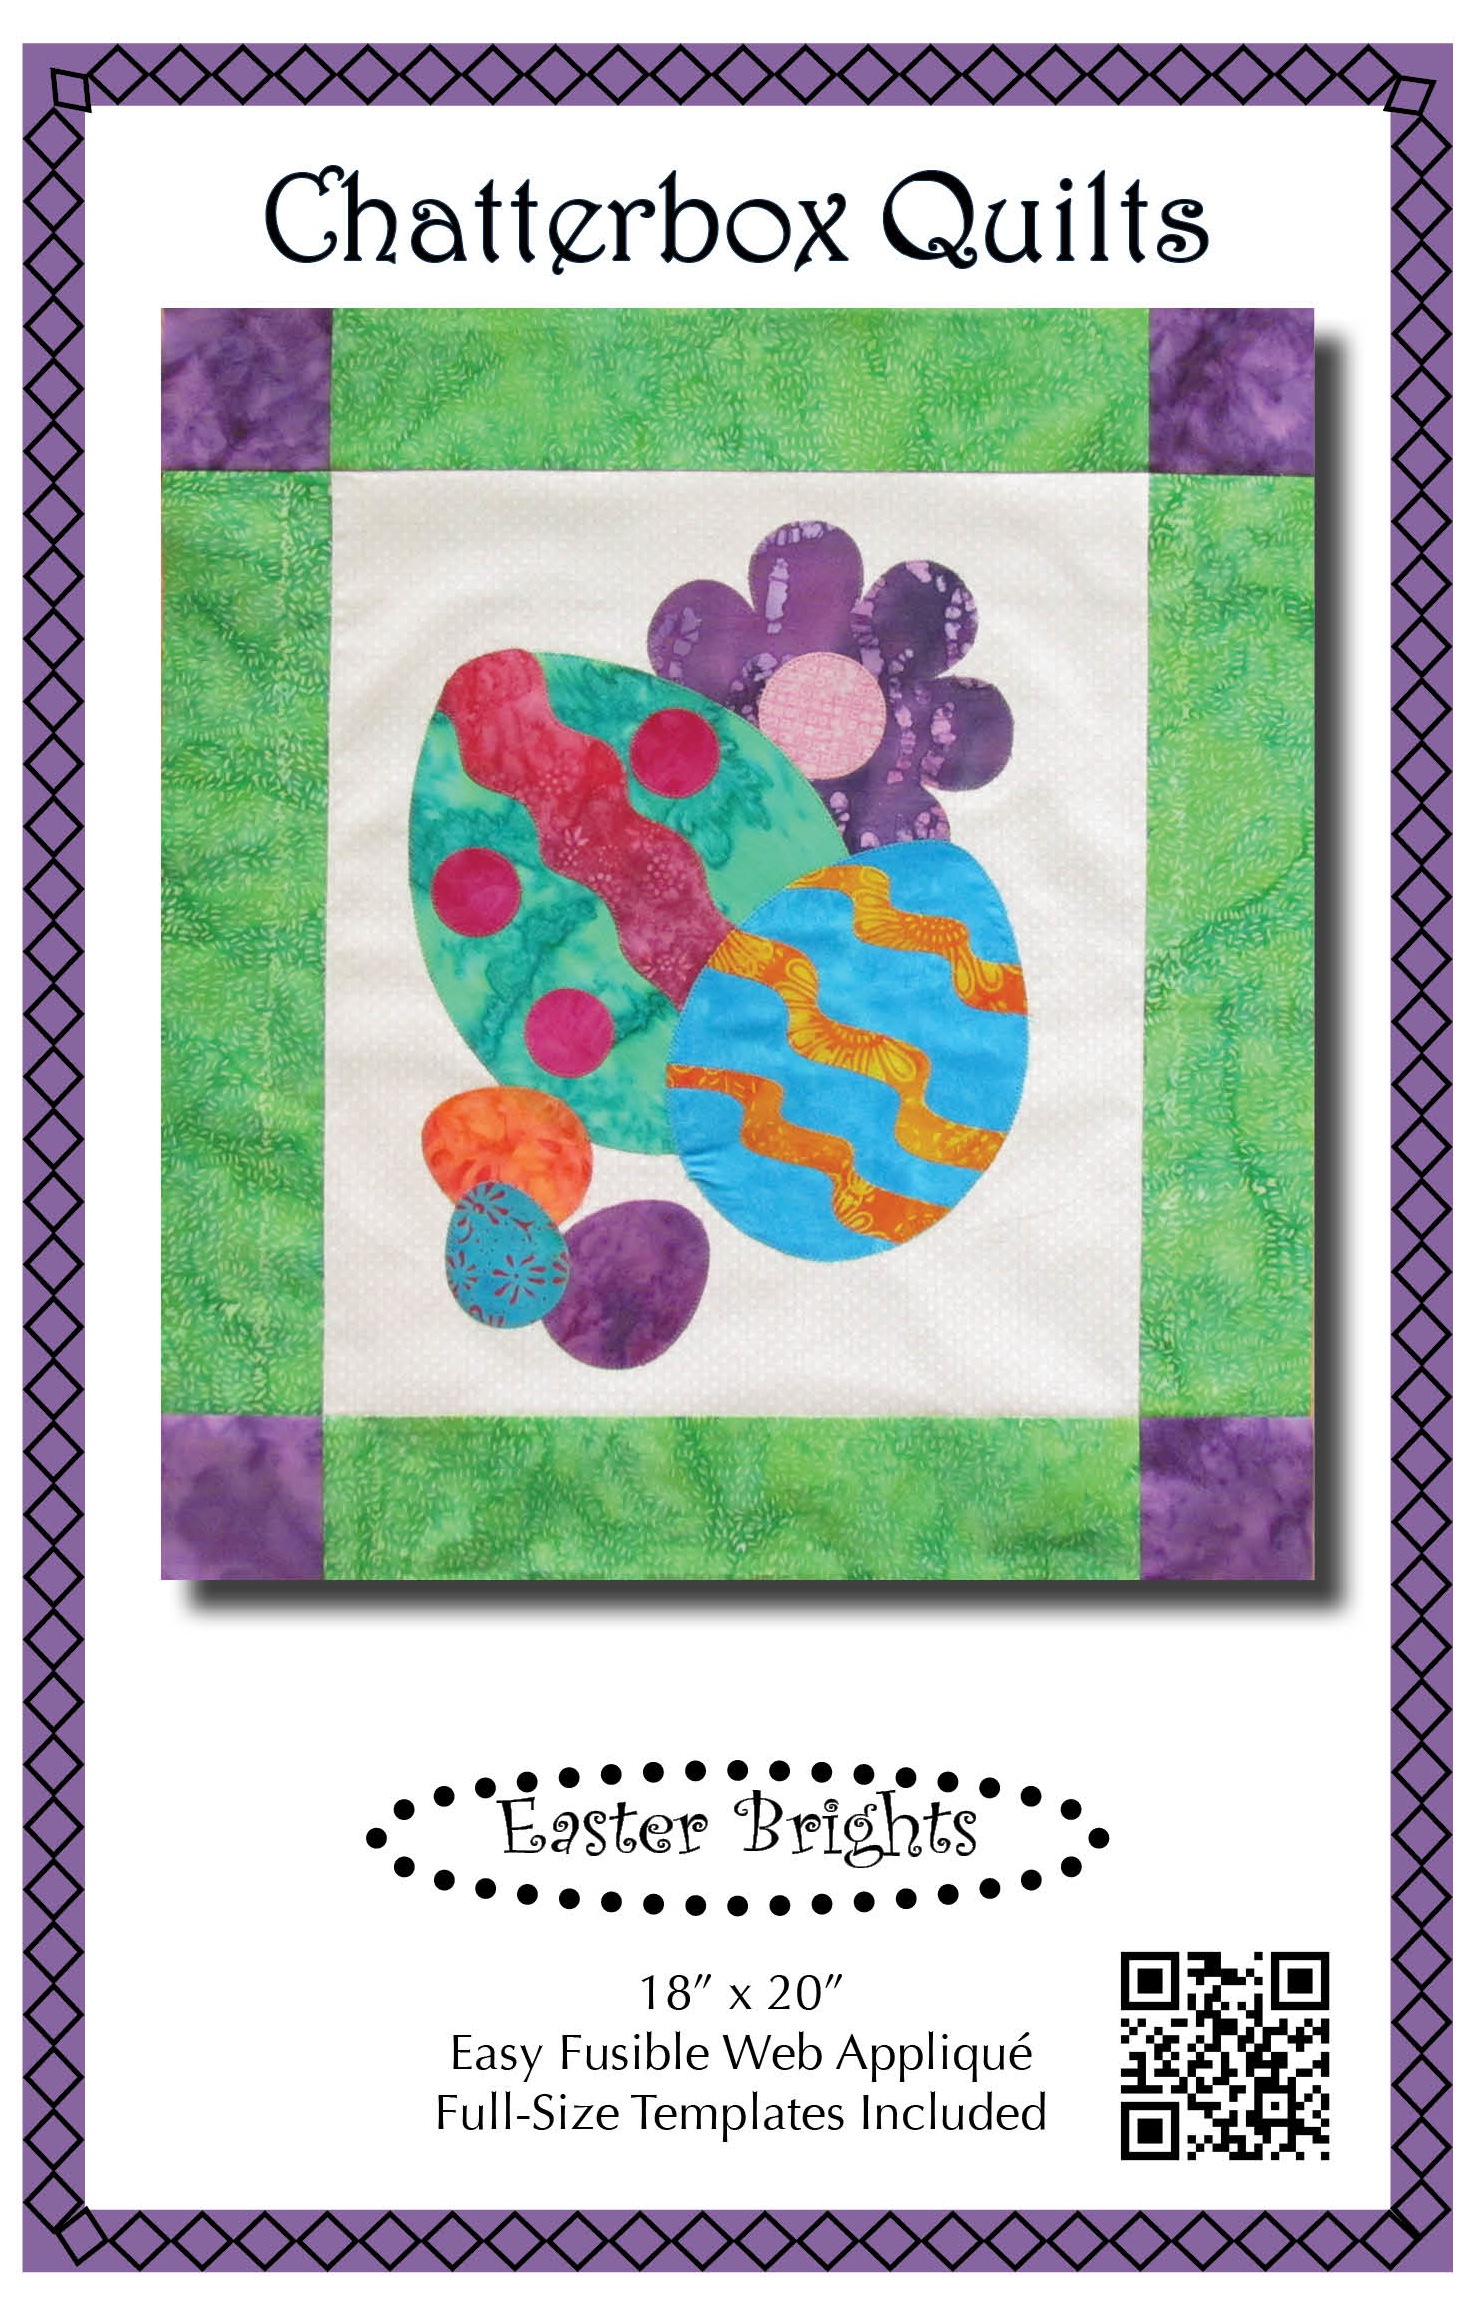
3. Easter Brights

If you're wondering where the Easter eggs are hiding, you'll find some of them in Easter Brights from Chatterbox Quilts. 

 
Easter Brights from Chatterbox Quilts

Easter Brights from Chatterbox Quilts


4. Fancy Felt Egg

If you want to do a small felt project embellished with hand embroidery stitches, check out the Fancy Felt Egg from Wendi Gratz at Shiny Happy World. 

 
Fancy Felt Egg from Happy Shiny World

Fancy Felt Egg from Happy Shiny World


5. EggIE Softies

If you have little ones in your house, they'll love the EggIE softies. Fun for them and a great way to use up your fabric scraps and trims. 

 
EggIE Softies from Fiona Carter

EggIE Softies from Fiona Carter


6. Easter Bunny Pillow

Now that it's warming up (everywhere but Calgary!), you won't be needing your warm winter sweaters. Recycle your worn ones into this Easter Bunny pillow from Better Homes & Gardens.

 
Easter Bunny Pillow from Better Homes & Gardens

Easter Bunny Pillow from Better Homes & Gardens


7. Easter Table Runner

Here's a super cute table runner to make and it will be quilted up quickly as it uses the quilt as you go technique. Check out the Easter Table Runner from Patchwork Posse

 
Easter Table Runner from Patchwork Posse

Easter Table Runner from Patchwork Posse


8. Quilted Carrot Table Runner

I'm sure all these bunnies must be getting hungry! I've got just the solution: the Quilted Carrot Table Runner from Better Homes & Gardens.

 
Quilted Carrot Table Runner from Better Homes & Gardens

Quilted Carrot Table Runner from Better Homes & Gardens


9. Easter Treats

We've got the bunnies, the eggs, the carrots and even some flowers, but I'm missing the best part of Easter: chocolate! Easter Treats by Chatterbox Quilts includes a chocolate bunny between spring blooms. 

 
Easter Treats by Chatterbox Quilts

Easter Treats by Chatterbox Quilts


10. Decorating Easter Eggs with Lori Kennedy

In case you need some help quilting some of these projects, Lori Kennedy of The Inbox Jaunt has a wonderful tutorial on Easter egg free motion quilting. 


I'll be on Spring Break next week, so I'll be back with you in two weeks. I hope you have a wonderful (and warmer than Calgary) Easter. 

Creatively,

Kim's signature small aqua.jpg
 

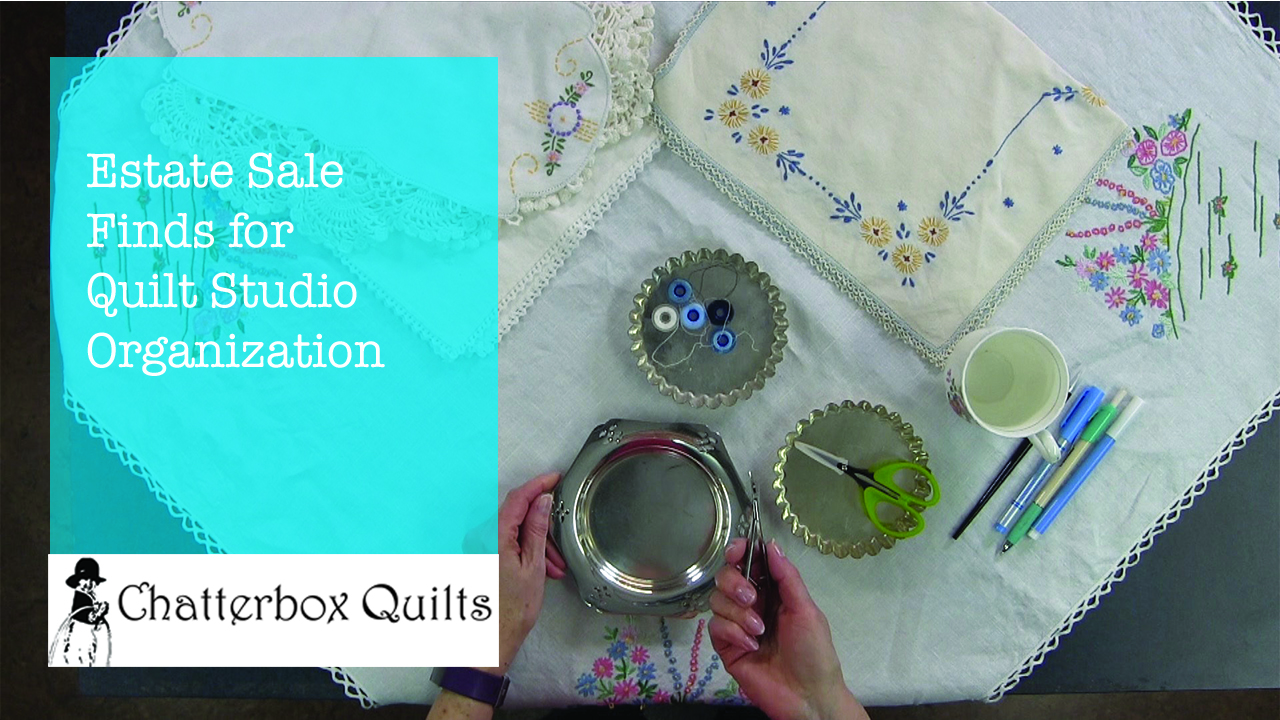
How to Use Estate Sale Finds in Your Quilt Studio

I love going to estate sales and that's where I find vintage linens and where I've also picked up some of my vintage sewing machines. There are always a lot of cute trinkets and smaller kitchen items that can be helpful in the quilt studio.

I have a hard time saying no to anything cute, but I really need to think about what I'm going to do with these items if I do buy them. Thank goodness I've found a way to incorporate them in my quilt studio (and can thereby justify my purchases to my hubby).

I share my quilt studio with my two cats, Teeka and Victor, and this means that things have to be "cat proof" or unbreakable. This pretty much rules out lovely china dishes, but there are lots of silver-plated items at estate sales, so I'm usually able to find something that would be useful.

To see what types of items I buy at estate sales with the intention of putting them to use in my quilt studio, you can watch the video below or on my YouTube channel.

Do you repurpose vintage items that you buy to use in your quilt studio? Leave a comment below to let me know what types of items you use to help organize your quilt studio.

Creatively,


Kim's signature small aqua.jpg
 

P.S. Did you know that you can sign up to receive FREE emails full of quilting goodness? Just click here to receive FREE content directly in your email inbox every few weeks from Chatterbox Quilts. I know you'll be glad you did!

Will it Fit my Sewing Machine? How to Choose Sewing Machine Accessories

There are many accessories available for sewing machines but it can be quite confusing to determine if an accessory will fit on your specific sewing machine. I use a Janome Horizon Memory Craft 9400 QCP and while it comes with a large assortment of presser feet and accessories, there are many more available for it. How do you determine if an accessory will fit this machine?

First, you need to determine if your sewing machine is a high shank or low shank machine as most machines are one or the other. You can usually find this information in your sewing machine manual. The Janome 9400 is a high shank machine, so I won’t be looking at low shank accessories. This will eliminate some presser feet right away.

Next I would be checking to see if the foot fits a 9mm machine or one that is a different size. This refers to the maximum width of stitch that a sewing machine can stitch. Again, the Janome 9400 is a 9mm machine, so I’m looking for attachments that will fit this machine. If I choose a presser foot that is for a 5mm machine and have my decorative stitch set for 9mm wide, well, it just won’t be a good combination and I suspect that there will be an unpleasant sound associated when I try to stitch with it. Not good!


Your next resource is the packaging on a presser foot or accessory as it will usually give you some indication of which sewing machine the accessory will fit. Keep in mind that the packaging may not include recently issue sewing machine models, but your sewing machine retailer should be able to help you with this. It’s always a good idea to keep the packaging as it may include information on how to use the attachment – information you will definitely need when you go to use it!

 
Janome circular sewing attachment.png
 

The first time that you are using a new presser foot or accessory, use your hand wheel to be sure that the needle doesn’t hit the foot when you start to use it. You may be able to adjust your needle position if there is an issue.

Click on the image below to watch a video on my YouTube channel that provides more information on choosing the right accessory for your sewing machine.

Creatively,

Kim's signature small aqua.jpg
 

P.S. Did you know that you can sign up to receive FREE emails full of quilting goodness? Just click here to receive FREE content directly in your email inbox every few weeks from Chatterbox Quilts. I know you'll be glad you did!