

Every quilter needs to know how to quilt their quilt. Whether they prefer free motion or walking foot quilting, they need to know what threads and needles to use when quilting.
Chatterbox Quilts’ Blog
Helping Quilters Learn and Improve
Every quilter needs to know how to quilt their quilt. Whether they prefer free motion or walking foot quilting, they need to know what threads and needles to use when quilting.
Here are 5 quick quilt tips that can save you time and frustration:
1. Having problems threading your sewing machine? First, check your manual to be sure that you are following the exact threading path - it's easy to miss out on one and it makes a HUGE difference! Pay special attention to whether your presser foot should be up or down when threading the machine - machines do vary on this, so again, refer to your manual. If your sewing machine doesn't have an automatic needle threader, it can be hard to see the hole in the needle. To make it easier to see the needle hole, hold a coloured piece of paper behind the needle. This should make it just a bit easier.
2. While your walking foot is great for walking foot quilting, I like to use it when stitching on borders or other long strips of fabric. It helps to prevent that "fabric slide" that can happen when the top fabric is getting pushed along at a quicker rate than the bottom fabric resulting in an overlap at the end.

3. Do you ever make mistakes and cut the wrong width when cutting fabric strips? When you are cutting multiple strips, put painter's tape or washi tape on the back of your ruler at the desired measurement. It's much easier to cut the right width of strips when there is a mark to show you where to cut!
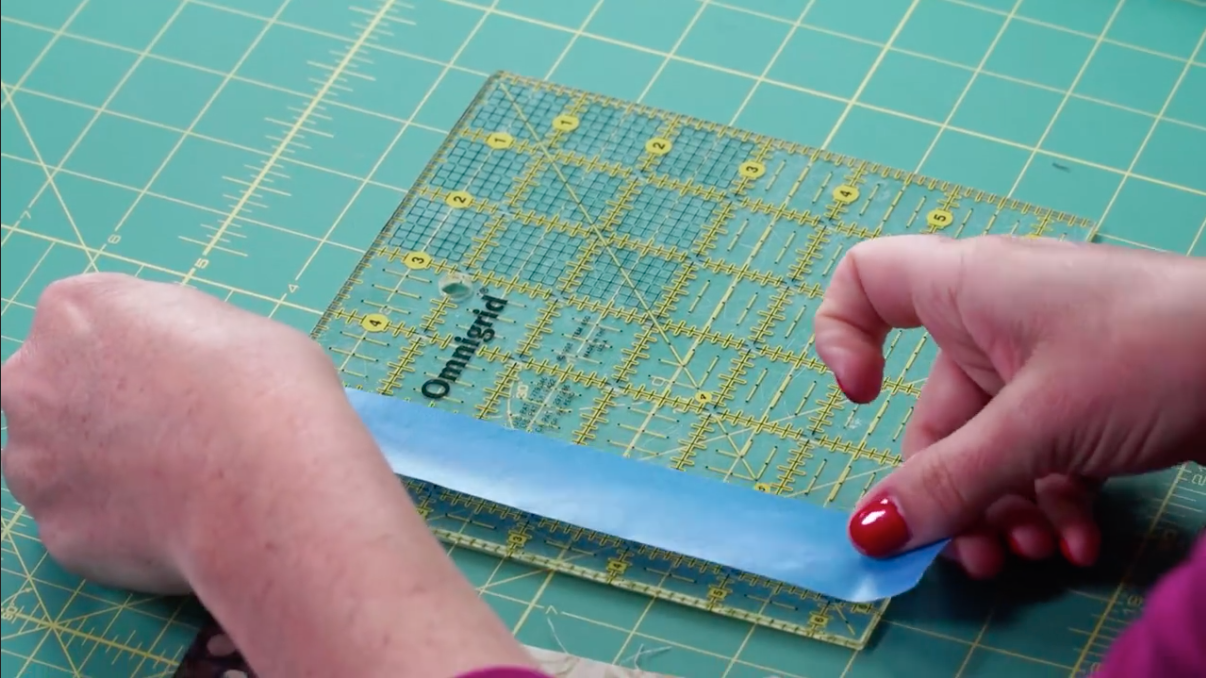
Image courtesy of craftsy.com
4. Your mobile phone can be one of your best quilting tools! If you are trying out different block arrangements in a quilt, it can be hard to remember which variation you preferred. To help with this, I take photos with my phone and can then later compare the various layouts to choose the one I like the most. This method also makes it easy to share these photos in the Chatterbox Quilts' Facebook group to ask for other members' opinions - always helpful! I also use my phone to determine which fabric is darker or to tell if there is enough contrast between fabrics by taking black and white photos of the fabrics with my iPhone.

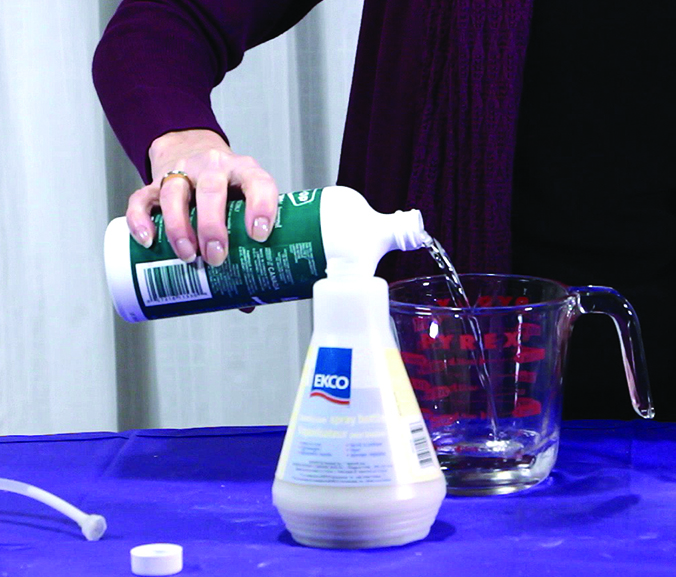
5. Do you want to save time and avoid hurt fingers? Use the Multi-Purpose Quilt Spray to sandwich your quilts. Not yet using this method? Click here to get the FREE recipe and instructions. You'll love it - and your fingers will thank you :)
You may be interested in the guide “Time Saving Tips for Quilters” where I have compiled a list of time saving tips. Click here is you want more information.
Creatively,

When you first start quilting, you can quickly be overwhelmed by the notions and accessories that you "need" to quilt. Kim shows you what essentials you actually need to have in your tool kit when you first start quilting.
While you may add more items to your quilt studio as you progress in your quilting journey, you really need the following items to start:
A rotary cutter
A cutting mat (or self-healing mat)
A quilting ruler
An iron
A pressing surface (tutorial on making a pressing surface is below)
Pins
Seam ripper (yes, you will use this a time or two!)
Fabric
Batting
Multi-Purpose Quilt Spray (recipe and information below)
Sewing Machine with 1/4" foot, walking foot and free motion or darning foot
To learn more, click on the image below.

What are the essentials that you think a beginning quilter needs? Let me know in the comments below.
Creatively,

P.S. Did you know that you can sign up to receive emails full of FREE quilting goodness? Click here to receive FREE content directly in your email inbox every few weeks from Chatterbox Quilts. I know you'll be glad you did!
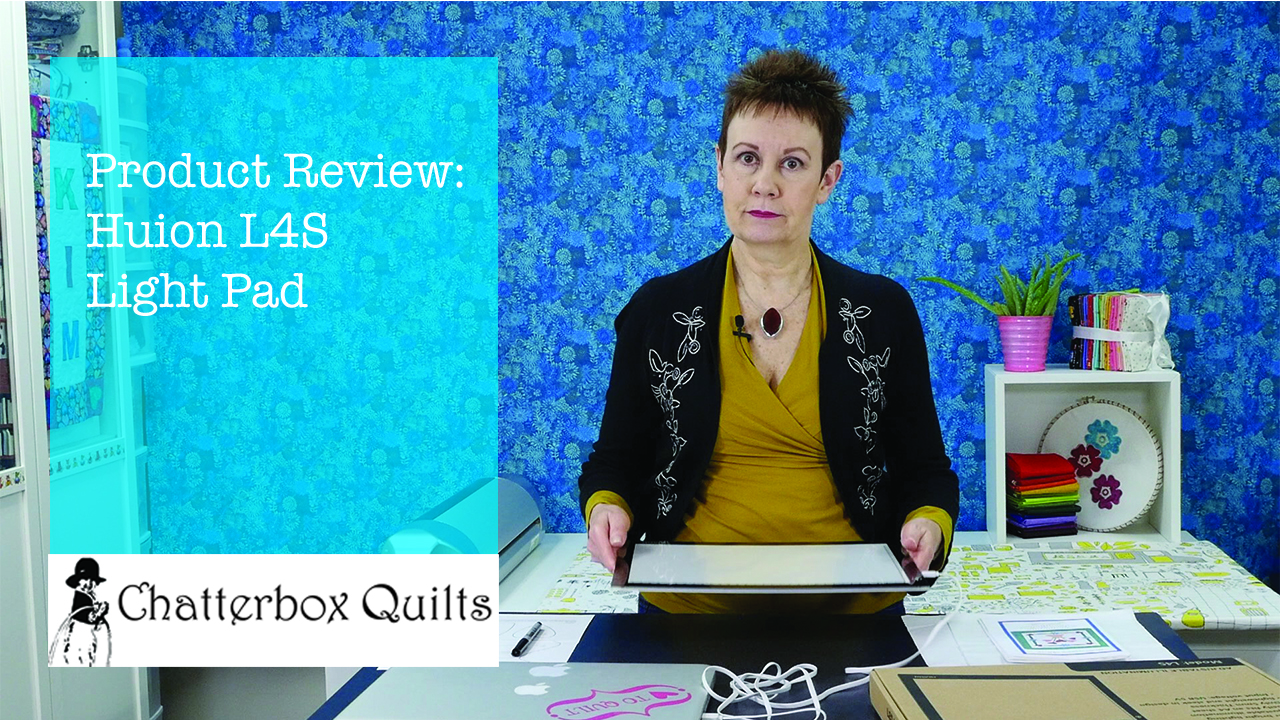
After years of tracing appliqué designs onto fusible web without the aid of a light table, I finally gave in and purchased a light pad to make it easier to do this. While I’ve been using a window, when required, this doesn’t work very well at night, so I thought that having a light pad would be a big help.
I hadn’t looked at light tables or pads for several years and was pleasantly surprised to find that there have been big improvements in this area. Previously light tables were thick and bulky and were rather pricey. In searching for a light pad, I discovered that there are now a variety of choices in different price points making it easy for you to find exactly the size you want at a price with which you can be comfortable.
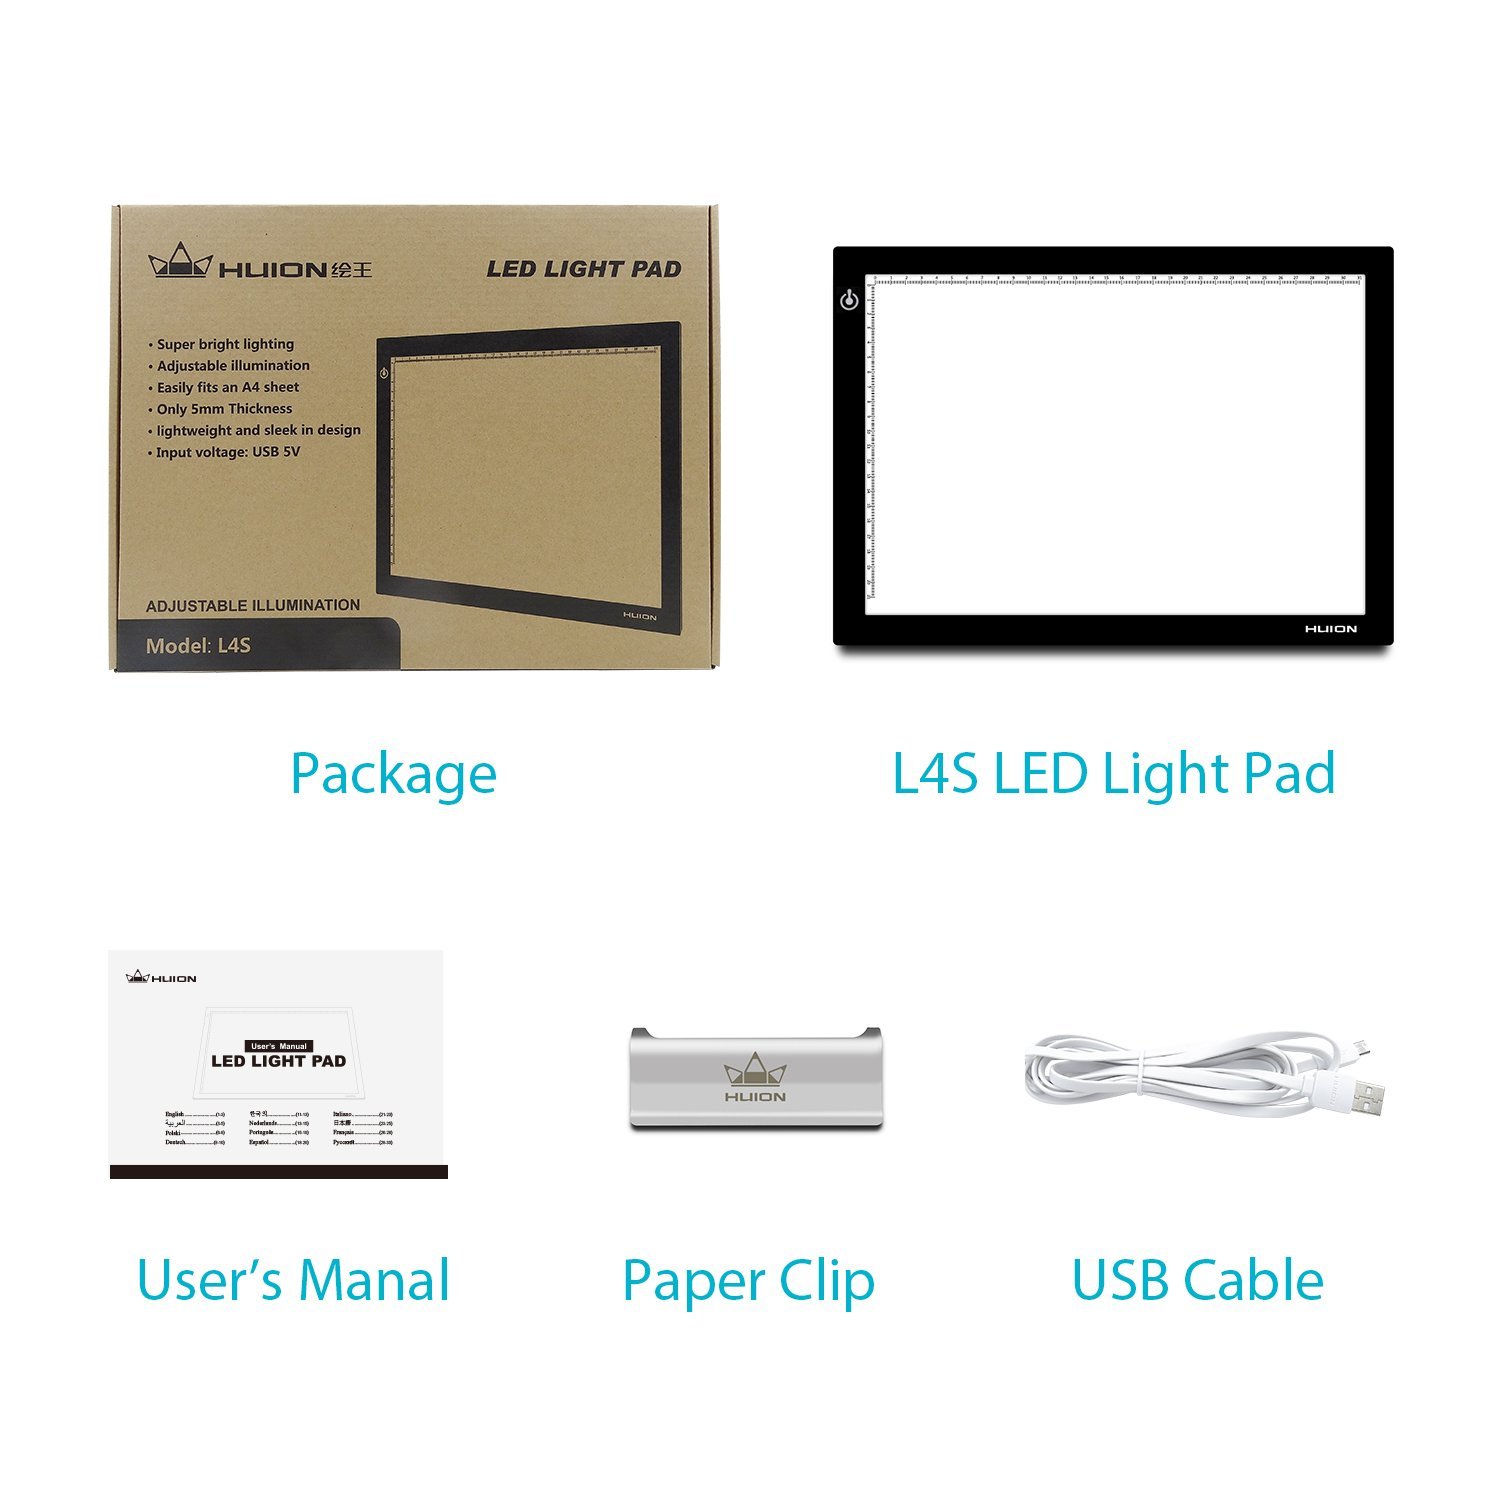
Image courtesy of www.amazon.com
I chose the Huion L4S light pad due to the price point and the size. While I do have to plug it into the USB port on my laptop to use it (I could’ve bought a battery option, which was quite a bit more expensive), I don’t find that this is an inconvenience.

Image courtesy of www.amazon.com
Once I’ve plugged it into my laptop, I press the button to turn it on and hold my finger there until it reaches the desired brightness. The nice feature of this light pad is that the light on it is dimmable. By simply keeping my finger on the on/off button, the light on it will dim. A nice feature to have! The Huion L4S light pad is also surprisingly lightweight and thin. This makes it easy to transport and store as well.

Image courtesy of www.amazon.com
I found that the light on the Huion L4S was bright enough, not only for me to trace through fusible web, but also to trace on freezer paper. I hadn’t expected that and was pleasantly surprised by this ability.
I’m happy with this purchase and look forward to putting it to use on my next fusible web appliqué project. If you are considering purchasing a light table, I can definitely recommend the Huion L4S light pad.
To see more features of the Huion L4S light pad, click on the image below to watch a video on my YouTube channel.
Creatively,

P.S. Did you know that you can sign up to receive FREE emails full of quilting goodness? Just click here to receive FREE content directly in your email inbox every few weeks from Chatterbox Quilts. I know you'll be glad you did!
P.P.S. I am an Amazon affiliate and will receive a small amount of compensation if your purchase a product by clicking through links in this blogpost. This allows me to continue to provide you with FREE content each week. Thank you.
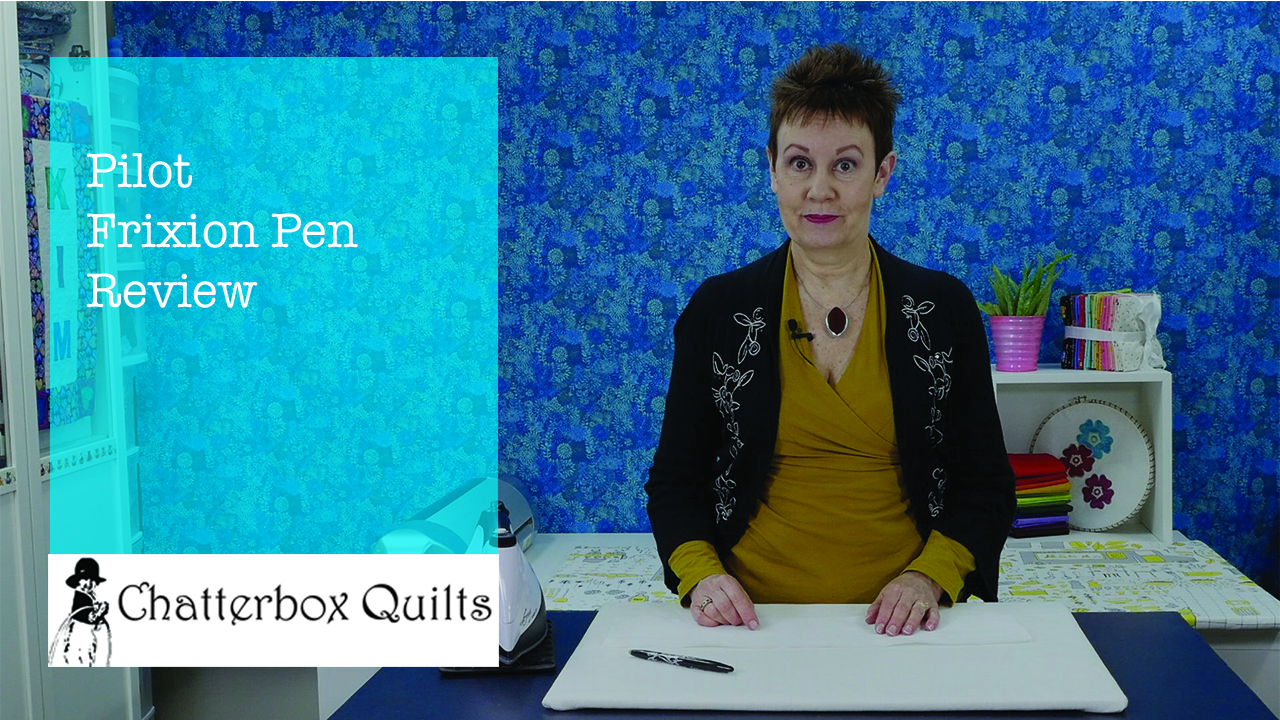
Looking for the perfect pen to use on tracing appliqué or embroidery designs on fabric? Well, the truth is that there isn’t one perfect pen: there are air erasable, water erasable, chalk, etc. and each of them have their pros and cons. My favourite temporary marking pen to use is the Pilot Frixion pen. It creates an easy to see mark that can be erased later by the heat of an iron.
There is one possible problem: there are rumours that the marks might come back when exposed to cold. To see if this was true, I decided to put the Pilot Frixion pen to the test.
I could easily remove the marks made by the Frixion pen with my iron as the ink is removed with heat. Remember, these pens were originally designed to be used on paper and not for fabric (don’t use a Frixion pen to write a cheque!). While the marks came off easily using an iron, I wanted to see if they would come back when exposed to extreme cold.
After tracing a few designs onto cotton fabric, I put the sample in my freezer and left it overnight. I thought that this would probably be the coldest that my fabric might ever get – and hopefully it never gets this cold in my studio! The marks did come back on the fabric, but I could still easily remove them again with the heat of an iron.
There can be similar issues with other types of temporary fabric marking pens, so always be sure to do a test before you use a product on your fabric and find out that the marks come back and can’t be erased again.
To learn more about using Pilot Frixion pens on your fabric projects, click on the image below to watch a video on my YouTube channel.
If you haven’t tried out the Pilot Frixion pen, I would encourage you to do so. They are inexpensive and readily available in most office supply stores or you can click here to get some for your studio.
Creatively,

P.S. Did you know that you can sign up to receive FREE emails full of quilting goodness? Just click here to receive FREE content directly in your email inbox every few weeks from Chatterbox Quilts. I know you'll be glad you did!
P.P.S. I am an Amazon affiliate and will receive a small amount of compensation if your purchase a product by clicking through links in this blogpost. This allows me to continue to provide you with FREE content each week. Thank you.