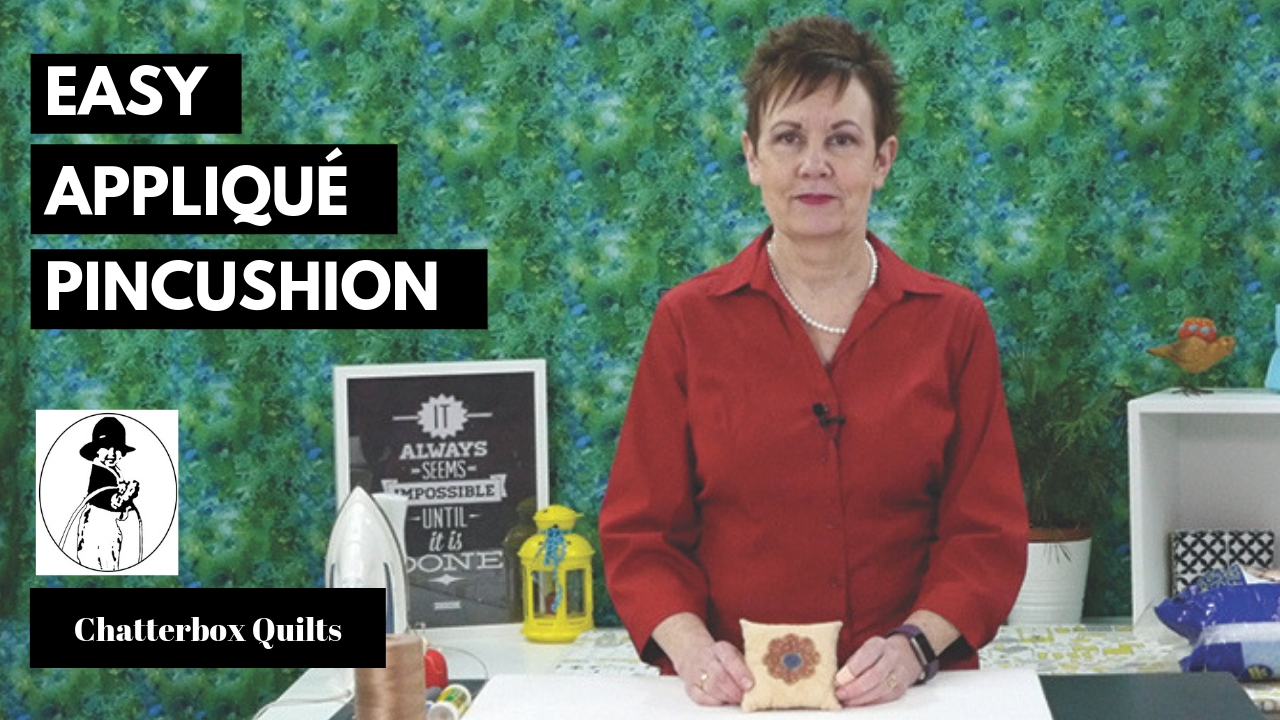
Easy Appliqué Pincushion Tutorial
If you’ve never made a pincushion before, you’ll want to keep reading. This project is great for using up scrap fabrics and for dipping your toes into fusible web appliqué. It doesn’t take long to make at all, so it’s a perfect “gotta have it done in an hour” gift.

If you have never tried this easy form of appliqué and want complete instructions on how to do it, you’ll definitely want to check out my course, Fusible Web Appliqué Essentials. It goes step-by-step through the whole process of making a fusible web appliqué project. (Or join The Quilter’s Way where this course is included free with your membership).
Now back to the pincushion project. Here’s what you’ll need:
Two charm squares – one for the top and one for the backing
An appliqué shape that is backed with fusible web or you can use a glue stick to adhere it to the top
Perle cotton or similar heavy thread and a long, thick needle
Polyester fill or similar filling
Usual sewing supplies

Once you’ve assembled all your materials, starch the two charm squares so they are stiff. This makes them easier to work with.

Fuse or glue the appliqué to the top charm square. Finish the appliqué edges by stitching with your chosen stitch. I like to use a narrow zigzag.
Note: You might need a fabric stabilizer underneath the fabric, depending on the denseness of the stitch you have selected.
Place the top and back charm squares right sides together and stitch around them with a ¼” seam, leaving an opening on one side to turn. Clip the corners and turn it right side out, poking out the corners (I like to use That Purple Thang to do this).
Stuff with Polyfil or similar stuffing until very firm. Hand stitch the opening closed.

If you like the look of your pincushion just as it is, you can stop here, but if you want to give it a bit more definition, read on.
To give it a pincushion shape, I like to stitch through the centre of the pincushion and out the back several ties, pulling the thread taut each time. Use two lengths of perle cotton for this (a regular weight thread might break - ask me how I know!). Knot the thread and starting on the back, push the needle through to the top. Take a small stitch and then go back down to the back, pulling the thread taut. You could add a button on top while doing this if you wished. Do this 3 times and then knot the thread in the back.
Your pincushion is now done!
For a complete step-by-step tutorial on creating this pincushion, click on the image below.
Have you ever made a pincushion before? Share your ideas and experiences in the Comments below.
Creatively,

P.S. Are you serious about improving your quilting? Do you want to connect with other committed quilters in a supportive, safe environment? If you answered “yes” to these questions, you need to join The Quilter’s Way. The Quilter’s Way is the only quilting membership site that includes both training and an active, supportive online community. Don’t wait another day! Join now.
P.P.S. Did you know that you can sign up to receive emails full of FREE quilting goodness? Click here to receive FREE content directly in your email inbox every few weeks from Chatterbox Quilts. I know you'll be glad you did!
P.S. I am an Amazon affiliate and, if you purchase items by clicking through the links in this post ,I will receive a small amount of commission. This doesn’t cost you any more $$$, but helps me to continue creating free content for you. Thanks!