
CHATTERBOX QUILTS’ BLOG
Helping Quilters Learn and Improve

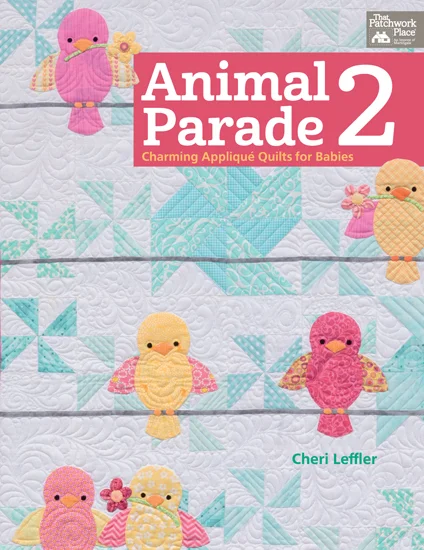
Telecast Thursday - Book Review: Animal Parade 2 by Cheri Leffler
It's Telecast Thursday. Today I'm taking a look at Animal Parade 2: Charming Appliqué Quilts for Babies by Cheri Leffler.
From Animal Parade 2 by Cheri Leffler, Martingale, 2015; used by permission. Photography by Brent Kane. All rights reserved.
This is an appliqué book full of delightful designs for baby quilts. I'm a sucker for cute animal appliqués and this book has ten projects featuring a variety of sweet animals.
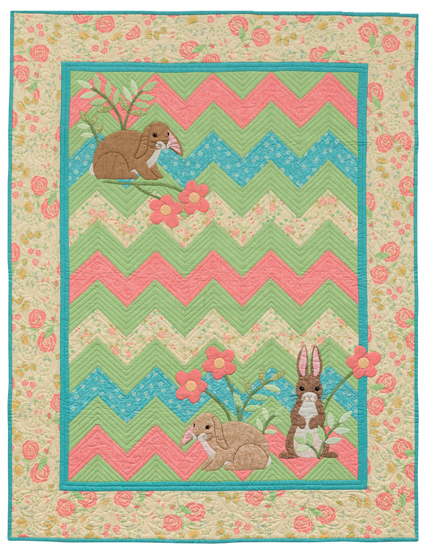
From Animal Parade 2 by Cheri Leffler, Martingale, 2015; used by permission. Photography by Brent Kane. All rights reserved.
You can watch the video below or on my Youtube channel.
Subscribe to my Youtube channel to receive automatic notifications when new videos are posted. You can also click on the Chatterbox Quilts logo in the lower right corner on the video itself to subscribe. Please like and share my videos with your fellow creatives.

From Animal Parade 2 by Cheri Leffler, Martingale, 2015; used by permission. Photography by Brent Kane. All rights reserved.
Creatively,


Make a Quick Quilt with Don't-Know-What-To-Do-With-It Fabrics
Do you have an overwhelming amount of fabric in your stash? Please tell me it's not just me!
I can't resist a sale and love to pick up fat quarters and cute, whimsical fabrics - novelty prints, they're called in the store. Once I get them home though I don't have any idea what to do with them, so into the stash they go, only to be taken out every so often, stroked and restashed. I have so many of these adorable fabrics that my fabric cupboards are overflowing. It was definitely time to do something with these fabrics!
When I want to make a quilt I typically spent lots of time browsing through my patterns by other designers, working on a few designs myself and then getting distracted by "real" work that I need to get done. I wasn't going to be so easily distracted this time so I decided to make a jelly roll race quilt. If you don't know what I'm talking about, see my Youtube video on some others I've created.
This is such a simple design and works well for scrap fabrics too. I like to make this type of quilt when I need a break from my "thinking" activities (creating patterns, writing blogposts - like this one - working on on-line courses) as it is mindless stitching and the results look great.

Strips cut and ready to start piecing on my Singer 66
This design uses 2 1/2" strips of fabric - hence the name jelly roll race. To start I needed to cut 2 1/2" strips of fabric to create the quilt top. This was easy thanks to my AccuQuilt GO! cutter and my 2 1/2" strip die. I decided to cut up my 1930's reproduction fabrics as they aren't as appealing to me as they used to be. I layered them up, ran them through the cutter and voila, lots of 2 1/2" strips.
Some variations of the jelly roll race pattern add a 2 1/2" square of a solid fabric between the strips of fabric. I had lots of white scrap fabric, some of which was already cut into 2 1/2" squares - bonus!, so I just needed to cut up enough of the remaining white fabric so I had enough squares to stitch in between the longer fabric strips.

White squares ready to be stitching in between the fabric strips
Once I had all my fabric cut up, it was time to piece it together! Strip of fabric, 2 1/2" white square, strip of fabric, 2 1/2" white square - you can see how mindless creating this quilt top was. I really wasn't concerned about the finished look so I didn't waste time on arranging the fabrics in any particular order. Just piece, piece, piece.

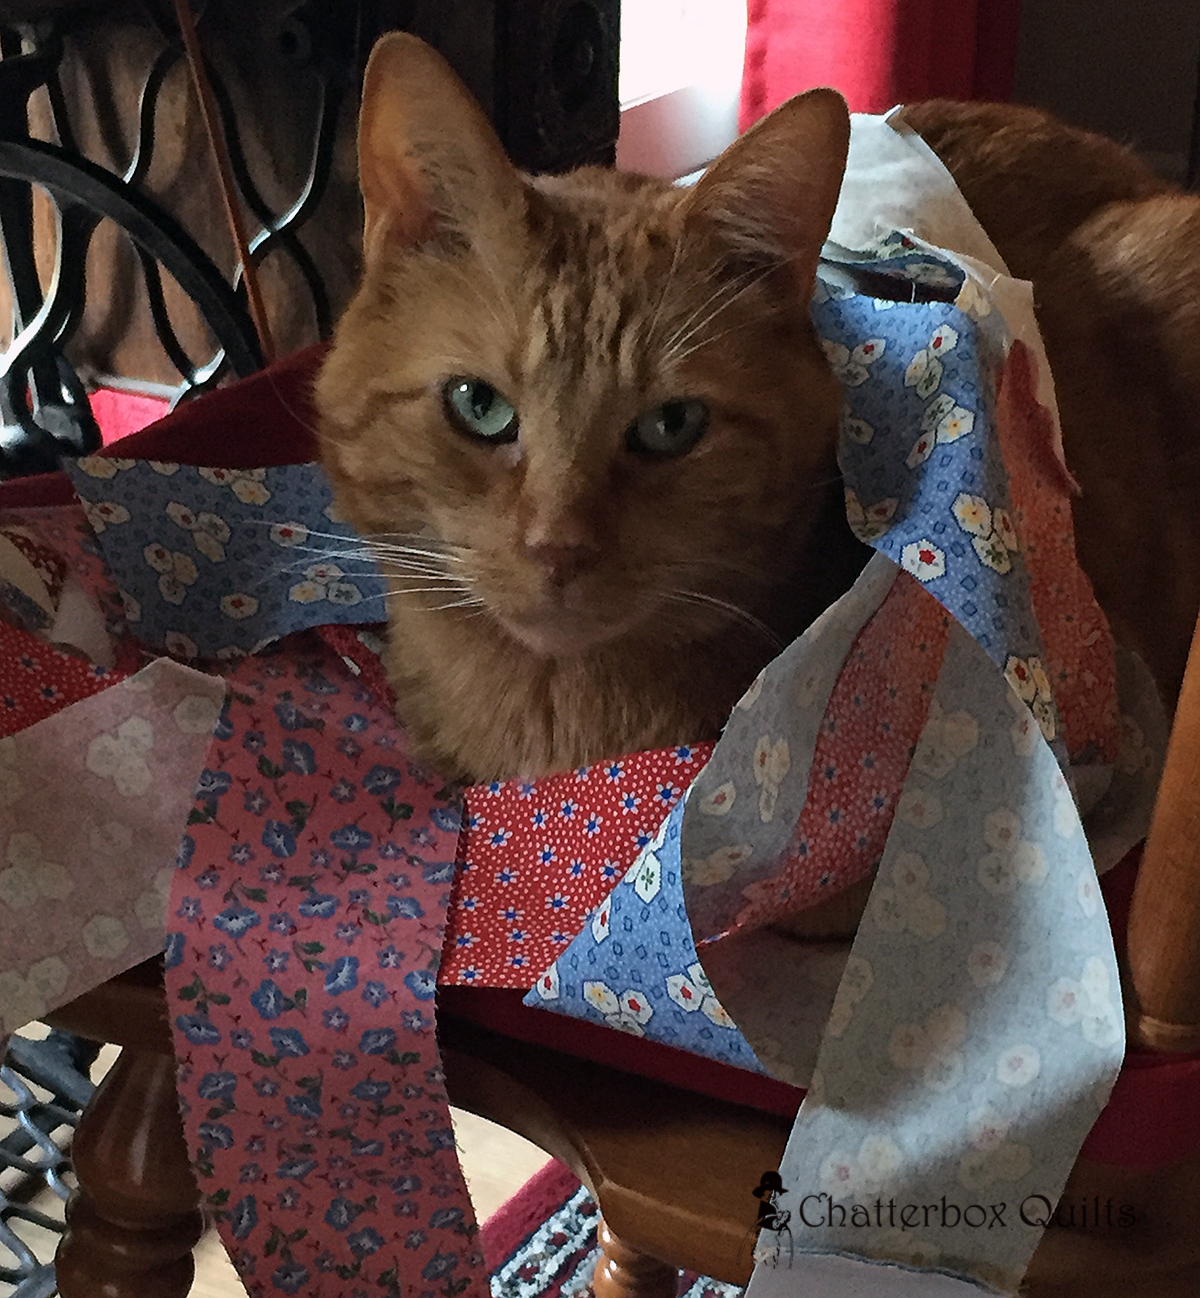
Charlie's always willing to lend a hand, er, paw, when I'm quilting.
Once I had a looong strip of fabric all pieced together, it was time to... do more piecing! I joined the ends together and stitched them up until I reached the end. I now had a double row of fabric. I took this double row and lined it up with the opposite double row and stitched the together for a quadruple row of strips (this is starting to sound a bit confusing, isn't it?). I continued piecing ends together until I had the size of quilt that I wanted. I added borders on all sides and it was done!
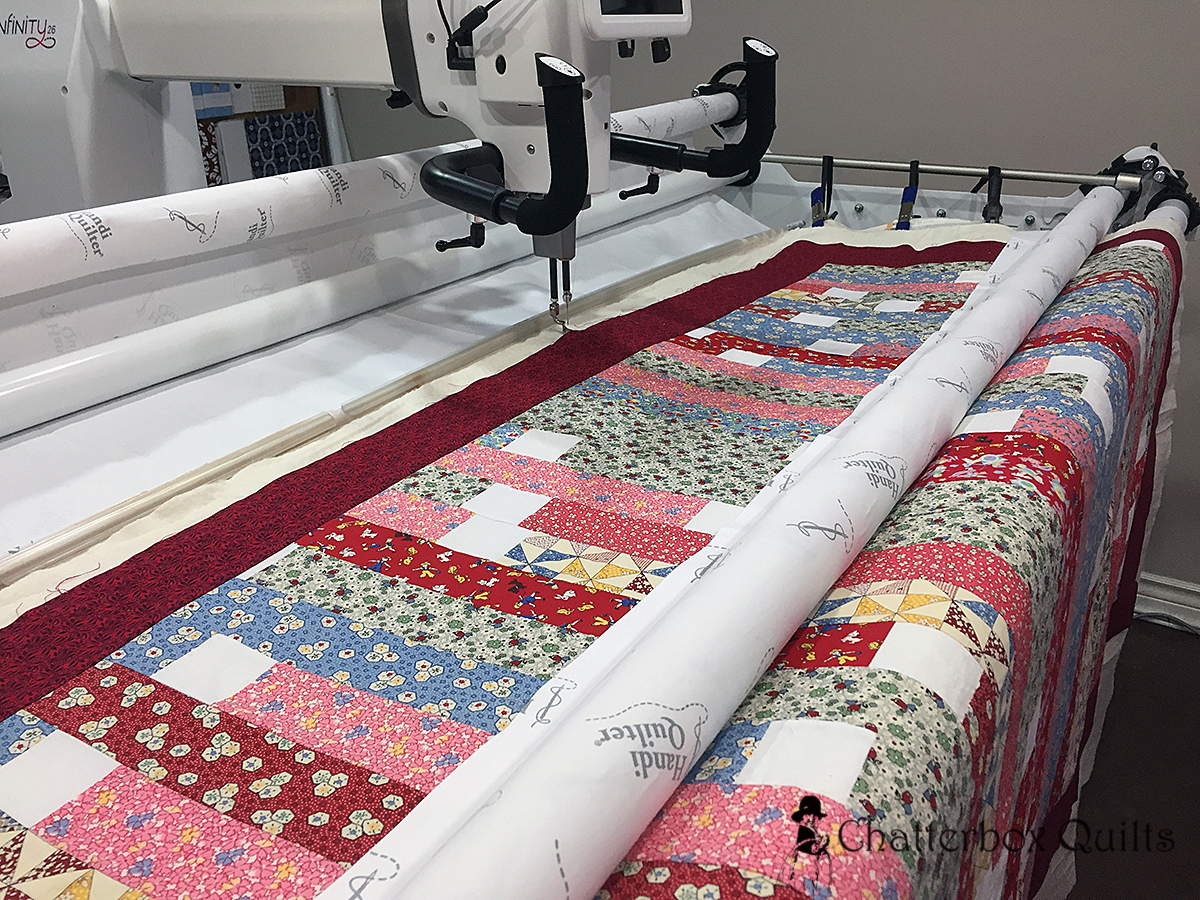
On the frame and ready to quilt

Overview of quilt on the HQ Infinity

Off the frame and ready for binding

Charlie all ready to start stitching that binding onto the quilt
I wasn't sure what I was going to do with this quilt when I was finished with it, but I now know where it will be going. I'm donating it to be given to an evacuee from Fort MacMurray. The recent wildfire caused the evacuation of this northern Alberta town and families are still not able to return to their homes. Many quilters in our province and in the rest of Canada have been contributing quilts for these evacuated families to provide some comfort to them. Erie Quilt Art in Calgary is accepting quilt donations and will be sure that these are all distributed to Fort Mac residents affected by the wildfire. If you'd like to help out, it's best to donate to the Red Cross.

Details of quilting on pieced flannel back

Quilted, bound and ready to snuggle in
I enjoyed making this quilt and was pleased that it will go to a good cause. I will probably make more like this from fabrics that I don't know what to do with. What do you do with not-sure-what-to-do-with-them fabrics? Leave me a comment below to tell me your idea.
Creatively,

Celebrate with a Craftsy Sale!

It's Victoria Day this week-end in Canada and Craftsy is continuing their birthday celebration with 50% off member-favourite classes. Grab a class before the deal expires on Saturday, May 21!
Here are some of my favourite Craftsy classes - and they're on sale for the next few days.


P.S. I am a Craftsy affiliate and as such will receive a small compensation if you enroll by clicking through any of the links in this post. This helps me to continue to create videos and blogposts just for you. Thank you!

Long Arm Quilting Tips with Allison Spence
UPDATE: Allison is no longer at the Threaducation Centre, but is continuing to teach and accept customer orders for quilting at Meadow Rose Quilting. You can follow Allison's blog to keep up with her latest activities.
I was fortunate enough to have Allison Spence come out to my studio for a private lesson on my Handi Quilter Infinity. While I have been working on my machine for a few months, I really wanted some tips from a professional. Allison is one of the forces behind the Threaducation Centre here in Calgary, AB, Canada and I just knew that I would learn lots from her. I was right!
First I learned that I had my quilt top leader feeding off from the pole incorrectly. Duh! I always have problems with whether this leader feeds over the top of the pole or underneath the pole. Allison straightened me out on this right away - and I made notes and took pictures so I will always get it right!
Allison showed me 5 different free motion designs that can be applied to any quilt and I got to practise these until I had the feel of them. I also learned how to take these 5 designs and build on them to create more complex patterns.
She had some other tips that you can see in the video below about quilting area and stance at the machine.
I hope you found these tips helpful if you quilt on a long arm machine and just remember that you won't get better if you don't practice, practice, practice!
Subscribe to my Youtube channel to receive automatic notifications when new videos are posted each week. You can also click on the Chatterbox Quilts logo in the lower right corner on the video itself to subscribe. Please share my videos with your fellow quilty and creative friends.
Creatively,

Telecast Thursday - Your Quilting Space on the Handi Quilter Infinity
This Telecast Thursday I'm looking at the quilting space on my HQ Infinity. I want to avoid the look of linear quilting when I'm doing free motion quilting so working on one area at a time can resolve this issue.
Watch the video below or on my Youtube channel to learn about your quilting space and how to create a non-linear quilted quilt.
Subscribe to my Youtube channel to receive automatic notifications when new videos are posted. You can also click on the Chatterbox Quilts logo in the lower right corner on the video itself to subscribe. Please like and share my videos with your fellow creatives.
Leave a comment below on how you define your quilting space.

Welcome! I’m Kim Jamieson-Hirst of Chatterbox Quilts, a YouTube creator and host of The Quilter’s Way. I believe that quilting is more than just a 1/4” seam and that practice makes improvement and you are improving every day!
Contact me at kjh@chatterboxquilts.com.


Want to improve your quilting and have fun doing it? Join The Quilter's Way, a private online membership site that creates successful quilters.

Check out my favourite books and tools.
As an Amazon Associate I earn from qualifying purchases from links that you may find on the Chatterbox Quilts’ website.