CHATTERBOX QUILTS’ BLOG
Helping Quilters Learn and Improve
How to Sell A Vintage Sewing Machine Successfully
Most people who are looking to buy a vintage sewing machine are doing it out of the love of these unique and attractive machines. Do a little homework, apply some elbow grease, and display your machine effectively and you will sell your machine for the best price.
Most people that are selling a vintage sewing machine will sell for a price that is too low because they don’t know much about their machine. It is worth getting to know your machine a little bit so that you can make it as attractive as possible to prospective customers.
Assessing your vintage sewing machine will not only help you determine the price that you can sell it for but will also provide information about whether the effort to sell will be worth it. You don’t want to spend lot of time and money preparing a machine for sale if the likely selling price is very low.
The amount of money you can sell your machine will be dependent on the demand for the specific model of your machine. Getting the best price for your specific vintage sewing machine is dependent on three main factors:
Inherent Value
Understanding the inherent value of your machine is necessary for setting a selling price but it is also important for determining how much effort you want to put into selling the machine. Singer made many models over the decades and each has its own value to prospective customers. Determining the value of your machine will require that you know its model, that you assess its condition and determine if it still works properly.
Attractiveness
Although purchasers are interested in machines that work, many people purchase vintage sewing machines for their appearance. Making sure that your machine looks as attractive as possible and operates smoothly is extremely important if you wish to get the best price. Most purchasers will be “turned off” by pictures of dirty or neglected machines because it suggests that the previous owners have not taken care of them.
Selling
The actual sale of a vintage sewing machine can be simple, painless process if you have prepared properly. Your success will be determined by how you set your price, how and where you list the machine, and how prepared you are once a prospective customer visits to see the machine. The selling process does not have to be a lot of work, a few simple actions will pay big dividends when the sale actually takes place.
Most people who are looking to buy a vintage sewing machine are doing it out of the love of these unique and attractive machines. They will want the machine to work because part of the attraction is being able to use the machine to create quilts or garments, however they could get the same functions from a modern used machine. It is the look and style of the vintage sewing machine that is what attracts the buyer so, as the seller, it is important that you respect that love and present your machine in the best possible way. Do a little homework, apply some elbow grease, and display your machine effectively and you will sell your machine for the best price.
If you would like to learn more about how to sell your vintage sewing machine you may be interested in my eBook “How to Sell A Singer Vintage Sewing Machine – A 3 Step Process for Successful Selling”. In this eBook I provide a simple 3 step process to help you sell your vintage sewing machine. The process contains details on how to set the appropriate price, how to make your machine as attractive as possible and what actions to take to ensure that your selling efforts are successful. Click here if you would like more information on my eBook.
Creatively,
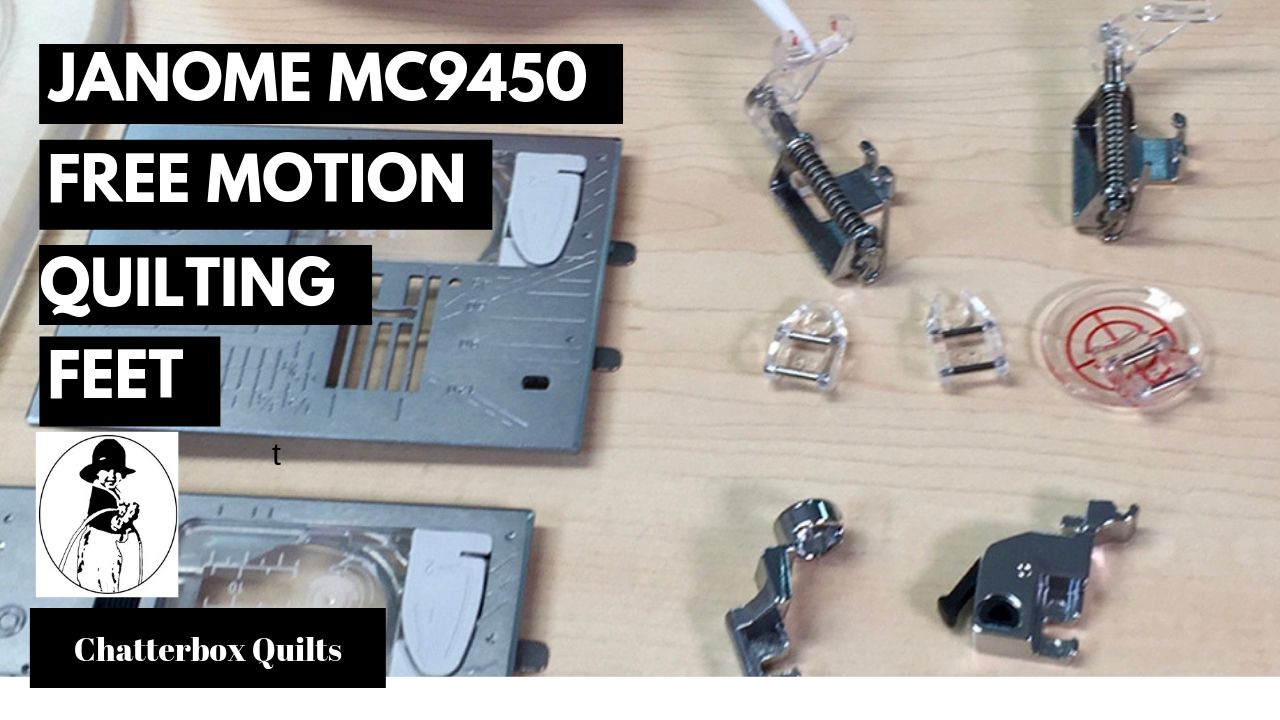
Free Motion Quilting Feet for the Janome MC9450
Quilters are always asking me what feet and settings they should be using for free motion quilting on the Janome MC9450. It’s a good question because there are a variety of feet that are included with the Janome MC9450. Let’s take a look at the free motion quilting feet that come with the Janome MC9450 and learn what settings to use for each of them.
Let’s start with the most common free motion quilting foot, the PD-H foot. It’s often called the darning foot, but it works so well for free motion quilting. There are actually two of them included with the Janome MC9450 – a closed-toe foot and an open-toe foot. They both operate the same way and I like to use the open toe foot as it has great visibility. The only thing you need to be careful of when using an open-toe foot, is that you don’t get caught on only loose threads or on appliqué pieces.
PD-H Open-Toe Darning Foot
There are three other free motion quilting feet that you can use with the Janome MC9450: the QO (free motion quilting open-toe foot), the QC (free motion quilting closed-toe foot), and the QV (free motion quilting zigzag foot). These are quite big names for such small feet! The QO and QC feet are, like the PD-H feet, the same except that one is open while the other is closed. Can you guess which is which?
QO Free Motion Quilting Open-Toe Foot
The QV foot works really well for quilting around appliqué pieces as its saucer shape allows you to get really close to those pieces without worrying about getting snagged on them. All of these feet fit on the regular foot holder.
QV Free Motion Quilting Zigzag Foot
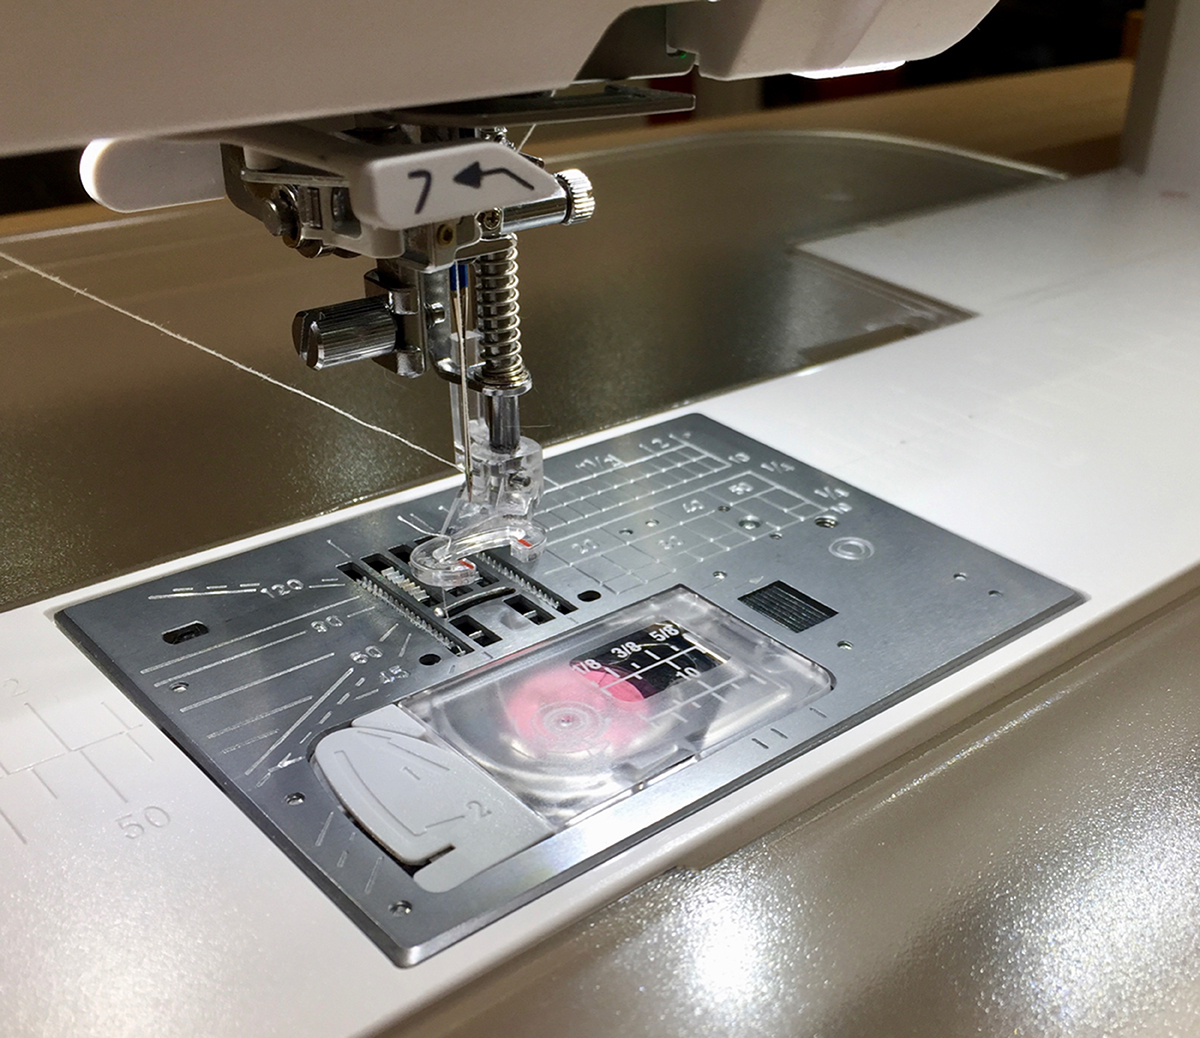
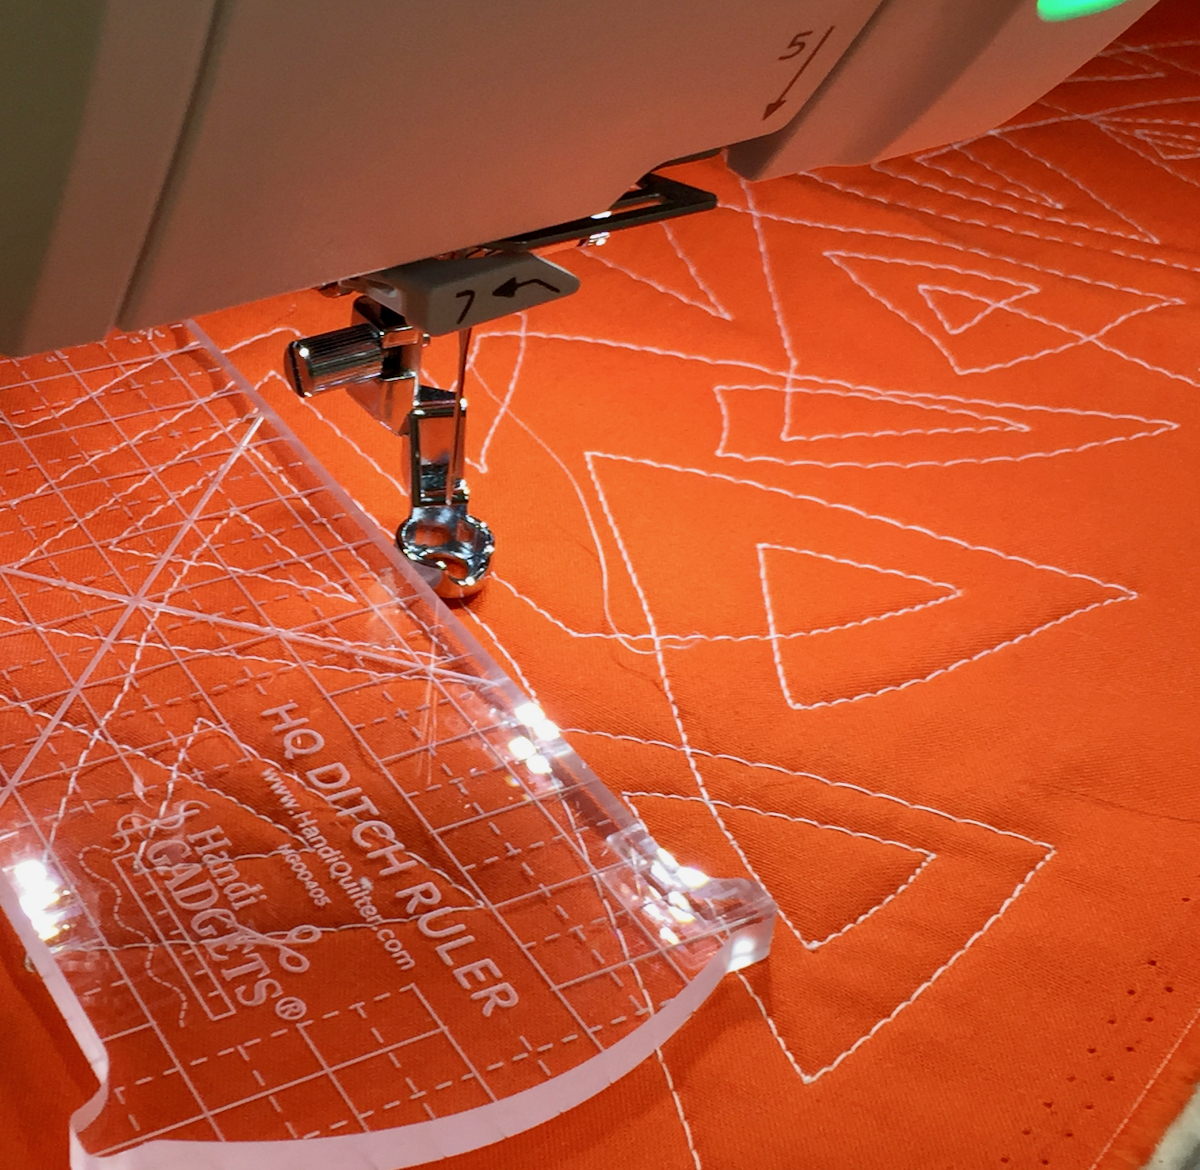
The last “free motion quilting” foot that comes with the Janome MC9450 is the QR, ruler foot. I never know whether to consider ruler quilting as free motion quilting, but I consider it the same as the machine is set up the same way as I would have it set up for free motion quilting. The big difference is that you will be using the QR foot with a ruler (make sure you are using one specifically for ruler quilting on your sewing machine; the quilting rulers you use for cutting will not work for this application). The QR foot is already attached to a foot holder and it is easy to distinguish with its high base.
QR Ruler Foot
There are certain settings to use with each of these feet and if you click on the image below, you can watch the video that explains all of the various choices.
Give the various free motion quilting feet on the Janome MC9450 a try to see which one you like to use for various types of free motion quilting. There’s a free motion quilting foot for every application.
What free motion quilting foot do you like to use on your Janome MC9450? Leave a Comment below to let me know your preference.
NOTE: If you have upgraded your Janome MC9400, you will also have these feet and the settings will be the same.
Creatively,
P.S. Are you serious about improving your quilting? Do you want to connect with other committed quilters in a supportive, safe environment? If you answered “yes” to these questions, you need to join The Quilter’s Way. The Quilter’s Way is the only quilting membership site that includes both training and an active, supportive online community. Don’t wait another day! Join now.
P.P.S. Did you know that you can sign up to receive emails full of FREE quilting goodness? Click here to receive FREE content directly in your email inbox every few weeks from Chatterbox Quilts. I know you'll be glad you did!
P.S. I am an Amazon affiliate and, if you purchase items by clicking through the links in this post, I will receive a small amount of commission. This doesn’t cost you any more $$$, but helps me to continue creating free content for you. Thanks!
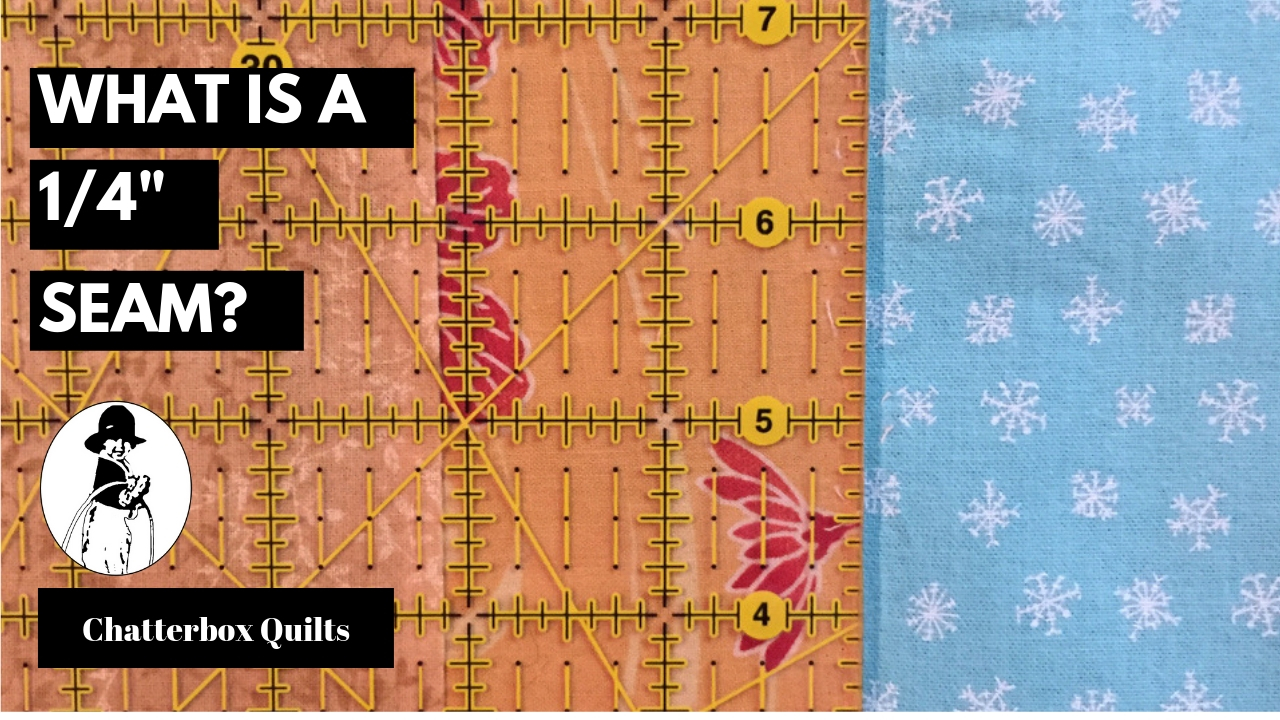
How do you Stitch the Perfect 1/4" Seam?
All quilters know that achieving a “perfect” ¼” seam is the standard of excellence in quilting, but sometimes you might want to use a scant ¼”, especially when you have a multi-seamed project.
All quilters know that achieving a “perfect” ¼” seam is the standard of excellence in quilting, but sometimes you might want to use a scant ¼”, especially when you have a multi-seamed project.
Most quilting sewing machines have a ¼” foot – some machines, like the Janome MC9450 have several ¼” feet to suit the preference of every quilts.
Once you have your ¼” foot on your sewing machine, you need to test to see if your ¼” foot is truly allowing you to stitch a ¼” seam. It’s really easy to check this. You need to take 3 pieces of fabric 2½” wide and stitch them together with your ¼” foot. The centre piece should be 2” as ¼” of the fabric has been taken into the seam on both sides - ¼” + ¼” = ½”.
If the centre piece is larger than 2”, your seam allowance is too small/narrow and needs to larger.
If the centre piece of fabric is smaller than 2”, your seam allowance is too big/wide and needs to be narrower. In either case, you’ll need to make adjustments.
How do you do this?
If your sewing machine has the ability to move the needle position, this is what you will need to do in either of these situations. If your seam allowance is too narrow, you will need to move your needle position to the left – away from your fabric edge.
If your seam allowance is too wide, you will need to move your needle position to the right – closer to the fabric edge.
Well this is fine if you have a sewing machine that has a needle adjustment feature, but… how do you get a ¼” seam allowance if you don’t have a ¼” foot?
There are several methods:
1. Use your ruler to measure ¼” away from the needle and mark this with painter’s tape. Can then use purchased notions such as these purple strips – or make your own guides.
2. You can use Post-it notes or several pieces of masking tape or painter’s tape stacked up on one another and place these at the ¼” mark on the bed of your sewing machine.
3. You can also stack up several (many!) index cards, one on top of one another to use as a seam guide.
I’ve covered how to get an accurate ¼” seam on your sewing machine, but what if you want a scant ¼” seam and what is this anyway? A scant 1/4” seam is just a thread or two narrower than a ¼” seam. It can come in handy when you have several seams all coming together as the thread and fabric take up some of your seam allowance, so in this situation, a scant ¼” seam might be the right solution.
Click on the image below to learn more about stitching a ¼” or scant ¼” seam.
Whether you are using a true ¼” seam or a scant ¼” seam allowance, be sure to use this throughout the entire project so that all of your pieces will fit together the way they should.
How do you achieve the “perfect” ¼” seam on your sewing machine? Let us know in the Comments below.
Creatively,
P.S. Do you strive to improve your quilting skills? Do you want to have fun doing it? Do you want to meet other quilters in a supportive, safe environment? If you answered “yes” to these questions, you need to join The Quilter’s Way. The Quilter’s Way is the only quilting membership site that includes both training and an active, supportive online community. It’s not your grandmother’s quilting circle! Don’t wait another day! Join now.
P.P.S. Did you know that you can sign up to receive emails full of FREE quilting goodness? Click here to receive FREE content directly in your email inbox every few weeks from Chatterbox Quilts. I know you'll be glad you did!
P.S. I am an Amazon affiliate and, if you purchase items by clicking through the links in this post, I will receive a small amount of commission. This doesn’t cost you any more $$$, but helps me to continue creating free content for you. Thanks!
Create a Cute Ornament with the Circular Sewing Attachment on the Janome MC9450
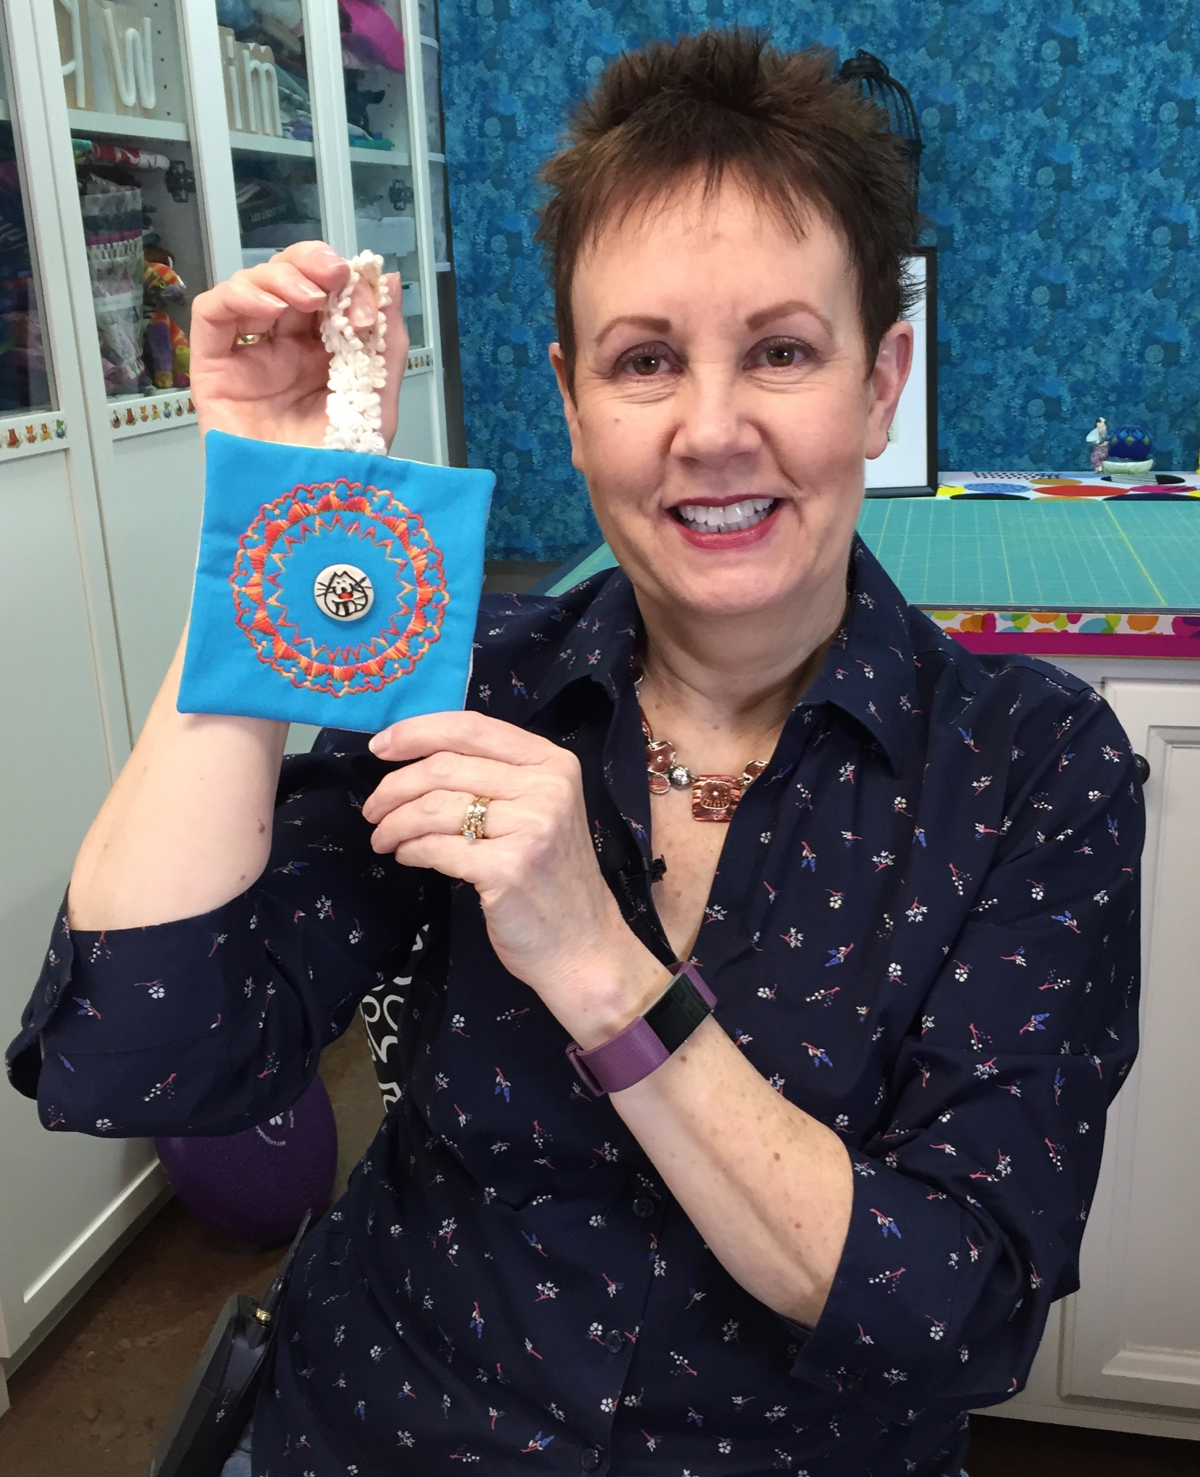
I love to collect buttons, but then never seem to quite know what to do with them. I want to have them displayed so I can enjoy them, so I decided to create a little hanging ornament to do just that. I used the Circular Sewing Attachment on the Janome MC9450 to stitch several circles around the button to showcase it, added a hanging loop and it was done!
If you’d like to use your Circular Sewing Attachment to create a similar ornament, here’s what you’ll need:
Fabric for the top
Batting
Fabric for the backing
Ribbon or trim for the hanging loop
Fabric stabilizer (Click here for information on using this with decorative stitches)
Decorative button(s)
Circular Sewing Attachment and Janome MC9450 sewing machine
Remote control not required for project ;)
The Circular Sewing Attachment that fits the Janome MC9450 installs with a set screw that is included with this optional accessory. You just need to remove the bobbin cover, pop in the Circular Sewing Attachment and screw it down. Very quick and easy to do! The packaging for this accessory includes information on how to attach it and stitch with it, so be sure to keep it somewhere safe!
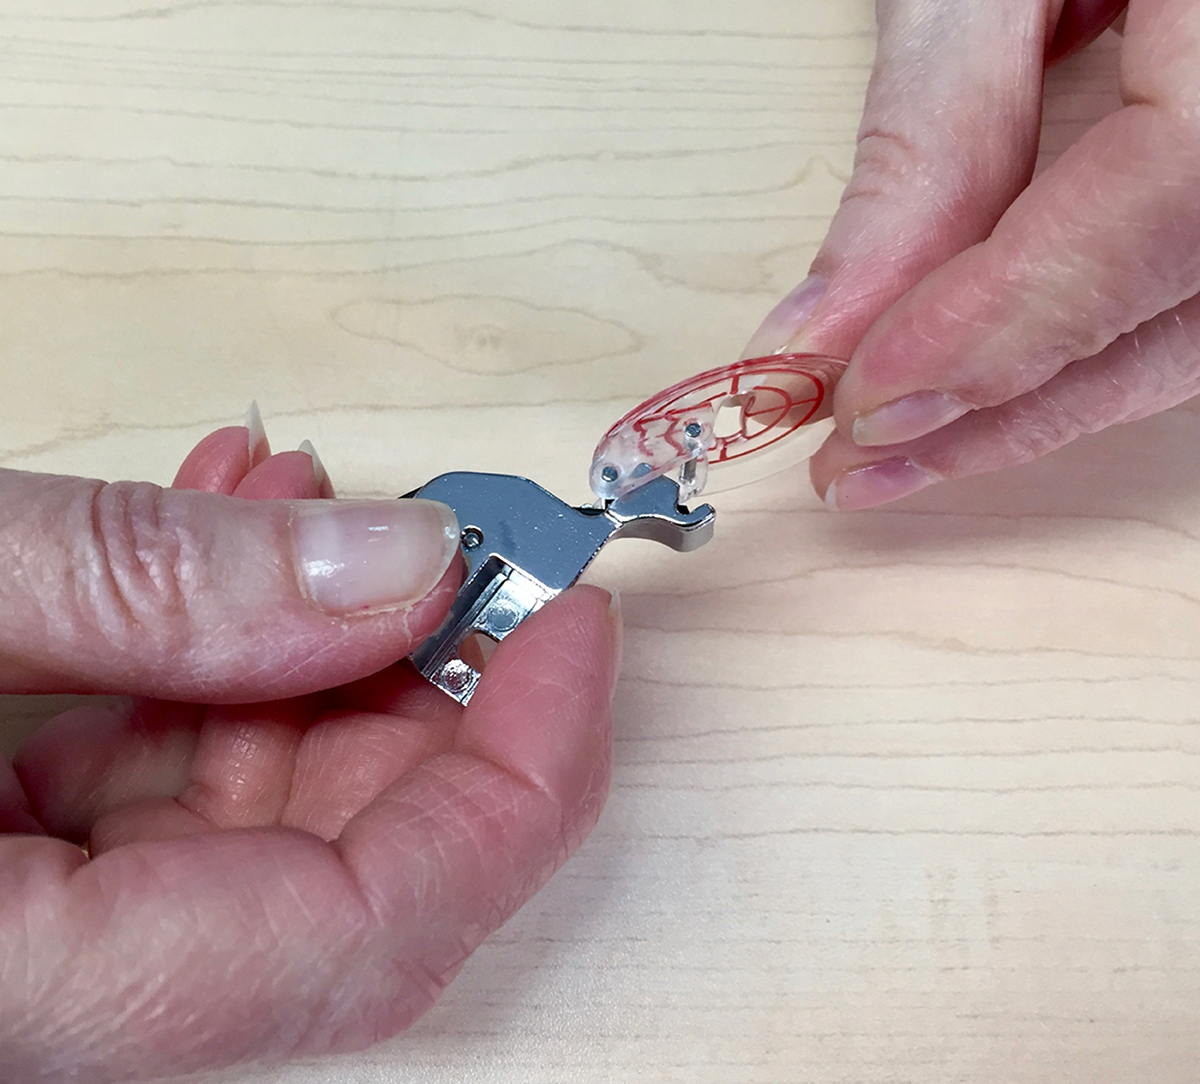
You’ll notice a black cap that is attached to the Circular Sewing Attachment. It covers the pin that you will use to attach your fabric to the accessory. Be sure to always replace this black cap as that pin is very sharp and you don’t want to injure yourself on it!
There is a locking mechanism on the Circular Sewing Attachment: you unlock this part, slide it along and then lock it before stitching your circle. The closer to the needle this part is, the smaller the stitched circle. I like to unlock the attachment and slide it away from the needle to attach the fabric with the pin. I can then move the attachment to the specific spot I want that will give me the stitch I want before locking it up.
I like to use an open toe foot (F2) when stitching with the Circular Sewing Attachment so I can see that everything is stitching along as it should.
Choose and practice your decorative stitches to ensure that they are the width and length you want before stitching them to your project. Click here for information on saving your adjusted stitches on the Janome MC9450. Put fabric stabilizer behind the fabric or sandwich to ensure that the decorative stitches won’t scrunch up.
I like to use a larger piece of fabric than I actually need and trim it up after all of the stitching is done. This way I don’t run off the fabric as I increase the size of my circles.
Start with smallest circle and work out from there. Leave space between each circle and check to ensure that there is enough fabric so the circles won’t stitch off it.
For this hanging ornament, I layered the top fabric, batting and fabric stabilizer before attaching this sandwich to the Circular Sewing Attachment. I stitched 3 circles, starting with the smallest one and working out. After I’d stitched the circles, I added the backing using the pillowcase method, ensuring that the hanging loop was inserted in the sandwich before stitching. While I could’ve hand stitched the opening closed, I chose to use a glue stick to seal this open seam and pressed it with the iron. Shhh, don’t tell the quilting police!
I added my special button by using Button foot T on the Janome MC9450. For information on how to use the Janome MC9450 to sew on a button, click here.
For more information on creating an ornament with the Circular Sewing Attachment, click on the image below.
What other uses can you think of for the Janome Circular Sewing Attachment? Leave your ideas in the Comments below.
Creatively,
P.S. Are you serious about improving your quilting? Do you want to connect with other committed quilters in a supportive, safe environment? If you answered “yes” to these questions, you need to join The Quilter’s Way. The Quilter’s Way is the only quilting membership site that includes both training and an active, supportive online community. Don’t wait another day! Join now.
P.P.S. Did you know that you can sign up to receive emails full of FREE quilting goodness? Click here to receive FREE content directly in your email inbox every few weeks from Chatterbox Quilts. I know you'll be glad you did!
P.S. I am an Amazon affiliate and, if you purchase items by clicking through the links in this post, I will receive a small amount of commission. This doesn’t cost you any more $$$, but helps me to continue creating free content for you. Thanks!
Button Sewing on the Janome MC9450
Did you know that you can use your Janome MC9450 to sew buttons to your projects or garments? It’s so easy and saves hand sewing those buttons on – and I love to avoid this part of the process!
You can sew on a variety of button types, from flat buttons to those with shanks. I’ve tried both and the Janome MC9450 works really well in either situation. You’ll need to use the Button foot T for this technique. It’s the cute little open toe blue foot! Attach this to your foot holder and then to your Janome MC9450 and you’ll be almost ready to start.
To start, you’ll need a button and the garment or fabric on which you want to stitch the button. I guess this is fairly obvious, but still…
You next need to use the “Button” setting on the Janome MC9450. You can find it in the Sewing applications area (the t-shirt icon). Scroll through the various options until you find the Button setting and select it. You’ll notice that there are two choices: one for flat buttons and one for buttons with a shank or for which you will create a shank with thread. If you choose the shank button option, you’ll need to use the button shank plate, which you will place between the fabric and the button. In my particular situation, I didn’t need to use this as I was attaching a flat button.
Before you start stitching, the Janome MC9450 will ask you to drop the feed dogs. Once you do this, you are ready to go!
Decide where you want to attach the button, and, using the handwheel, slowly drop the needle into the left button hole. Again, using the handwheel, drop the needle into the right button hole. You may need to adjust the stitch width to ensure that the needle will go into the buttonhole and not into the button! Once you are sure that the stitch width is appropriate for your button, you can use your foot pedal to stitch on the button. The Janome MC9450 will automatically stop stitching when the button is secure. Cut the thread and you are done.
To see this process in detail, click on the image below.
Creatively,
P.S. Are you serious about improving your quilting? Do you want to connect with other committed quilters in a supportive, safe environment? If you answered “yes” to these questions, you need to join The Quilter’s Way. The Quilter’s Way is the only quilting membership site that includes both training and an active, supportive online community. Don’t wait another day! Join now.
P.P.S. Did you know that you can sign up to receive emails full of FREE quilting goodness? Click here to receive FREE content directly in your email inbox every few weeks from Chatterbox Quilts. I know you'll be glad you did!
P.S. I am an Amazon affiliate and, if you purchase items by clicking through the links in this post, I will receive a small amount of commission. This doesn’t cost you any more $$$, but helps me to continue creating free content for you. Thanks!
Welcome! I’m Kim Jamieson-Hirst of Chatterbox Quilts, a YouTube creator and host of The Quilter’s Way. I believe that quilting is more than just a 1/4” seam and that practice makes improvement and you are improving every day!
Contact me at kjh@chatterboxquilts.com.
Want to improve your quilting and have fun doing it? Join The Quilter's Way, a private online membership site that creates successful quilters.
As an Amazon Associate I earn from qualifying purchases from links that you may find on the Chatterbox Quilts’ website.


