
CHATTERBOX QUILTS’ BLOG
Helping Quilters Learn and Improve
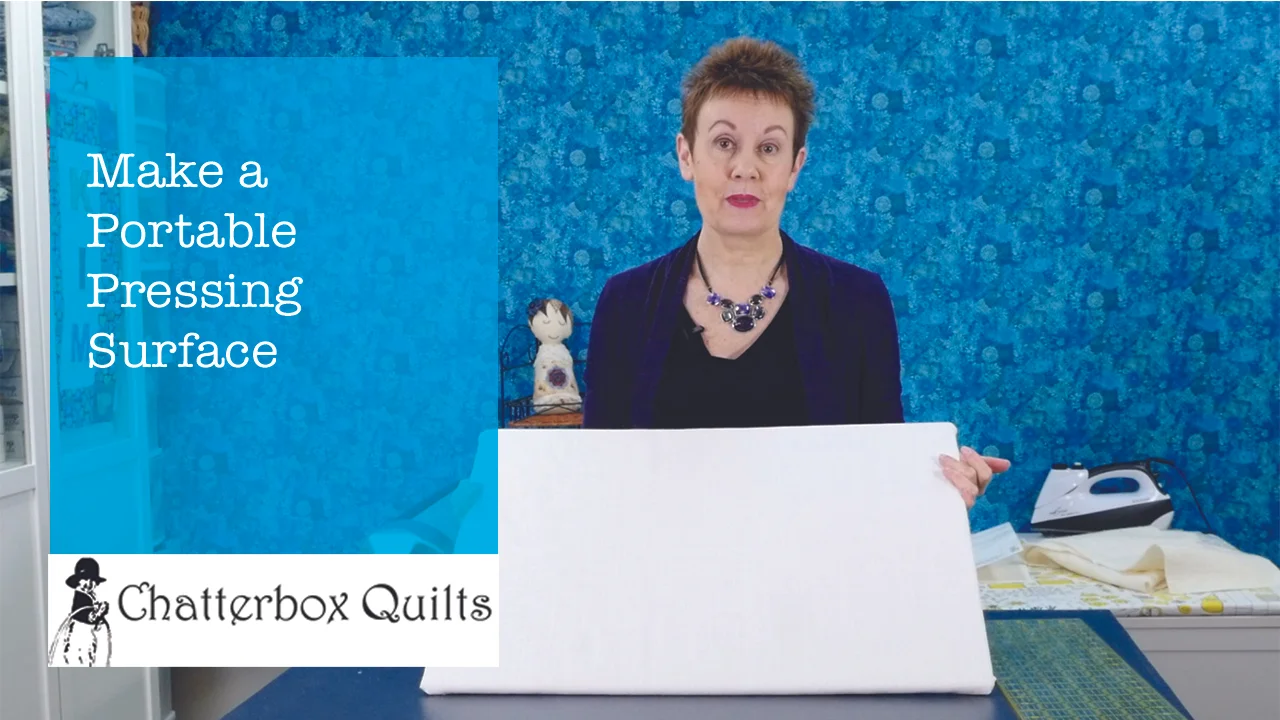
Make Your Own Portable Pressing Surface
Every quilter needs some type of pressing surface. Some like to use their ironing boards, while others prefer a more rectangular surface. I used my ironing board for quite some time, until I decided that I needed a better type of pressing surface. So I decided to make one!
I actually have two different pressing surfaces, both of them portable: a large 24" x 48" one that is my main pressing surface and another smaller one that I take with me on retreats and that you've probably seen in my YouTube videos. Both are made the same way.

To make your own pressing surface, you'll need:
MDF (medium-density fibreboard) for the base, cut to the size you want your pressing surface to be
100% cotton batting, cut about 2" - 3" larger on all sides than the MDF
100% cotton fabric to cover the top of your pressing surface, cut about 2" - 3" larger on all sides than the MDF (I love Ikea fabric for this as it is 100% cotton and quite thick)
Wood glue or staple gun
The process is fairly easy to do and my favourite part of this type of pressing surface is that if (when!) the top gets stained, you can take the fabric and batting off the MDF and recover it.
To make the pressing surface, just lay you batting out and centre the MDF on top of it. Fold in the sides of the batting and glue or staple them to the MDF on all four sides. Cut off some of the excess batting at the corners and mitre fold the corners in and glue them too.
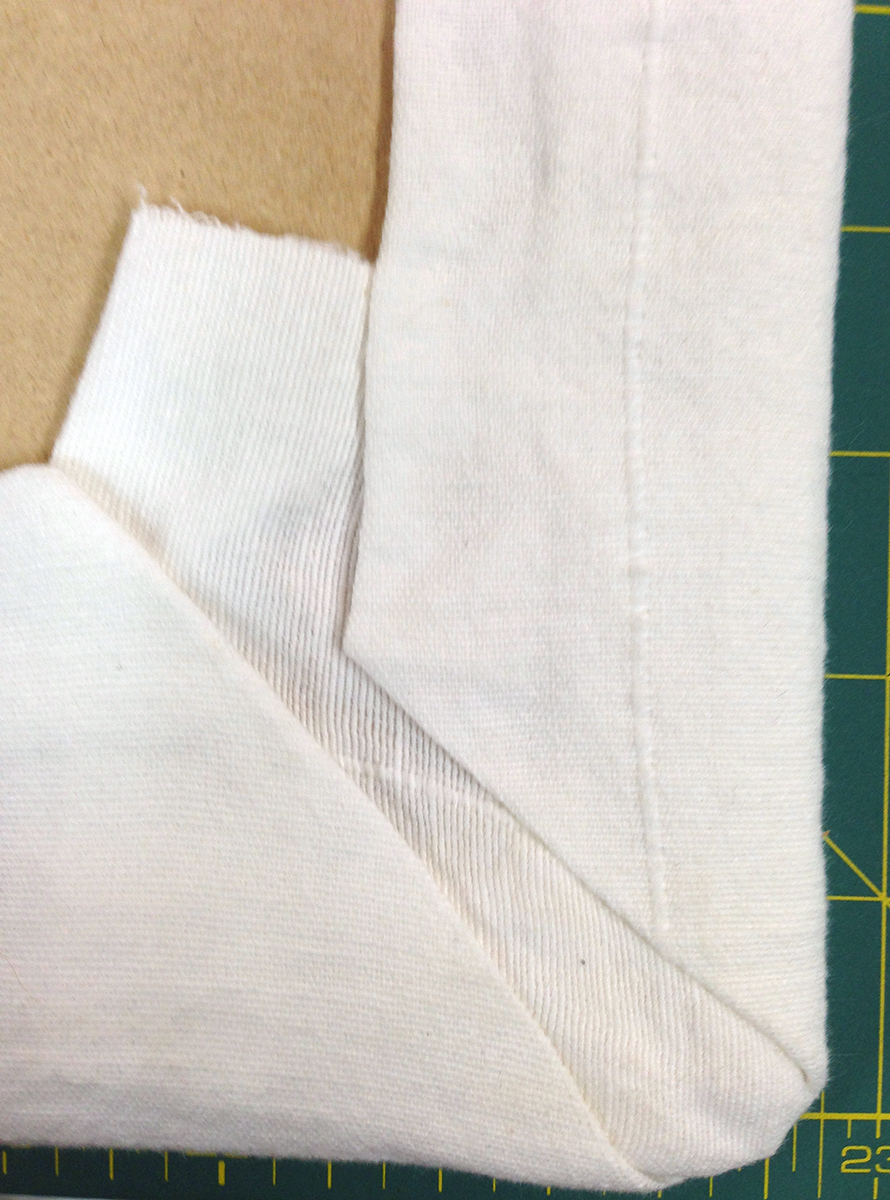
You probably won't get a perfectly mitered corner, but at least it will look neat
You'll repeat this process with the fabric and once you're done, that's it! Your pressing surface is already to go!

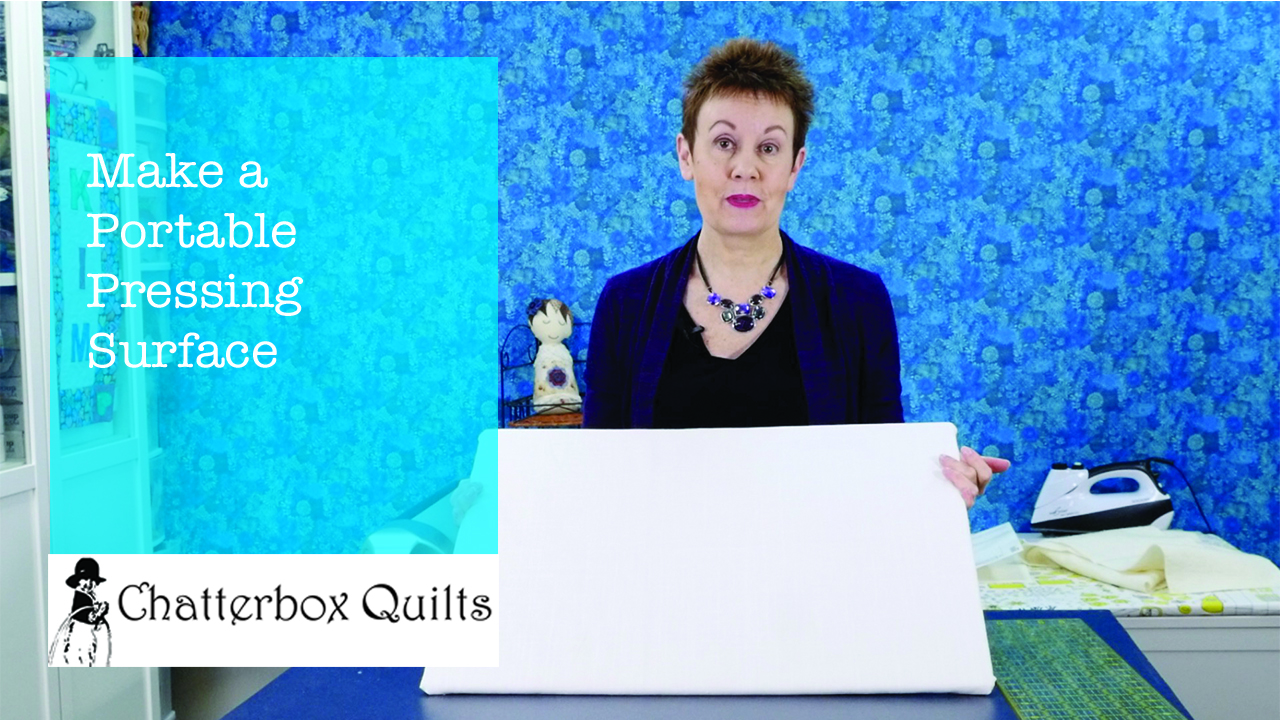
To see how I made a smaller pressing surface, just click on the image below to view a video on my YouTube channel that explains the entire process.
What do you use for a pressing surface: your ironing board or something else? Leave me a comment below to let me know.
Creatively,

Did you know that you can sign up to receive FREE emails full of quilting goodness? Just click here to receive FREE content directly in your email inbox every few weeks from Chatterbox Quilts. I know you'll be glad you did!

Telecast Thursday - Colouring Appliqué
Welcome to a colourful Telecast Thursday! I've been having fun using QuiltFusion for appliqué designs, but have found another way to use this amazing program.
Do you like to colour? or color? Many adults have taken up this children's activity again since it is so relaxing. No thinking, just playing with colours - how fun is that?! I decided to try some colouring too, but rather than searching for colouring pages, I turned to appliqué patterns.
My favourite tool to create appliqué patterns is QuiltFusion. I looked through some of the designs I had created to find one that I thought would work well as a colouring project.
To see how I did coloured appliqué, watch the video below or on my YouTube channel.
This was so fun and quick to do and my daughter enjoyed this activity as well (she's not a quilter, but loves to colour).
If you're looking for a relaxing activity to try this fall, why not try colouring appliqué - no fabrics necessary.
Creatively,

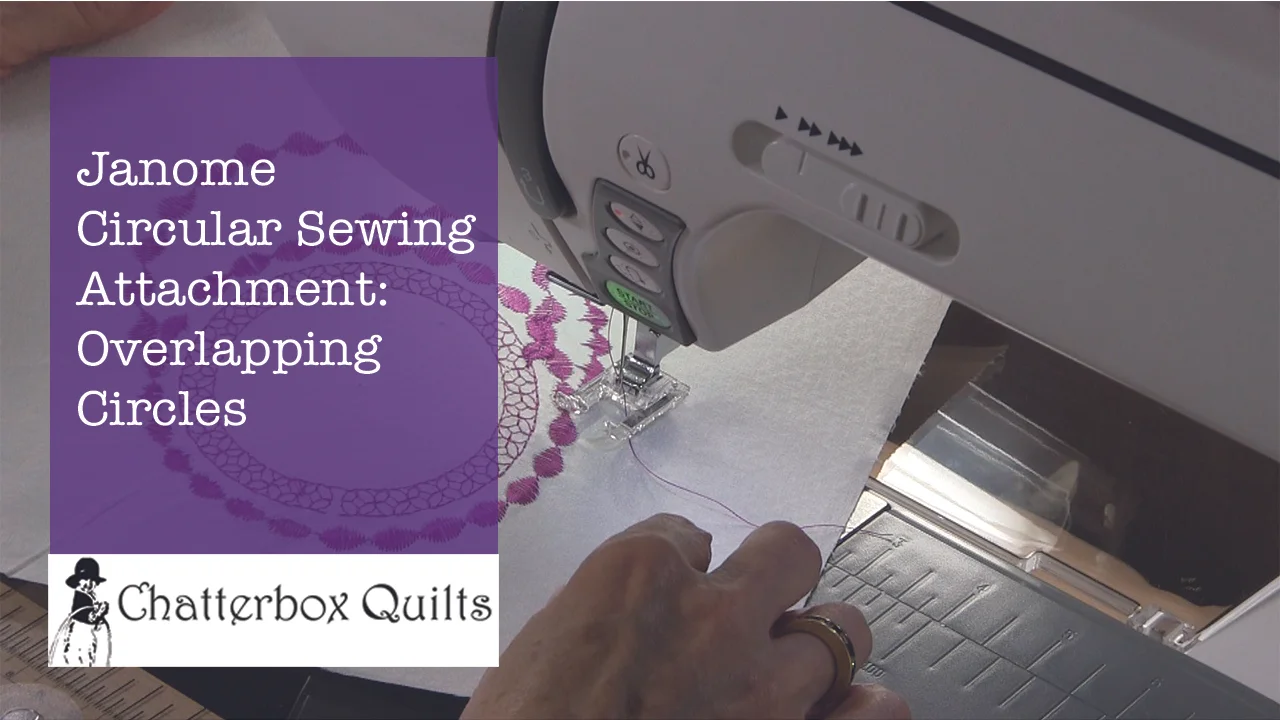
Telecast Thursday - Janome Circular Sewing Attachment: Intersecting and Overlapping Circles
I'm back from my spring break and ready to get back into the quilting mode! This Telecast Thursday I have another video about the Janome Circular Sewing Attachment. On previous Telecast Thursdays I've shown you how to attach this attachment, stitch simple circles and use your decorative stitches to create more complex circles. This week I'll show you how to use this attachment to create overlapping and intersecting circles. Things get really intricate!
You can watch this video below or on my Youtube channel.
If you have the Janome Circular Sewing Attachment, I hope you've been having some fun playing with it. You can create some really amazing designs with this attachment and I think it would be great to use it to create a modern quilt and then fill the background around the designs with some filler designs, such as swirls or pebbles. Hmmm, sounds like another project I'll have to try!
Next Telecast Thursday I'll show you another way to use the Janome Circular Sewing Attachment, so tune in.
Subscribe to my Youtube channel to receive automatic notifications when new videos are posted. You can also click on the Chatterbox Quilts logo in the lower right corner on the video itself to subscribe. If you like what you see, please share my videos with your fellow creatives.
Creatively,

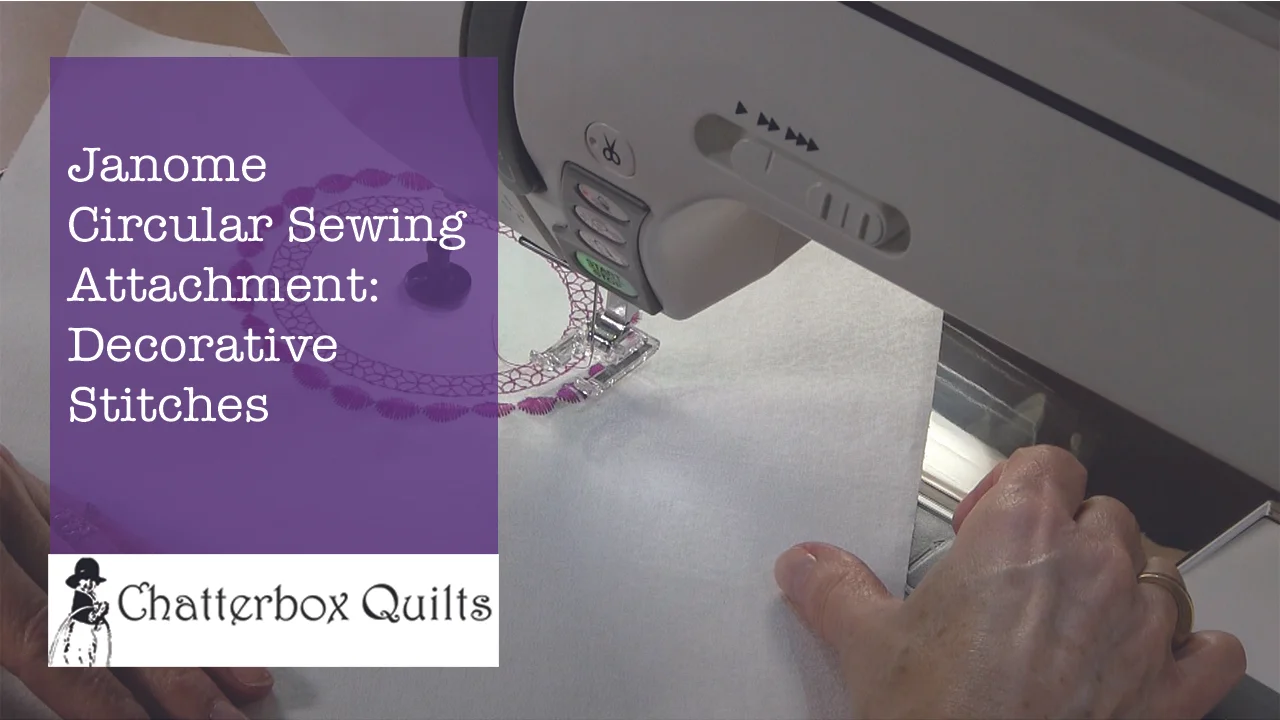
Telecast Thursday - Janome Circular Sewing Attachment: Decorative Stitches
Happy St. Patrick's Day and welcome to another Telecast Thursday!

This week I'm continuing with information on the Janome Circular Sewing Attachment. Previously we learned how to attach this attachment and how to sew simple circles with it. This week we're moving on to more intricate circles using the decorative stitches on the sewing machine.
My Janome Horizon Memory Craft 8900 QCP sewing machine comes with hundreds of decorative stitches and the ability to adjust the width and length of them, mirror them, or even flip them horizontally or vertically. This provides the user with the opportunity to create thousands of decorative stitch patterns! The Janome Circular Sewing Attachment gives me the opportunity to play with these decorative stitches while creating complex circular designs.
You can watch the video below or on my Youtube channel.
I've got more ideas on how to use this attachment, so stay tuned for more ideas in upcoming Telecast Thursdays.
Creatively,
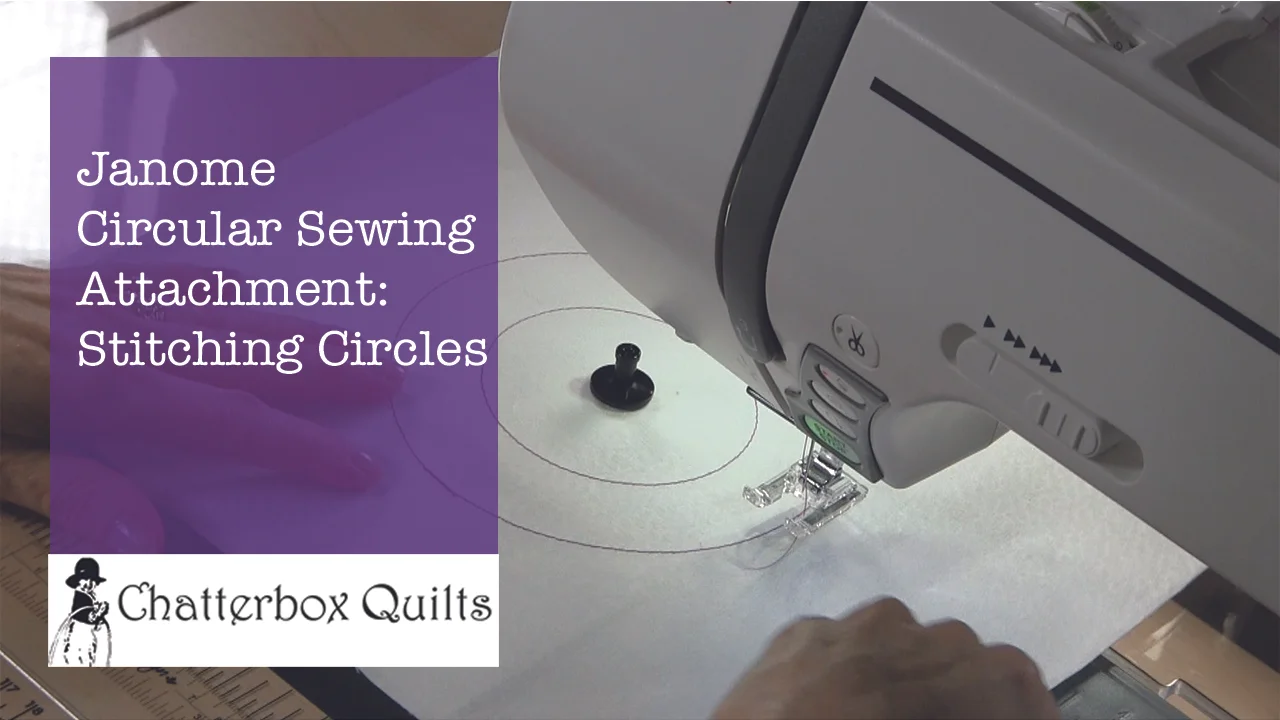
Telecast Thursday - Janome Circular Sewing Attachment: Stitching Circles
In a previous Telecast Thursday I gave you an overview of the Janome Circular Sewing Attachment; this week I'm going to show you how to stitch circles with it.
It's an easy and effective attachment to use - just watch out for that pointy pin! Much like using my rotary cutter - cut and close, cut and close - I always want to replace the plastic cap on the pin as soon as possible to avoid injury. I've jabbed myself a few times with it and it hurts, so do as I say, not as I do, and keep that cap on unless you really need to use that pin!
You can watch the video below or on my Youtube channel.
Next week I'll show you more uses for this amazing attachment.
Creatively,


Welcome! I’m Kim Jamieson-Hirst of Chatterbox Quilts, a YouTube creator and host of The Quilter’s Way. I believe that quilting is more than just a 1/4” seam and that practice makes improvement and you are improving every day!
Contact me at kjh@chatterboxquilts.com.


Want to improve your quilting and have fun doing it? Join The Quilter's Way, a private online membership site that creates successful quilters.

Check out my favourite books and tools.
As an Amazon Associate I earn from qualifying purchases from links that you may find on the Chatterbox Quilts’ website.