
CHATTERBOX QUILTS’ BLOG
Helping Quilters Learn and Improve
Vintage Quilting on the Handi Quilter Infinity
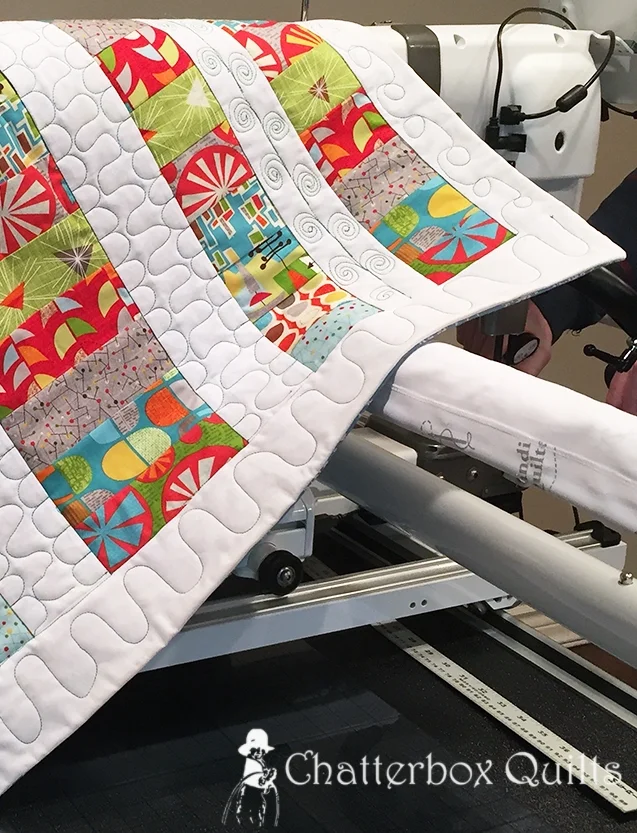
I've been playing with my Handi Quilter Infinity, learning how to use it, trying out different threads and practising various free motion quilting designs. I'm sure that this machine is smarter than me and it works its hardest at making my attempts look as good as it can. Having said that, I definitely need to practice more to achieve the perfect quilt motifs I hope to one day create.
While filming my on-line course, The Joy of Vintage Sewing Machines, I needed to create several samples of the projects created in the class. I hadn't yet quilted some of these samples, so they were perfect to play with on the Infinity. The only challenge with this particular sample (the vintage sewing machine cabinet cover) was that I had used the pillowcase method to create it, so the quilt top, batting and backing were already stitched together. I attached extra fabric on both sides so I could use my grippy things to hold the edges of the quilt out to each side. Yes, "grippy things" is a quilting term. This worked very well and I had no issues with tension in quilting this project.

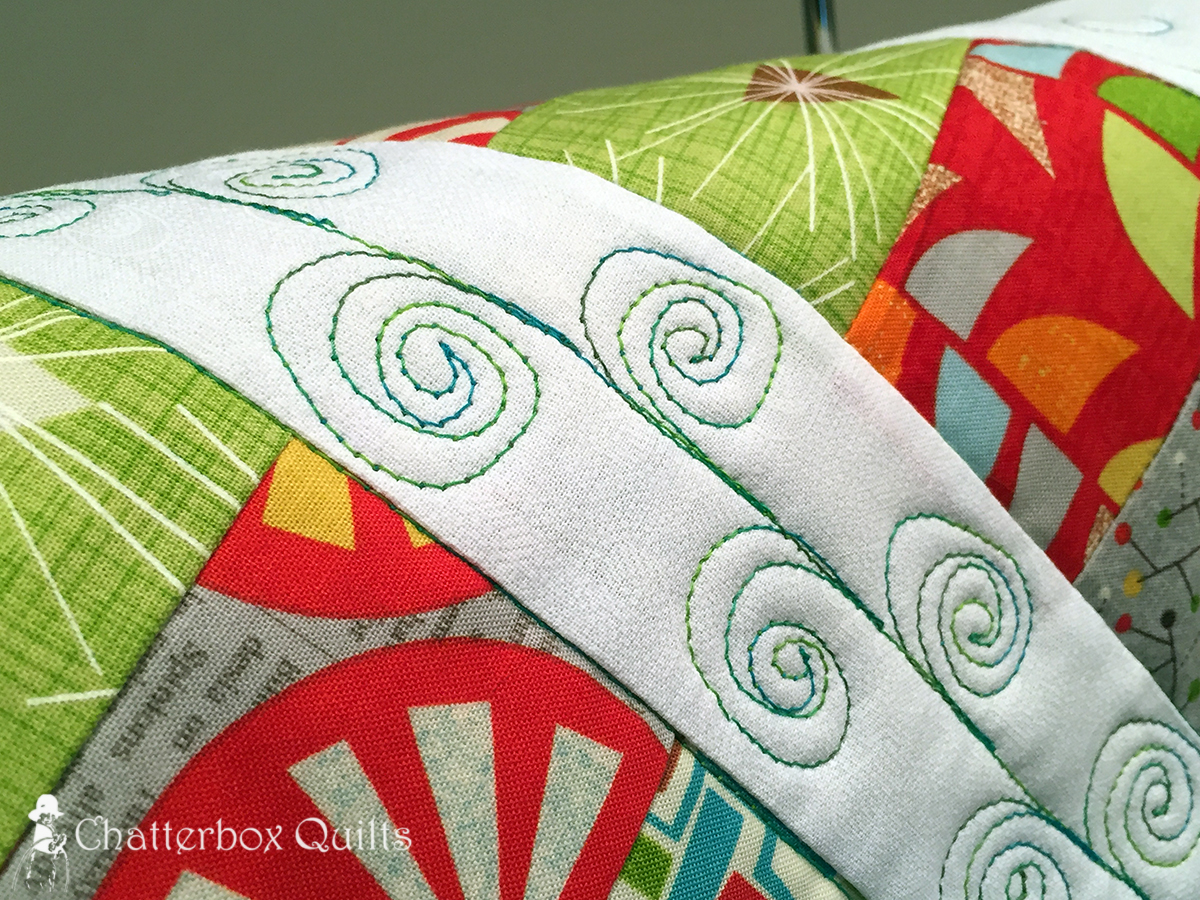
I used the seamed fabric as a registration mark for the bumps, hill, monster's teeth quilting: I put two of these motifs in each fabric strip - or tried to.

If I'd really wanted the centre squiggle design to be even, I could've marked it. Maybe I'll try that next time.

I like swirls, but am used to making them over a larger area. The challenge with these was to keep them in the white strip of fabric. I need to work on making them look rounder, rather than an oval or deflated O.
I stitched in the ditch around each seam - always difficult to do without a vertical locking system on the long-arm. I winged it and didn't do too bad. Maybe next time I'll try to use a ruler for this part of the quilting. I suppose you don't have to SID on a long-arm machine, but it does stabilize the quilt more and can make certain areas of the quilt more prominent.

As you can see, I used simple designs on this project. I could've stitched it with white thread and smaller motifs to just give texture, but I wanted to try out the Superior Thread's So Fine variegated thread that I had recently purchase. Plus, I love the green and aqua colour of the thread.
Let me know your favourite quilt motifs so I can try them on the Infinity. Just leave a comment below.
Creatively,

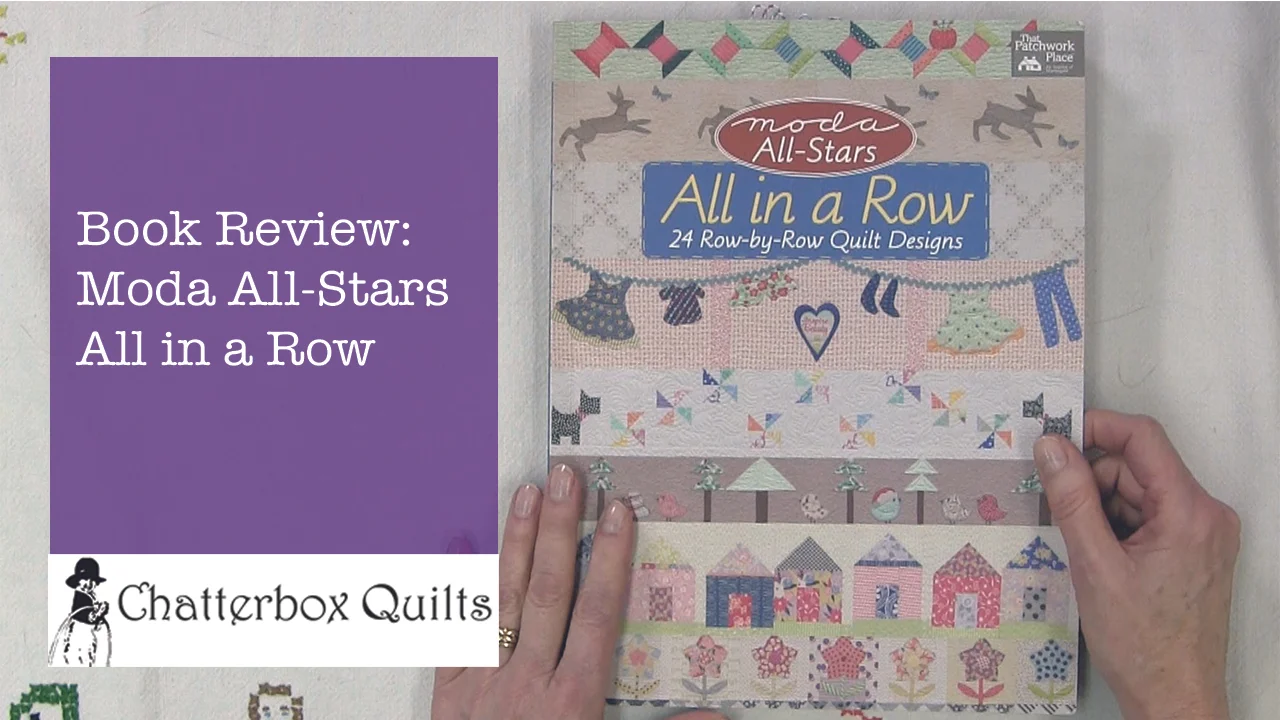
Telecast Thursday - Book Review: Moda All-Stars All in a Row by Lissa Alexander
Have you been swept up by the row quilt craze? I have yet to make one of these, but they do look like fun.
I recently received Moda All-Stars All in a Row from That Patchwork Place (a division of Martingale) and wanted to share my thoughts about this book with you.
First, it's a book about creating row quilts - I guess you could tell that from the title :) This book contains over 24 rows (designs) from some of my favourite designers. There are pieced rows and appliquéd rows, so it appeals to all types of quilters. The designs in the book allow you to create your own custom row quilt or not: there are suggestions for combining rows to create wall hangings and other smaller projects.
I liked the designs in this book a lot and while I don't know if I would create an entire quilt, I could certainly see me making a table runner or small wall hanging using these rows.
Watch the video below or on my Youtube channel to see more of Moda All-Stars All in a Row.
Have you created a row quilt or or considering doing one. Let me know your thoughts on row quilts in the comments below. To get your own copy of Moda All-Stars All in a Row, click here.
Creatively,
I am an Amazon affiliate and will receive a small amount of compensation if you purchase by clicking on the link in this blogpost. This helps me to continue posting video tutorials and information for you. Thank you!
Spring Sale at Chatterbox Quilts
Although spring hasn't officially arrived yet we've been enjoying spring-like weather in Calgary all through the month of February. We've had above average temperatures and below average snow days (only 1 so far!). This gorgeous weather makes me feel like celebrating, so I'm having a sale at the Chatterbox Quilts store. Enjoy savings of 15% on all patterns from March 1, 2016 until 11:59 p.m. March 8, 2016. That's quilt designs, embroidery patterns and soft toy designs too. Just enter SPRING2016 in the Coupons area when you check out to receive your 15% savings on your entire order.
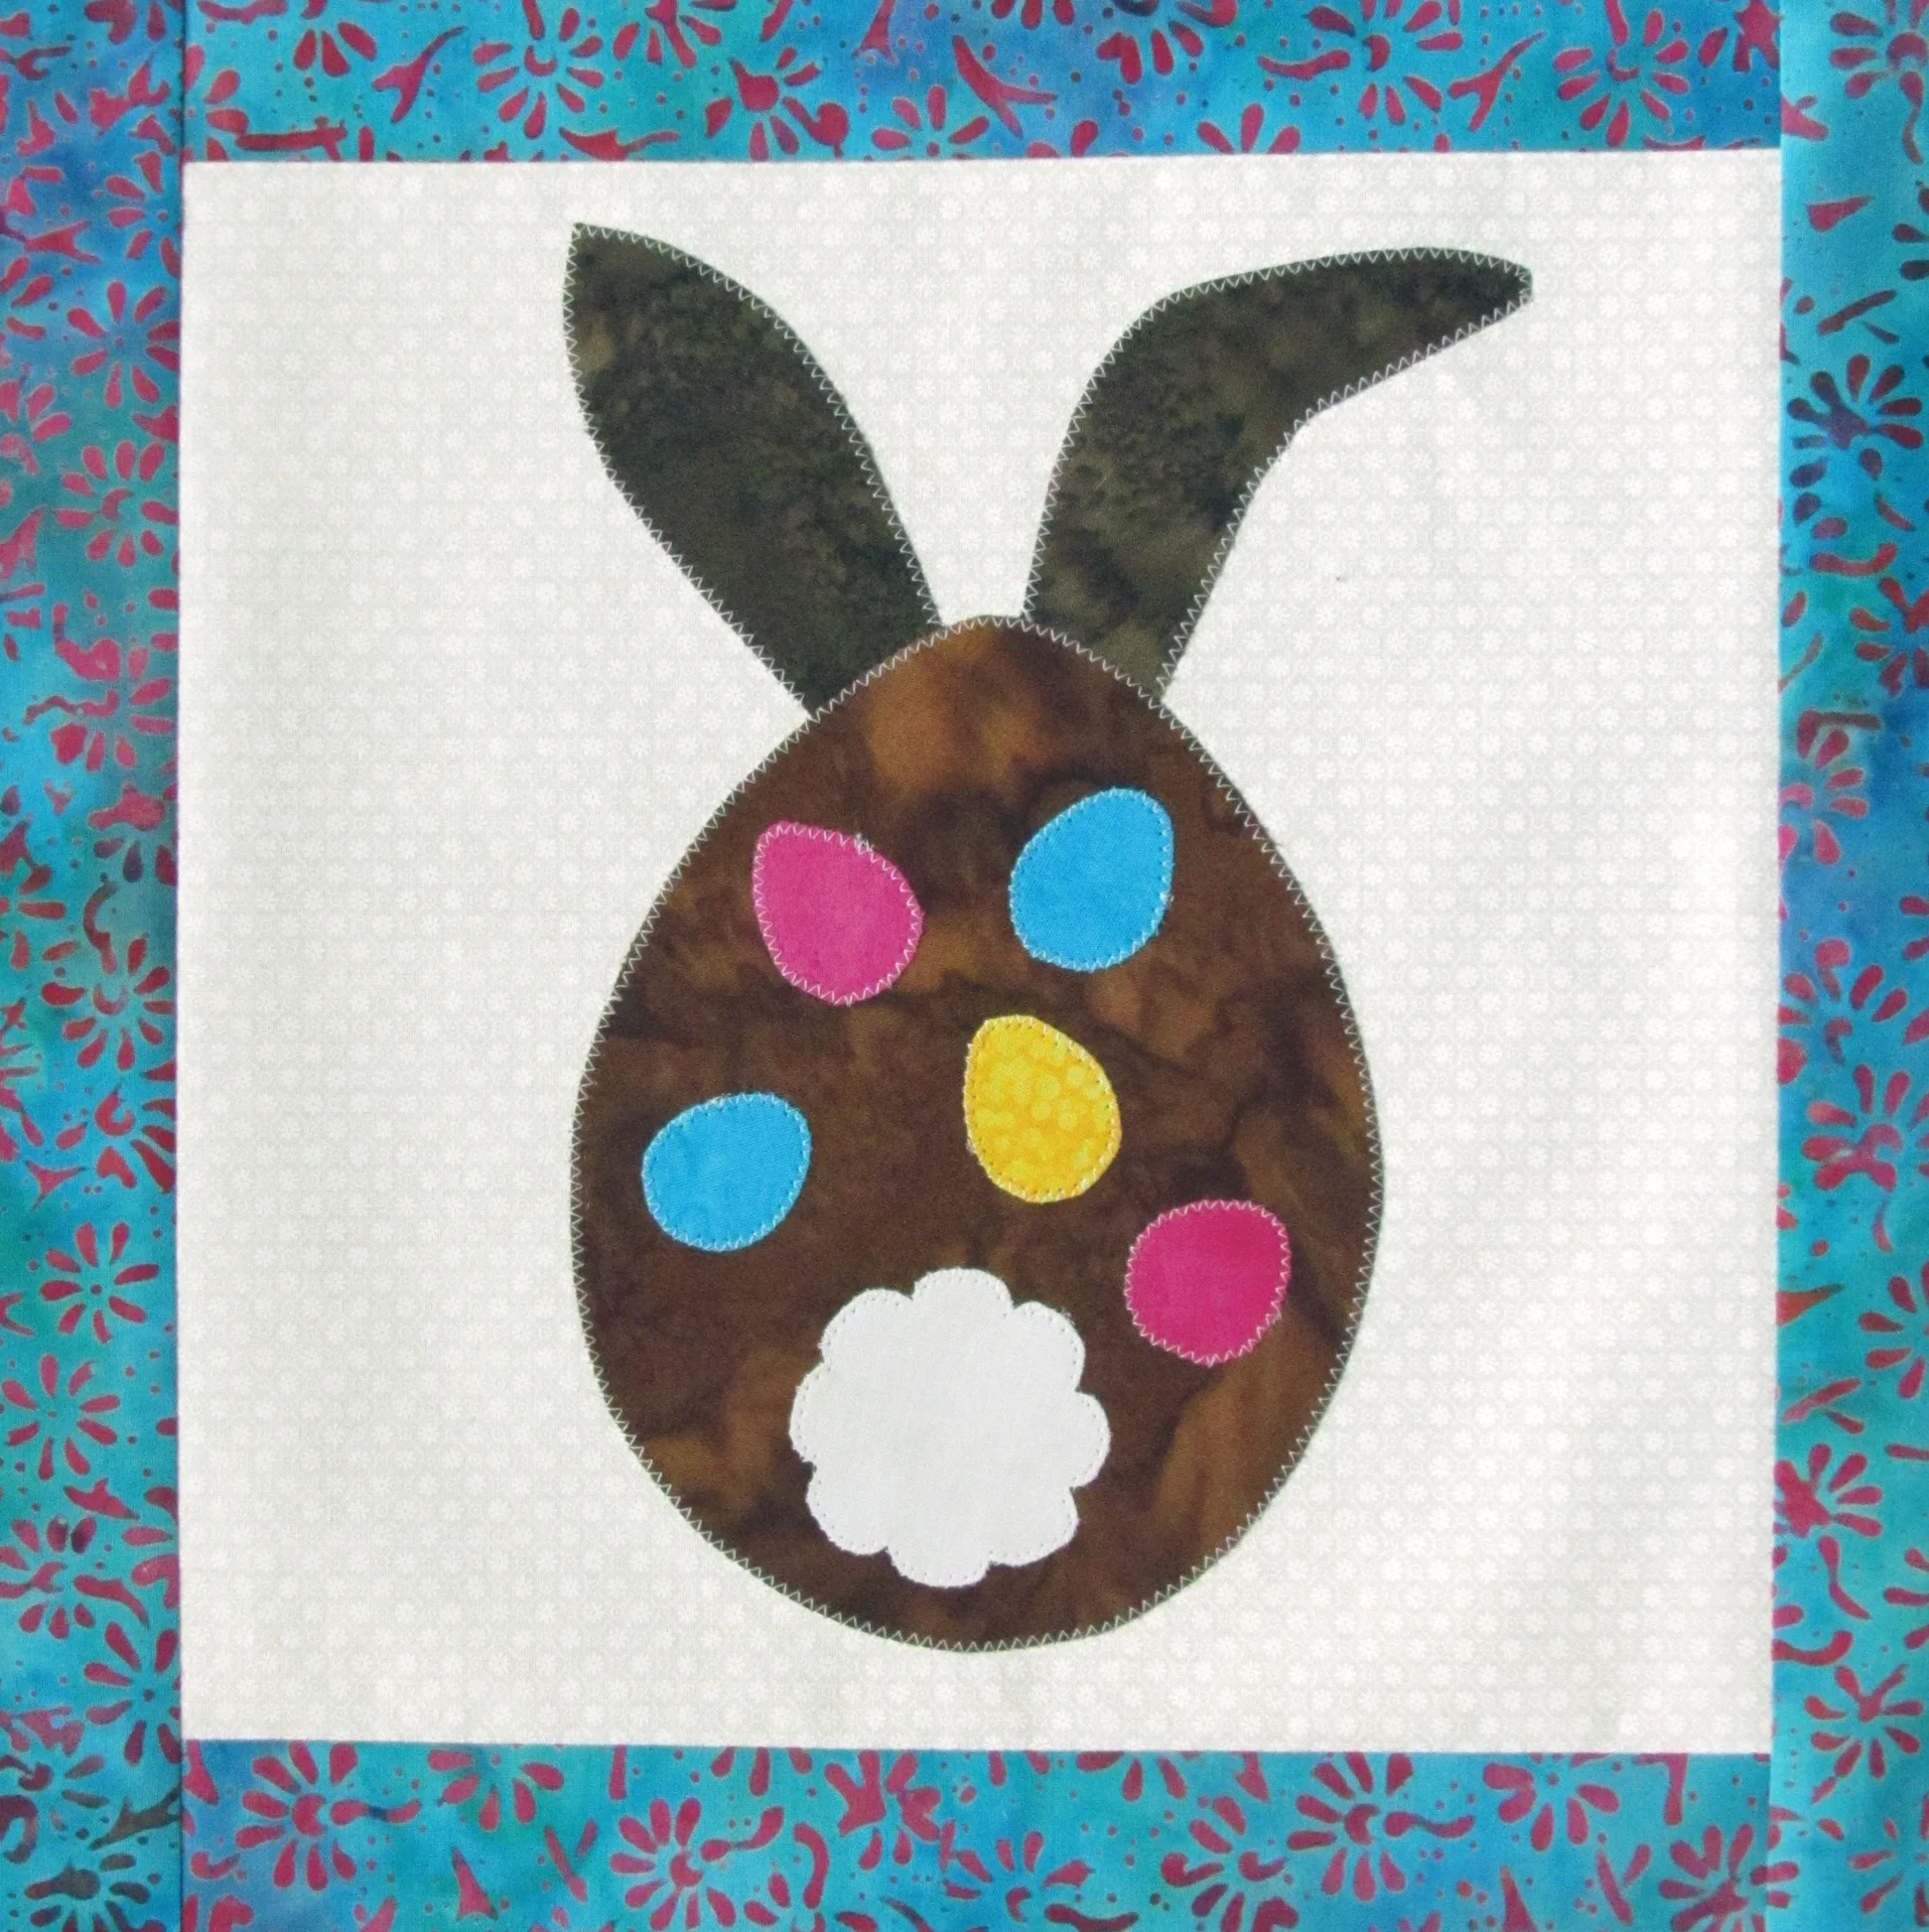
There are lots of great spring designs and there is still time to whip up an Easter wall hanging.
Here are a few of my favourite spring designs.

Blossoming

Baaack in Blaaack

Easter Blooms
If you need help in completing the embroidery or fusible web appliqué projects, check out my courses on Curious.com. If you'd like to save 20% off a Curious subscription, just send me an email at kim@chatterboxquilts.com for a special savings code.
Remember, the sale ends on March 8, 2016 at 11:59 p.m., so shop soon.
Creatively,


Telecast Thursday - Homemade Quilt Basting Spray
Now that I have a long arm quilting machine, I don't have to baste my quilt before quilting it ... unless I have a small project that I want to quilt on my domestic quilting machine (can't let those skills deteriorate!). I really don't like basting my quilt with pins or hand basting the layers together (does anyone do that anymore?), so I've been looking for an alternative - and I've found one!
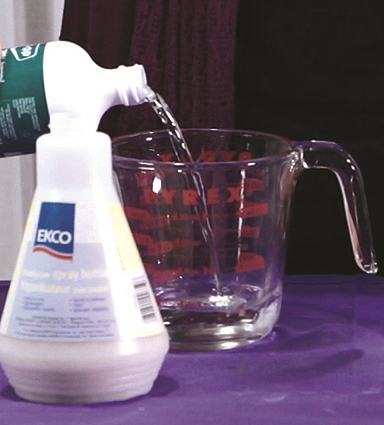
I discovered a recipe for homemade quilt basting spray and I'm pleased to share it with you. I found this recipe at California Quilting and found that it works very well (thanks, Janet!). It's much more economical than buying temporary spray adhesive and much easier on your fingers than pinning. Here's the recipe:
3 cups water (divided into 2 cups and 1 cup)
3 – 4 Tbsp. flour
½ tsp. salt
1 cup rubbing alcohol
Watch the video below or on my Youtube channel to see how to combine all these basic ingredients to create one fantastic quilt basting spray.
Subscribe to my Youtube channel to receive automatic notifications when new videos are posted. You can also click on the Chatterbox Quilts logo in the lower right corner on the video itself to subscribe. If you like what you see, please share my videos with your fellow creatives.
I hope you'll try this way of basting and will let me know if you're a convert to basting your quilts using this method.
Creatively,

Free Valentine's Project with the Brother Scan N Cut
Looking for a quick Valentine's Day project to create with your Brother Scan N Cut? I have just the one for you!

Charlie helped in the fabric selection for this project
I decided to whip up a quick wall hanging for Valentine's Day using some of the pre-loaded designs in my Scan N Cut. Here's the tutorial, so you can create your own wall hanging.
I wanted to create a vintage-y look with some scallops and hearts, so I decided to have a sprinkling of hearts on a scalloped background. This was so easy as these designs are already included in the Scan N Cut library.

Background layer was design BA-A010 in the designs already in the Scan N Cut
I chose a scalloped design for the appliqué background layer and enlarged it to be 10" x 16" (okay, it was really 10.01 x 16", but that's just a smidge off). I saved this to my library so I could use it again. Then I selected the heart motif and created four hearts; making each one a slightly different width and height.

Heart #1

Heart #2

Heart #3

Heart #4
Then the fun part began: choosing the fabrics! I decided to go with batiks for the hearts and managed to find 4 different reds/pinks for them. I decide to stick with a white fabric for the scalloped appliqué background so the hearts would really contrast with it. I also chose the patterned pink batik for the layer under the scalloped background
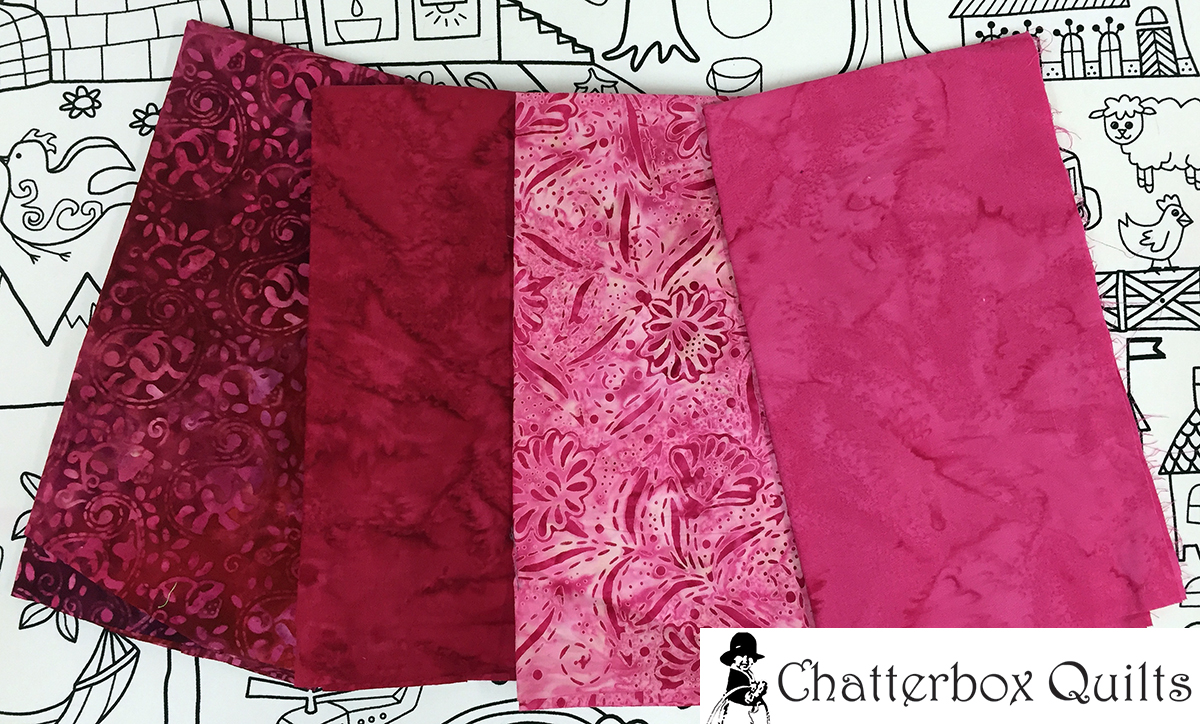
Lovely shades of red and pink batiks for the heart appliqués
I applied fusible web to the back of the heart fabrics, loaded them onto my Scan N Cut sheet and cut out the hearts. Easy!
Next, I fused fusible web to the back of the fabric that was going to scalloped and cut out the layer that would be underneath the hearts. Note, that I used the 12" x 24" mat to cut this part.
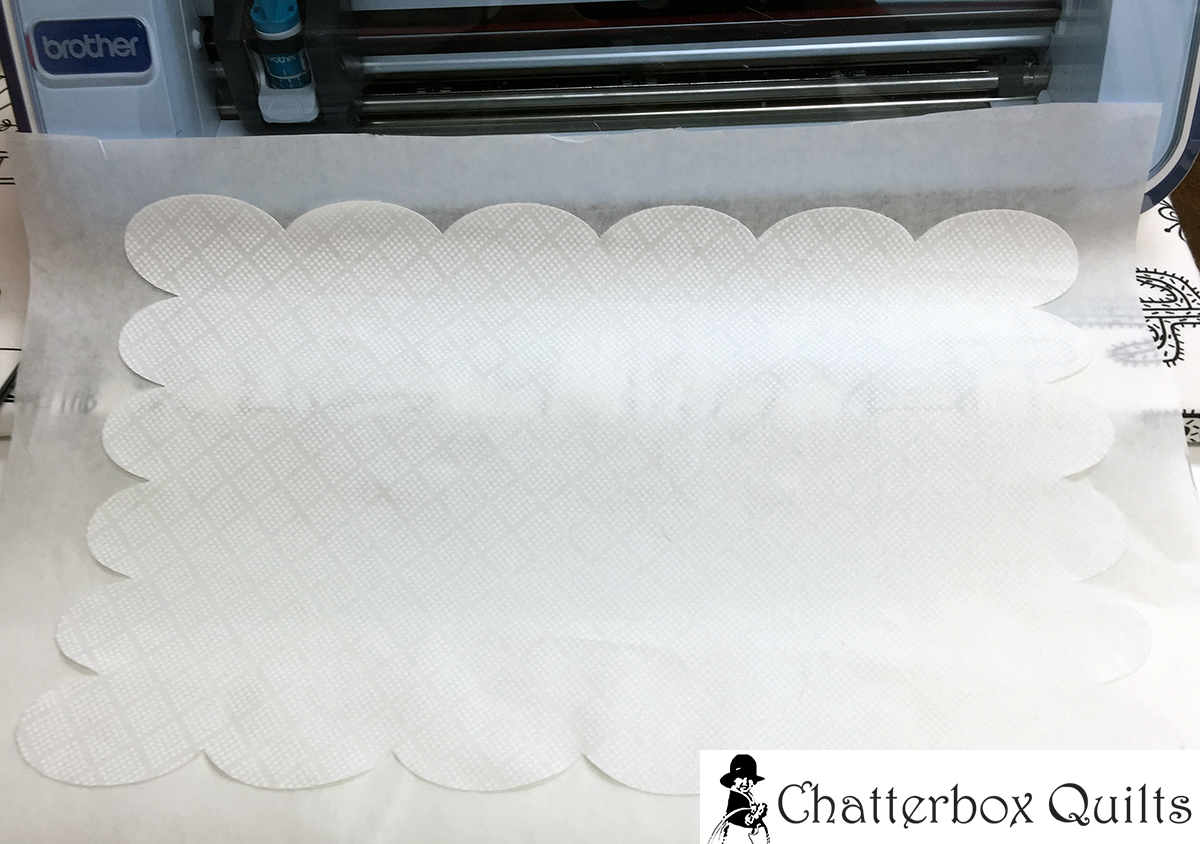
Lovely scalloped background all cut out!
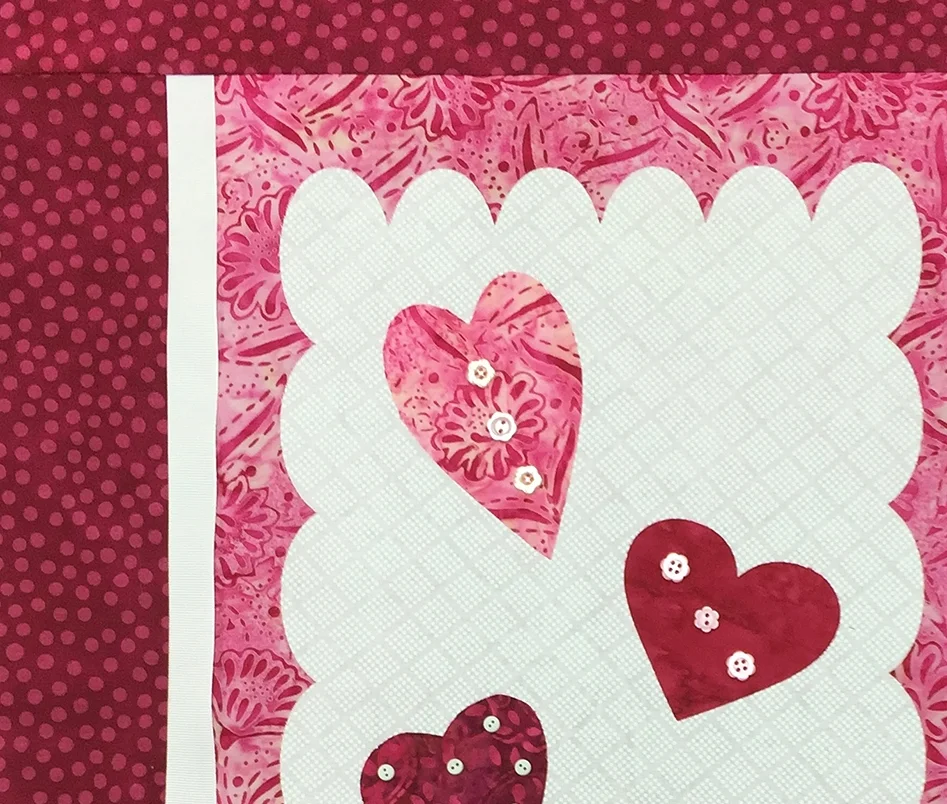
I arranged and fused the hearts to the scalloped background and then fused it all to a large piece (14" X 18") of pink batik. It was looking really great! I wanted to add a border around it all, so I selected a pink and red polka dot fabric and cut out 3" borders.
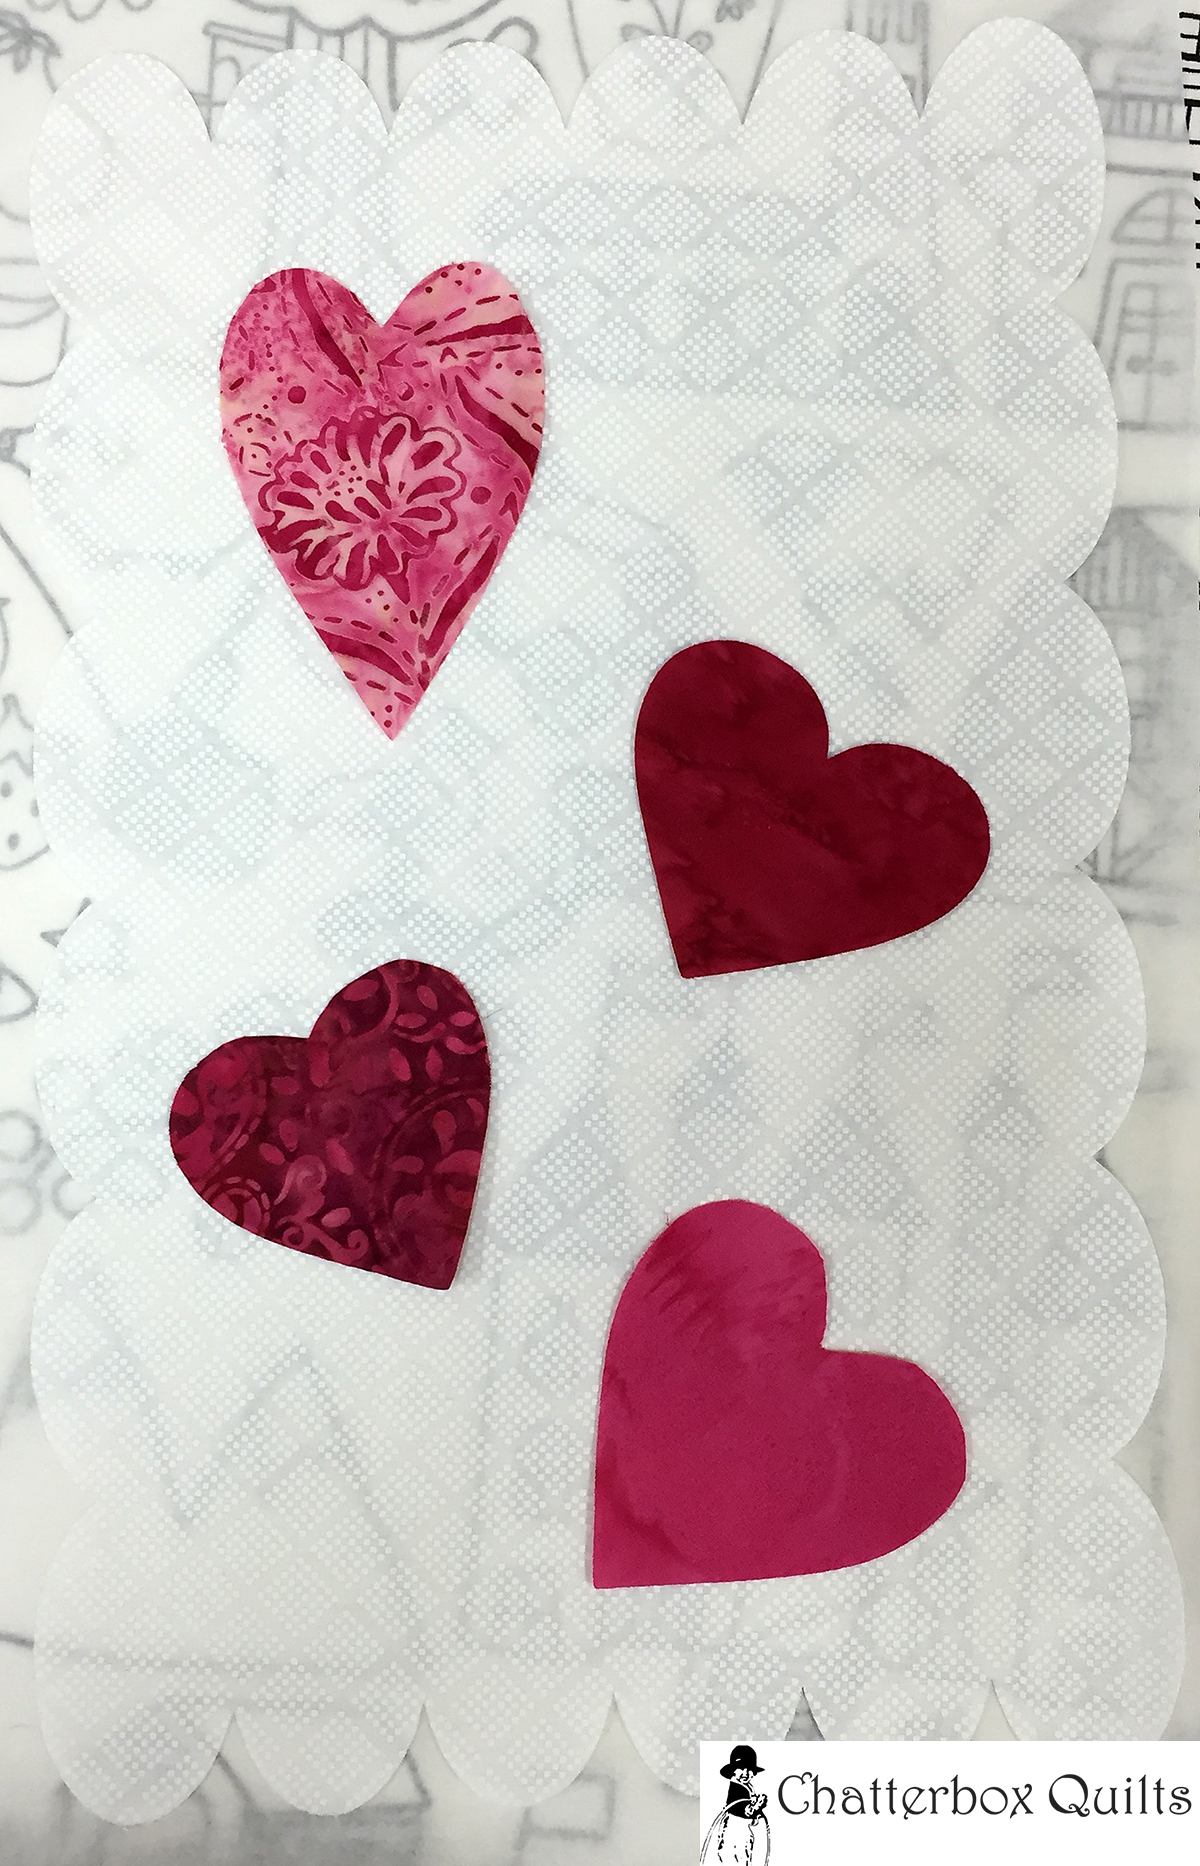
Hearts fused to the scalloped appliqué background
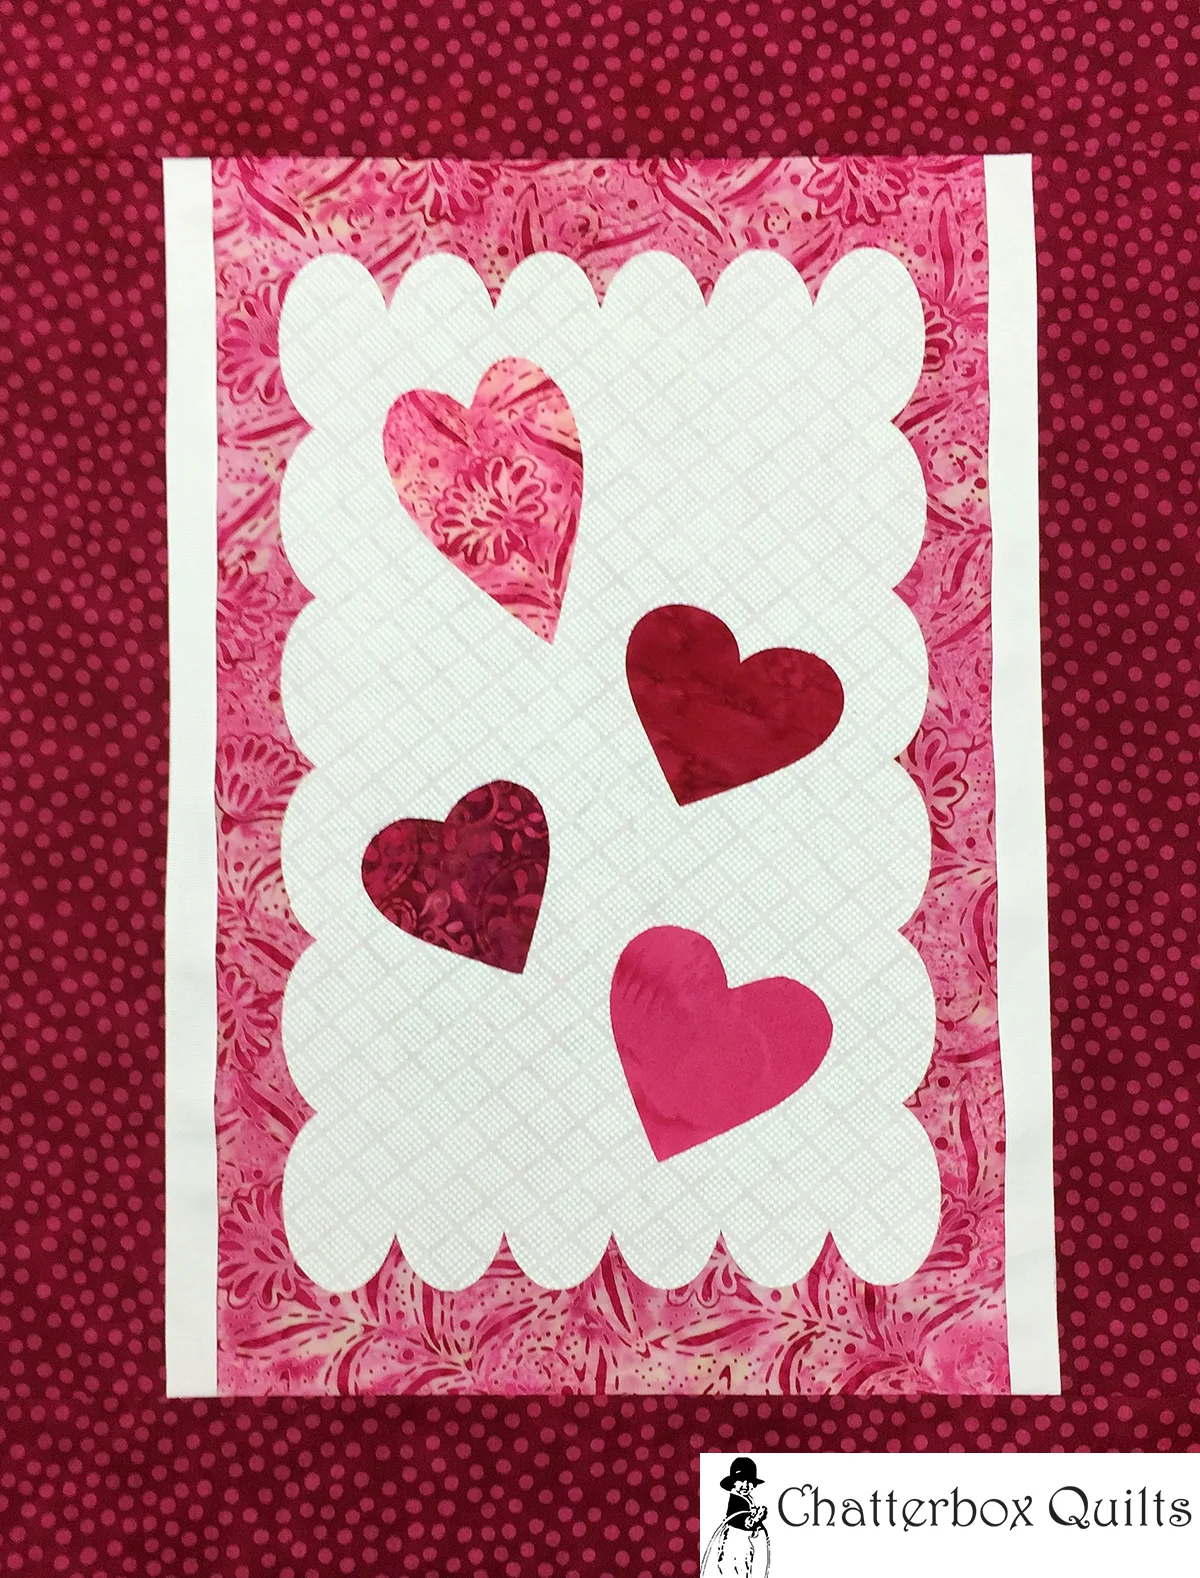
I thought it needed a bit more pizazz, so I inserted some 1" white ribbon between the background and the border – sort of like a flange. (I always save ribbons from gifts, candy boxes, etc. just for this purpose). I did this only on the sides so it created a nice linear frame before the outer border.

Next I added the top and bottom borders. Here's what the wall hanging looked like at this point.
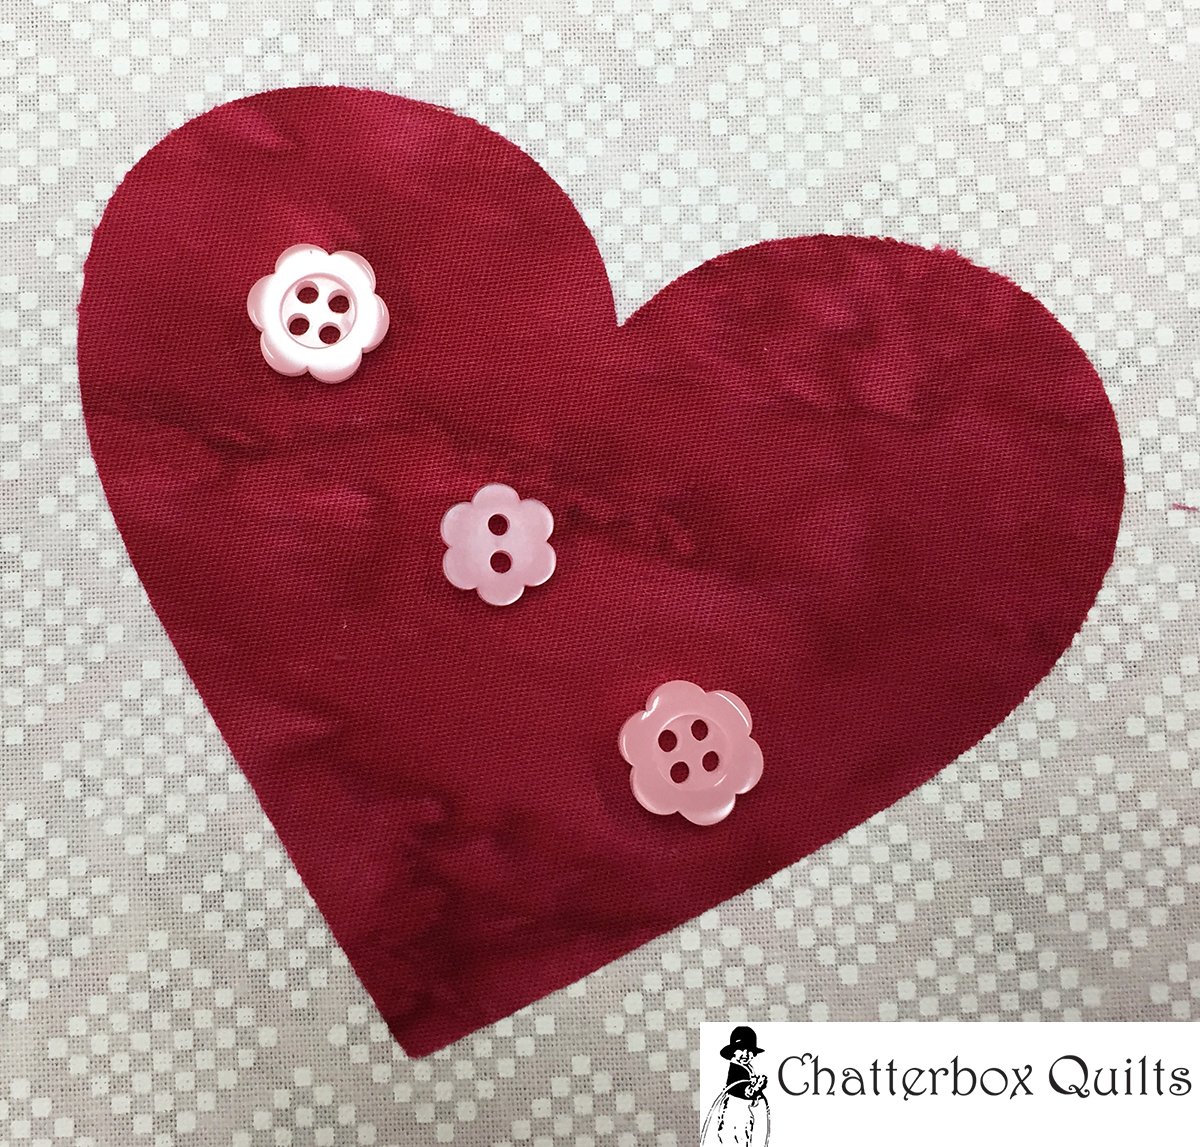
I was pleased with it but thought it needed a little something – how about some buttons? I just happen to have a few of these in my stash… so it was easy to find several different colours and types to jazz up the hearts.

Heart #1 all buttoned up!
Heart #2 looks great with floral buttons in pink

I used tiny buttons on Heart #3

I decided to add four buttons on the last heart - just because ;}
Here's a look at the final wall hanging top.

Yes, I know that there are only 3 buttons on the last heart - which one do you like better?
Since this is a wall hanging, I've decided to leave the edges of the appliqués unfinished (I know, daring, right?!). I just have to quilt this wall hanging and then stitch on the buttons (I may get lazy and just glue them on) and I'll have the perfect Valentine's Day decoration.
There's still time to create this Valentine's Day project with your own Scan N Cut machine, so I hope you'll give it a try.
Creatively,


Welcome! I’m Kim Jamieson-Hirst of Chatterbox Quilts, a YouTube creator and host of The Quilter’s Way. I believe that quilting is more than just a 1/4” seam and that practice makes improvement and you are improving every day!
Contact me at kjh@chatterboxquilts.com.


Want to improve your quilting and have fun doing it? Join The Quilter's Way, a private online membership site that creates successful quilters.

Check out my favourite books and tools.
As an Amazon Associate I earn from qualifying purchases from links that you may find on the Chatterbox Quilts’ website.