
CHATTERBOX QUILTS’ BLOG
Helping Quilters Learn and Improve
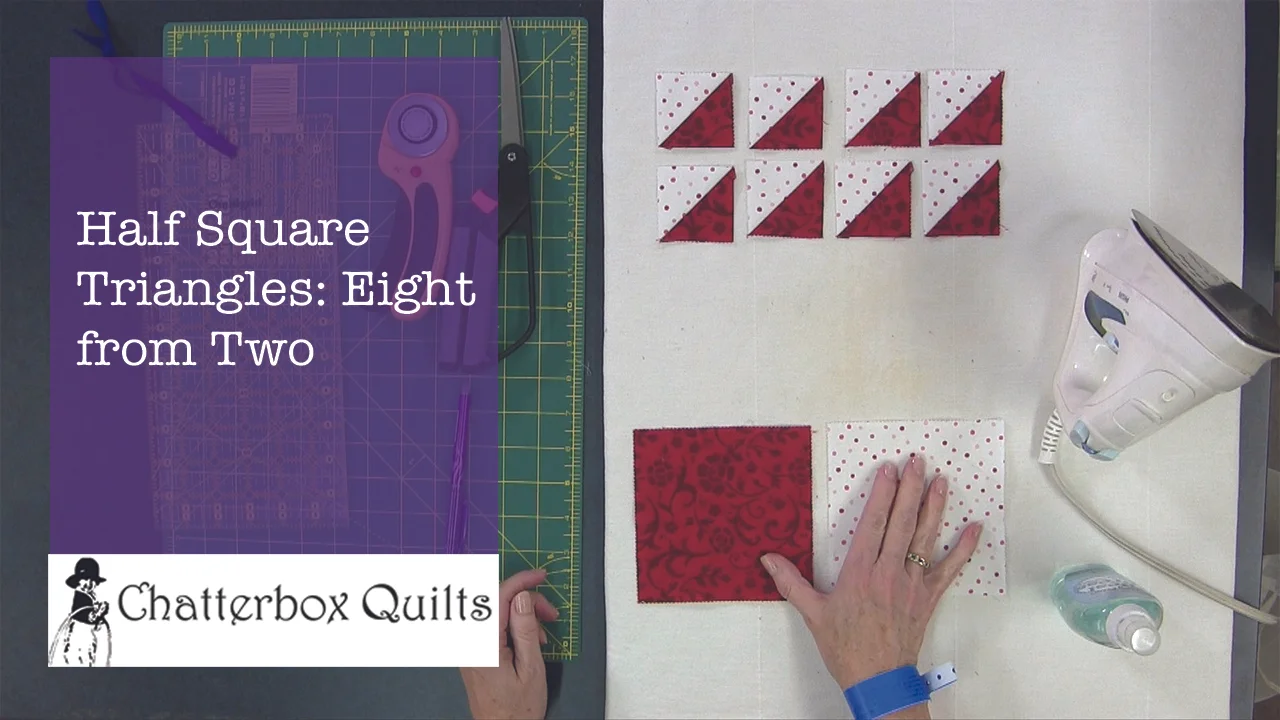
Half Square Triangles: Eight From Two
This sounds like a multiplication exercise, doesn't it? Last week I showed you how to make four half-square triangles from two pieces of fabric. Now, I'm going to up the game and show you a technique to make eight half-square triangles from two pieces of fabric. That's twice as many HST's! This is the multiplication part of the episode :)
This sounds like a multiplication exercise, doesn't it? It really isn't, but there is always some math involved in quilting and this Telecast Thursday episode is no exception.
Last week I showed you how to make four half-square triangles from two pieces of fabric. This Telecast Thursday, I'm going to up the game and show you a technique to make eight half-square triangles from two pieces of fabric. That's twice as many HST's! This is the multiplication part of the episode :)
For this technique, you will again use two pieces of contrasting fabric, but instead of four HST's, you will end up with eight of them.
Watch the video below or on my YouTube channel to see how to make this happen.
Be sure to subscribe to my YouTube channel to receive automatic notifications when new videos are posted. I hope you'll give this video and others you like a thumbs up and share it with your quilting friends.
I'm continuing with my series on half-square triangles and easy block units next week, so be sure to check back with me then.
Creatively,

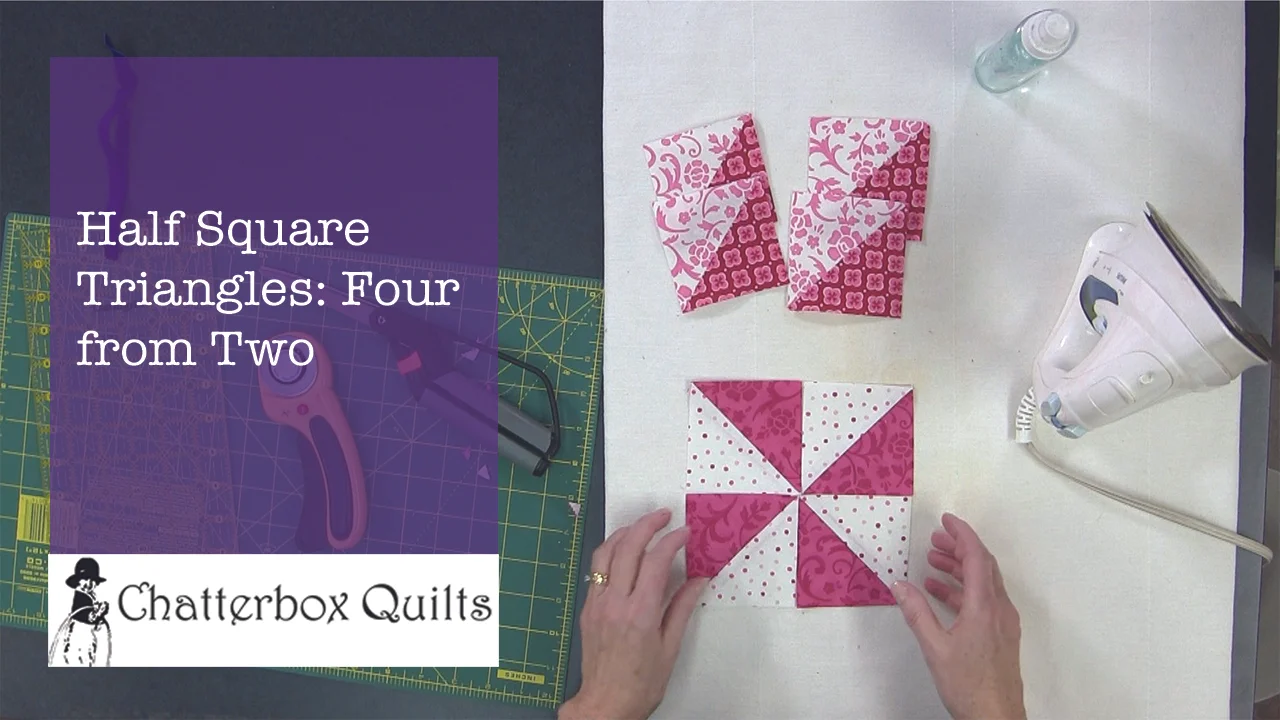
Half Square Triangles: Four From Two
I'm going to show you how to create four half-square triangles (or half square triangles, whichever you prefer) from two pieces of fabric. Okay, maybe this also sounds like a magic trick and it really does work like magic, but it isn't.
In this episode of Telecast Thursday I'm going to show you how to create four half-square triangles (or half square triangles, whichever you prefer) from two pieces of fabric. Okay, maybe this also sounds like a magic trick and it really does work like magic, but it isn't. Sorry to disappoint you but there isn't any real magic in quilting (just like no crying in baseball!).
You'll need two pieces of fabric the same size and I would suggest that there is a contrast between the two fabrics to get the appropriate effect. Two fabrics the same colour doesn't work very well and you'll just up with a pieced square. I'm using charm squares in my demonstration, but any size of square will work, but the pieces do have to be square. Rectangles and triangles just won't do!
To see how simple this technique is, watch the video below or on my YouTube channel.
Do you have an amazing way to create half-square triangles? Tell me about it in the comments below.
Next week I'll give you another way to create even more half-square triangles, so be sure to check back next Telecast Thursday.
Creatively,


How to use the Tracing Feature with the Janome Artistic Edge
This Telecast Thursday I'm going to let you in on one of my favourite features on the Janome Artistic Edge - besides the fact that it cuts amazingly well and is so fast too.
There are so many things that the Janome Artistic Edge can do: cut paper, vinyl, leather, fabric, apply crystals, and oh, so much more. I have been mostly using it to cut appliqué shapes from fabric and having great success using it to cut out the intricate appliqué shapes in the One World quilt. The SimpleCut software comes pre-bundled with the Janome Artistic Edge and is used to operate the machine. It has many helpful features and one of these is the "trace" feature. I use this feature all the time for two reasons:
- to tell me exactly where the Edge will be cutting the appliqué shape out of my fabric, which allows me to make any necessary adjustments.
- to tell me how much fabric I need to prepare for appliqué shapes which makes for economical use of fabric and fusible web.
To see more detail on how to use the trace feature, watch the video below or on my YouTube channel.
This is just one of the advantages of the SimpleCut software and the more I'm using it, the more I realize how much it can do!
If you have a digital cutter, let me know in the comments below what your favourite feature is.
Creatively,


Janome Artistic Edge: Fabric Preparation
It's Thursday and that means it's time for another Telecast Thursday blogpost.
This week I'm taking a look at how to prepare your fabric to be cut with a digital cutter, such as the Janome Artistic Edge. It seems that some cutters don't like it when fabric is fabric-y and not paper-y. In this video I'll show you how to make your fabric stiffer - more paper-y - so that the digital cutter can do its very best job.
Watch the video below or on my YouTube channel.
Subscribe to my YouTube channel so you'll always receive a notification when I post a new video. If you like this video, I hope you'll share it with your quilting friends.
Let me know your best tips to achieving peak performance from your digital cutter in the comments below.
Creatively,

Book Review: Pat Sloan's Teach Me to Machine Quilt
I've been catching up on my quilt book reading over the winter holidays and found one that I'm sure will be a big help for beginner quilters. It's always a struggle to learn something new, but with Pat Sloan helping you, it's a piece of cake.
In her latest book, Teach Me to Machine Quilt, Pat is helping you learn how to quilt on a domestic sewing machine. Learning to machine quilt is always a challenging technique for new quilters and can be quite intimidating. Pat takes the "fear factor" out of machine quilting. In Teach Me to Machine Quilt she explains the entire process: choosing batting, learning how to set up your sewing machine and how to actually quilt that top.
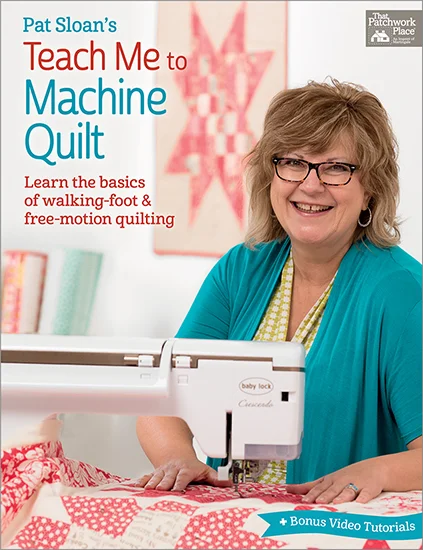
Photo courtesy or www.martingale-pub.com
I like how Pat eases you into this process. She doesn't jump into free motion qullting right off the start. She starts by showing you how to quilt using your walking foot and demonstrates the various quilting designs that can be achieved with it. This is a great place for a beginning machine quilter to start as it is similar to the piecing process: you're using the machine's foot to create the quilting design.

Photo courtesy or www.martingale-pub.com
Once you've mastered this technique, she gently guides you through learning how to free motion quilt. Again, Pat chooses simple designs to start before moving on to slightly more complicated quilting motifs.

Photo courtesy or www.martingale-pub.com
To make it easy to try these different machine quilting motifs, Pat includes patterns in the book and suggests which designs would work well with these projects. You get to make a new project and quilt it at the same time. No "quilt as desired" in this book (a term I really don't like).

Photo courtesy or www.martingale-pub.com
Watch my video review of Pat's book below or on my YouTube channel.
If you're a beginning quilter or a more advanced quilter who wants to try some different motifs, you'll want to add Pat Sloan's Teach Me to Machine Quilt to your quilting library.
Creatively,

P.S. I am an Amazon affiliate and as such I receive a small amount of compensation should you purchase a product through a link in this blogpost. Thanks for continuing to support Chatterbox Quilts.

Welcome! I’m Kim Jamieson-Hirst of Chatterbox Quilts, a YouTube creator and host of The Quilter’s Way. I believe that quilting is more than just a 1/4” seam and that practice makes improvement and you are improving every day!
Contact me at kjh@chatterboxquilts.com.


Want to improve your quilting and have fun doing it? Join The Quilter's Way, a private online membership site that creates successful quilters.

Check out my favourite books and tools.
As an Amazon Associate I earn from qualifying purchases from links that you may find on the Chatterbox Quilts’ website.