
CHATTERBOX QUILTS’ BLOG
Helping Quilters Learn and Improve

Learn about Monograms on the Janome 9400
There are a lot of functions on the Janome Horizon Memory Craft 9400 QCP and one of these is monogramming. Yes, you can add initials, words or phrases with this essential function.
While I don't typically add words or letters to my quilts, I did use this function when creating the Community quilt sample and it was very easy to do and the results were fantastic!
There are many options in the monogram area on the Janome 9400: different fonts, large and small letters and upper or lower case. There are also symbols, not just letters, available for your use.
Learn how to create your own words or monograms with the Janome 9400 by watching the video below or on my YouTube channel.

Do you like to add letters to your quilt or other sewing projects? How would you use this function on the Janome 9400 in your projects? I'd love to hear your ideas, so please leave me a comment below.
Creatively,


Janome 9400 Foot Pedal or Not
You may not get very excited about the foot pedals on your sewing machine, but I certainly did when I discovered that the Janome Horizon Memory Craft 9400 QCP had not one, but two foot pedals!
You may wonder why a sewing machine would have or need more than one foot pedal. After all, doesn't it just start and stop the machine? Well, yes and no. The Janome 9400 has a very large foot pedal, which is the one that stops and starts the machine, but it also has a little foot pedal that has another function: to cut the thread. Yes, now you can cut the thread with your foot!
While the discovery that I could use the small foot pedal to cut my thread was very exciting for me, there was more! Both foot pedals can be attached to a base which has non-skid dots on the bottom so it won't slide around on the floor. Brilliant!
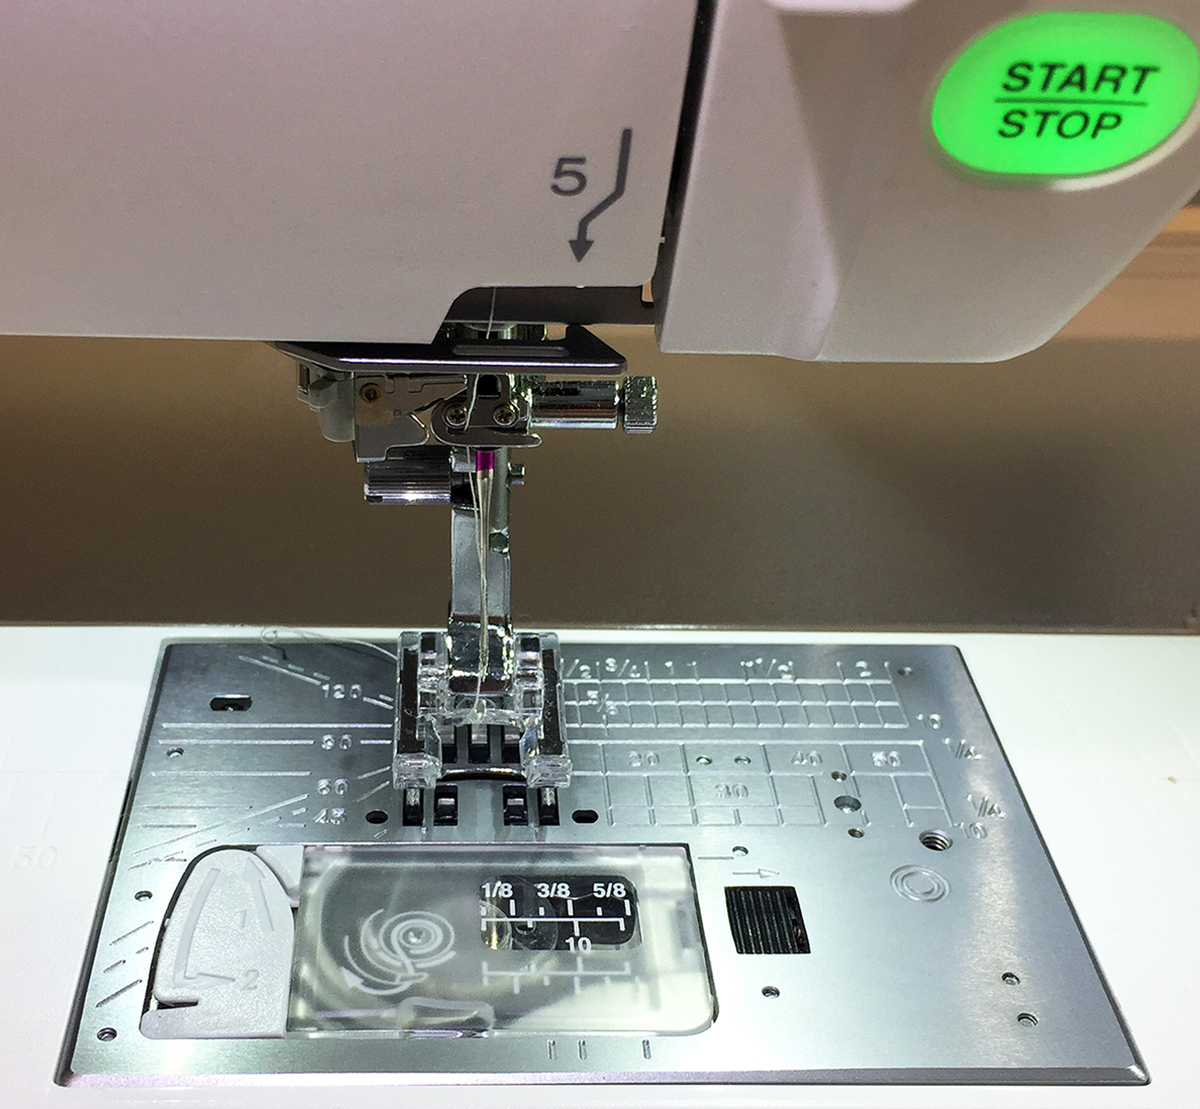
In addition to using the foot pedals, there is another way to start and stop the Janome 9400 and to cut the thread. Learn about these features by watching the video below or on my YouTube channel.
Would you prefer to stitch with your feet or use your hands to control your sewing machine. Leave a comment below to let me know which you prefer and when you might find one or the other of these options the most helpful.
Creatively,


Fusible Web Appliqué with the Janome Horizon Memory Craft 9400 QCP
You might be afraid of it, but I'm not: the "A" word, appliqué, that is. So many people think that appliqué is difficult to do, but it's really not. Some types of appliqué may be more time consuming to do, but my favourite appliqué, fusible web or raw edge appliqué is super simple.

Community Quilt sample
The Community Quilt Along that I hosted was a fusible web appliqué project. The sample for this four part online quilt along was so easy to do with this technique and with the help of the Janome Horizon Memory Craft 9400 QCP. There are so many helpful features on this machine, you would almost think it was made just for fusible web appliqué, but of course it is capable of handling much more than just that.

Janome Horizon Memory Craft 9400 QCP

Retractable High Light

Needle Up/Down and Presser Foot Lifter Buttons
Open Toe Appliqué Foot
In the video below or on my YouTube channel, you'll see the features that were so helpful when creating the Community quilt sample: automatic presser foot lifter, awesome retractable light, needle up/down, and more.

Finishing the edges of my fusible web appliqué pieces was almost intuitive using the Janome Horizon Memory Craft 9400 QCP. It didn't take long to get into a rhythm as I stitched around each of the appliqué pieces. Not only did it make the process easy, but I'm sure that it was also much quicker than if I had been sewing with another machine that didn't have these features.
I'm looking forward to exploring more features of the Janome 9400 as I create new quilt projects.
Creatively,


The Forgotten Featherweight: How an assessment kit helps you buy a working machine.
Once I confirmed that the sewing machine was still available, I jumped in the car with my cash in hand. I have an evaluation kit that I take with me when I’m looking at purchasing a “new” vintage sewing machine. It helps me make sure that a "great deal" is also a working machine. I was in such a hurry, that I almost forgot to take it with me, but remembered and grabbed it just before I jumped in the car. I was so glad I did! I have a link in the blog to a free Evaluation Kit List so that you can put together your own kit for your next vintage sewing machine shopping excursion.
You’ll never guess what I just tripped across while rearranging furniture in my quilting studio: a SINGER® Featherweight sewing machine! Okay, I know I have two of these machines already: a 221 and a 222K, but I didn’t remember that I have three of them. I guess I do!
My hubby was just as surprised as I was. When I took a closer look at the machine I remembered when and where we got it – and hubby was with me when I picked it up. It seems that I wasn’t the only one who had forgotten about this purchase!
This “forgotten” Featherweight was acquired several months ago in north Calgary. This was an impulse purchase – okay, most of my vintage sewing machine purchases are – but I really jumped on this one quickly as the price was so good. I found it on kijiji – I read kijiji ads every day like other people read the morning newspaper – and when I saw the price I immediately sent an email to the seller. Once I confirmed that the sewing machine was still available, I jumped in the car with my cash in hand.

I have an evaluation kit that I take with me when I’m looking at purchasing a “new” vintage sewing machine. I was in such a hurry, that I almost forgot to take it with me, but remembered and grabbed it just before I jumped in the car. I was so glad I did!
When we got to the seller’s home, the machine was in his garage and the lighting was dim. I immediately grabbed my flashlight from my evaluation kit so I could check it out thoroughly. After determining that it did indeed stitch – again thanks to the machine needle and thread spool that I carry in my kit – I took a closer look at the case and attachments that were included with the machine. The attachment bin that is attached on the left side of the case was missing a screw, but I knew that I could fix this pretty easily, so this wasn’t a deal breaker. The sewing machine oil that I carry in my evaluation kit wasn’t needed to get this machine running as the machine was very clean and had been recently oiled, but this isn’t usually the case. I didn’t need some of the other items in my evaluation kit, again due to the cleanliness of the machine.
While I was tempted to just grab the Featherweight and go, I was glad that I had my evaluation kit with me so I could really check it out before making the purchase.
Watch the video below to see more about the FeatherWeight I purchased and the items in my assessment kit I took with me to make sure that it really was a “good deal”..
To help you set up your own evaluation kit I’ve created a FREE printable Vintage Sewing Machine Evaluation Kit download. Print it out now so you can start setting up your own evaluation kit to take with you when evaluating a potential vintage sewing machine purchase.
With your own evaluation kit, you’ll always be ready to check out a vintage sewing machine for purchase.
If you are thinking of buying a vintage sewing machine you may be interested in my eBooks for buyers (click here). If you are thinking of selling your machine you may be interested in my How To Sell a Vintage Sewing Machine eBook.
Please share this information with your friends by clicking on the "Share" button below.
Creatively,

P.S. Join the private Chatterbox Quilts Facebook group for quilting and vintage sewing machine information.
Top 10 Tips for Rejuvenating Your Vintage Sewing Machine
The best thing about owning a vintage sewing machine is… no, not stitching with it, which is pretty amazing, but repairing and maintaining it. Unlike modern machines, vintage sewing machines need a bit more TLC, but I love this part of working with my machines.
I feel a deep connection with my machine and love learning all its little quirks. This connection is deepened when I clean it, make simple repairs, and oil it. I get a real feeling for how to get the best from my vintage sewing machine and learn when it needs a little maintenance or oiling. (I’m thirsty, feed me).
The best thing about owning a vintage sewing machine is… no, not stitching with it, which is pretty amazing, but repairing and maintaining it. Unlike modern machines, vintage sewing machines need a bit more TLC, but I love this part of working with my machines.
I feel a deep connection with my machine and love learning all its little quirks. This connection is deepened when I clean it, make simple repairs, and oil it. I get a real feeling for how to get the best from my vintage sewing machine and learn when it needs a little maintenance or oiling. (I’m thirsty, feed me). I find the modern machines to be so self-sufficient and it doesn’t feel as much of a partnership when I work with them. I also love the fact that I can do most of the repairs and maintenance on my vintage sewing machines myself: I wouldn’t dare touch the electronics on my modern machine!

Don't forget to oil underneath your vintage sewing machine
There are a few tips that I’d like to pass onto you about working with your vintage sewing machine:
The first tip is to “be safe” when doing maintenance or repairs on your vintage sewing machine. You always want to unplug your machine when doing any type of maintenance. I have heard of cases where machines can start up even though the foot pedal of knee controller has not been touched. You don’t want this happening and accidentally stitch yourself – ouch! So, be safe, and unplug your vintage sewing machine.
You always want to use the proper equipment, materials and tools. Using the wrong size of screwdriver can damage a screw head making it very difficult, if not impossible, to take out screws when you need to clean or oil inside the machine. You don’t want to do that. You want to use oil and not grease in some areas and vice versa in others. Don’t mix these up or you’ll regret it. Get the right tools and materials and your maintenance and repairs will run smoothly for you.
If you have a “new” vintage sewing machine, you want to clean it first before stitching with it. You want to clean it before you oil it. No point in oiling a dirty machine, you’ll just compound the problem. Clean the machine first and then you can continue with your maintenance.
While there are lots of simple repairs that can be done on vintage sewing machines, there are others that might be beyond your abilities. If you know how to do wiring, by all means go ahead and repair any wiring issues with your machine. If wiring is beyond your ability, take your machine to an expert for repair. You want to ensure that some things, especially when they involve carrying an electrical current, are done properly.
Once your machine is cleaned and repaired, you will want to polish it. I like to remove and clean the metal parts first and then clean the machine itself before replacing the metal pieces on it. This avoids getting metal polish all over the machine. There are some parts that may be difficult to remove, so just clean those as best you can and be sure to wipe off the machine body of any metal polish when you are done. Cleaning the machine’s body can be done with sewing machine oil and will need to be reapplied every so often. My favourite part of working with my machines is polishing them: they look so gorgeous afterwards.
Your vintage sewing machine will need periodic oiling. Refer to the machine’s manual to determine the oiling points and remember, a little is enough. Don’t drown your poor machine in oil as it will only form a gummy mess inside. Just a small drop is sufficient.
When winding a bobbin, you’ll need to unscrew the stop motion screw on the hand wheel and engage the bobbin winder. Remember to tighten the stop motion screw again once you are done winding the bobbin so the machine will stitch again. Having problems with the machine not stitching (needle not going up and down)? Check the stop motion screw and I can almost guarantee you that it hasn’t been tightened. Everyone does this at least once…or twiceJ.
This one is really important to remember: don’t run the machine without fabric between the presser foot and the feed dogs. Just not a good thing to do. If you’re putting down the presser foot, there should be fabric underneath it. Enough said.
Always, always, unplug your vintage sewing machine when you are not using it. Most of these machines don’t have on/off switches on them, so if they are plugged in, they are “on”. An accidental touch on the foot pedal and your machine can be off and running, without you to guide it. Avoid accidents and unplug your machine once you’ve finished stitching.
The most important tip I have for you is to use your vintage sewing machine. After all, that’s why you bought it, right? There’s nothing better than creating with your vintage sewing machine after you’ve cleaned it, repaired it and shined it up. Enjoy!

My first vintage sewing machine purchases, a SINGER® 99K
I’ve created a FREE printable guide, The Top 10 Tips for Rejuvenating Your Vintage Sewing Machine, with all of this valuable information that I know you’ll find helpful. Download and print out The Top 10 Tips for Rejuvenating Your Vintage Sewing Machine to use when you are working with your vintage sewing machine.
If you are thinking of buying a vintage sewing machine you may be interested in my eBooks for buyers (click here). If you are thinking of selling your machine you may be interested in my How To Sell a Vintage Sewing Machine eBook.
Please share this blog post with your friends by clicking on the "Share" icon below.
Do you have any tips for working with your vintage sewing machine? Leave your tips in the Comments below.
Creatively,

P.S. Join the private Chatterbox Quilts Facebook group for quilting and vintage sewing machine information.

Welcome! I’m Kim Jamieson-Hirst of Chatterbox Quilts, a YouTube creator and host of The Quilter’s Way. I believe that quilting is more than just a 1/4” seam and that practice makes improvement and you are improving every day!
Contact me at kjh@chatterboxquilts.com.


Want to improve your quilting and have fun doing it? Join The Quilter's Way, a private online membership site that creates successful quilters.

Check out my favourite books and tools.
As an Amazon Associate I earn from qualifying purchases from links that you may find on the Chatterbox Quilts’ website.