
CHATTERBOX QUILTS’ BLOG
Helping Quilters Learn and Improve

7 Reasons to Enrol in an On-line Course
On-line courses are one of my favourite ways to learn and they are certainly a popular way to learn for other creatives as well. It got me thinking about reasons to take an on-line course and I've come up with 7 of them. Here they are:
1. You can learn in your pj's - without make-up. Okay, maybe I'm the only one with full make-up on when I leave the house, but I doubt if anyone shows up for a quilting or stitching class in their pj's! With an on-line class, you don't have to get dressed up - or dressed at all - to learn.

2. You can access your on-line course anytime night or day. Can't sleep at night? Put on your earbuds and learn. You can learn on your schedule, whenever it is convenient for you - day or night.

3. You have one on one access with the teacher. As an on-line instructor I receive emails from my students with their specific questions. I can answer their questions and spend as much time as needed to ensure that their questions have been fully answered. No more waiting in line to talk to the teacher - and you don't need to bring her an apple :)

4. You don't have to pack up your supplies and sewing machine to attend an on-line class. Just gather the required supplies and stitch in the comfort of your own home at your own sewing table.

5. You can save on class supplies. I have enrolled in "live" courses where I've bought all the supplies on the materials list only to find that I really didn't need all of them. With an on-line course, you can watch the course first and then determine the supplies you will need to purchase before starting your project.

6. You have continuous access to the course. You can watch the course as many times as you like. Halfway through the course and then have to stop and attend to other matters? No problem, just pick up the course again and start watching when you have time. Not sure about a technique? "Rewind" to watch that section of the video again. I often start and stop videos as I stitch along with the instructor.

7. You can enrol in an on-line course no matter where in the world you live. If you're in England or Spain, you can still join me in any of my on-line courses. Of course if you'd like me to come to you to teach the course, I could be persuaded to do that, especially if you live in a warm, tropical climate:)

These are my top 7 reasons to enrol in an on-line course. How do you feel about learning on your computer? Let me know your thoughts on the subject in the comments below.
(Don't forget to enrol in any of my on-line courses at Curious.com - thanks!)
Creatively,

Class sale at Craftsy!

Just a quick note that Craftsy is having a HUGE sale. You can save up to 50% off any of their classes.
I've been enjoying several quilting classes lately. You might enjoy enrolling in them too, especially now with the reduced price.
I never thought learning about quilt bindings would be fun and interesting, but Susan Cleveland makes it so in her class, "The Perfect Finish: How to Bind a Quilt". You'll definitely want to check out this technique class.
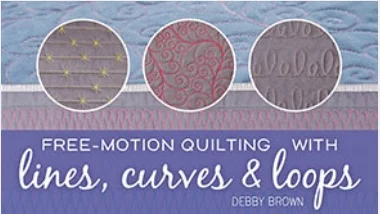
I've also been enjoying learning with Debby Brown in her course, "Free Motion Quilting with Lines, Curves and Loops". Debby uses 5 letters to create stunning free motion designs and she makes it look so easy.
Enrol in great courses at fantastic prices - but only until November 1!
Creatively,

P.S. I am a Craftsy affiliate and receive compensation if you enrol using my links. This helps me to continue to create videos, tutorials and share with all of you. Thanks!
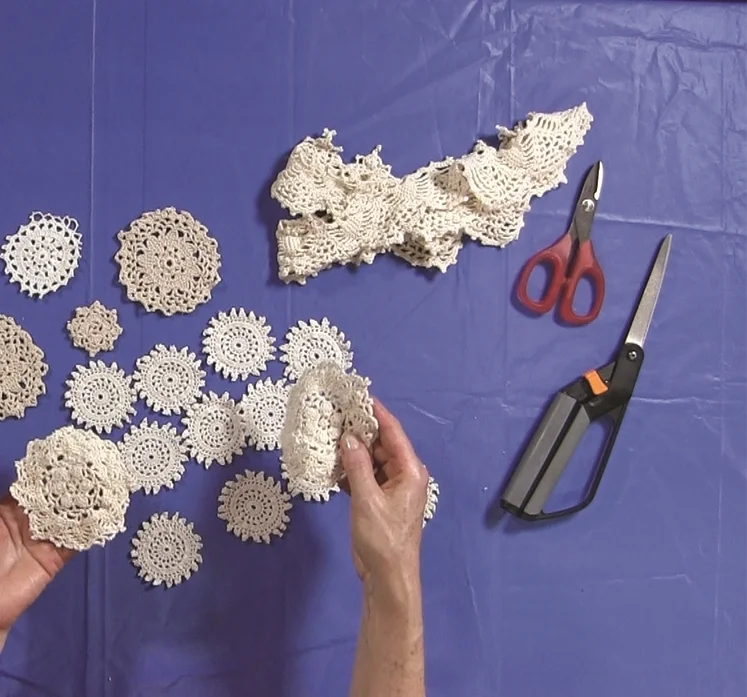
Telecast Thursday - Deconstructing Vintage Crochet
Welcome to another Telecast Thursday! Today I'm going to show you what to do with all of those vintage crocheted tablecloths and other items that you've picked up at estate sales or inherited. You have some of those around the house, don't you - or am I the only one with drawers overflowing with beautiful crocheted items?
Watch the video below or on my Youtube channel to see how to deconstruct these items and suggestions for how they can be used.
Subscribe to my Youtube channel to receive automatic notifications when new videos are posted. You can also click on the Chatterbox Quilts logo in the lower right corner on the video itself to subscribe. If you like what you see, I'd appreciate it if you would share my videos with your fellow creatives.
Creatively,

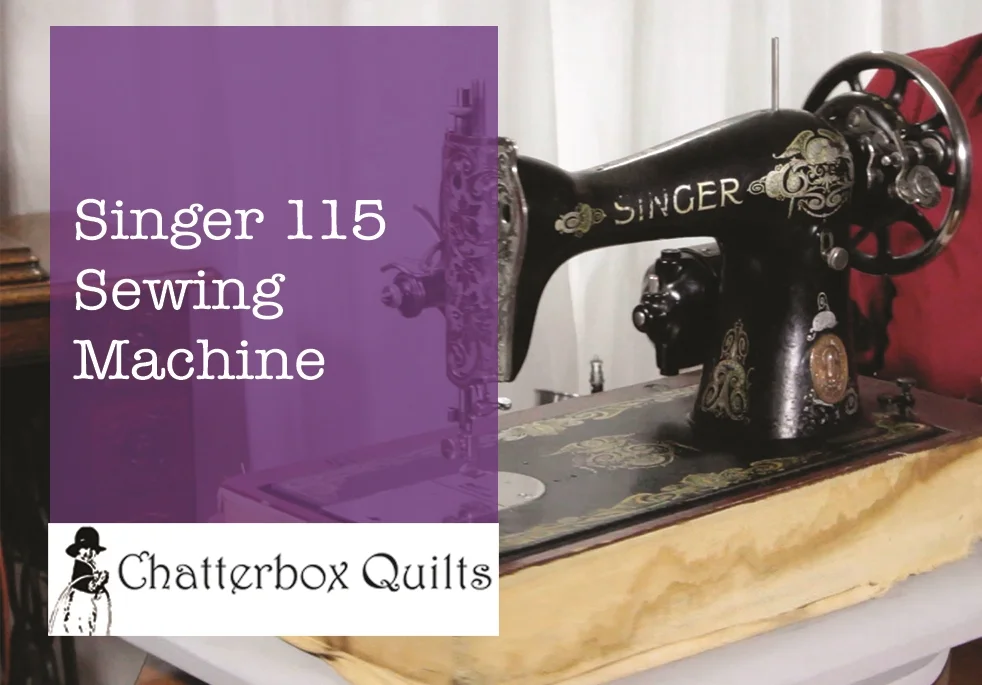
Is it a Singer 15 Sewing Machine?
I typically purchase my machines from ads I see on kijiji and you know how difficult it can be to tell what model the poster is selling from the tiny pictures that are on the site. I can usually figure out which model of Singer I'm going out to see, but this one almost stumped me. While I thought it was a version of the popular Singer 15 model, it turned out to be something else, a Singer 115. I'll show you how to tell the difference so you won't be fooled too.
I typically purchase my machines from ads I see on kijiji and you know how difficult it can be to tell what model the poster is selling from the tiny pictures that are on the site. I can usually figure out which model of Singer I'm going out to see, but this one almost stumped me. While I thought it was a version of the popular Singer 15 model, it turned out to be something else, a Singer 115. I'll show you how to tell the difference so you won't be fooled too.
You can watch the video below.
If you are thinking of buying a vintage sewing machine you may be interested in my eBooks for buyers (click here). If you are thinking of selling your machine you may be interested in my How To Sell a Vintage Sewing Machine eBook.
Creatively,


Converting Troublesome SVG Files for the Brother ScanNCut
As I like to do fusible web appliqué, I find the Brother ScanNCut very helpful in cutting out intricate designs in fabric. It does a much better job than I could with a pair of scissors! I've found many svg files on the internet that you could cut with the ScanNCut, but sometimes I have trouble importing these files to scanncutcanvas. Note: This is the Canadian website - choose the appropriate website for your country.
This tutorial is for the Brother ScanNCut CM550DX.
I need to be able to import these files so I can change them to the Brother proprietary fcm format before I am able to cut these files on my Brother ScanNCut. If you're having this problem, you might find my suggestions helpful.
I've found free software, called Inkscape, that helps to import those more troublesome svg files. Inkscape is a vector graphics software that can be used to create illustrations - or to manipulate svg files, in our case. I work on a Mac, so my instructions are for that format, although you should be able to adapt these for Windows easily.
You need to install both Inkscape and Quark Express X11 on your computer. You will first install Quark Express X11 and then Inkscape as Inkscape needs Quark Express X11 to operate.
First install Quark Express X11 (or the most recent version).
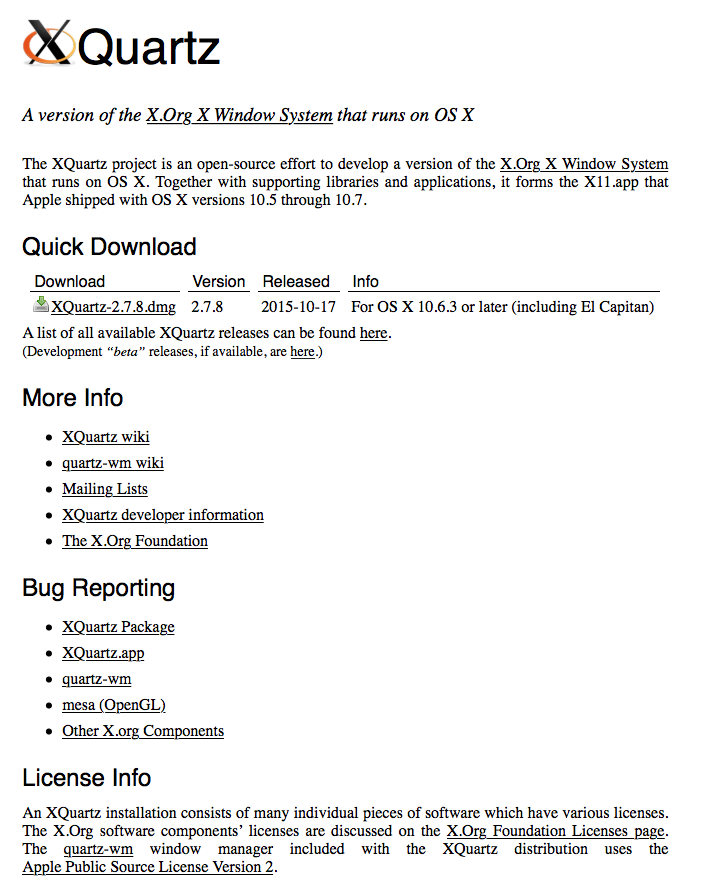
Download the appropriate version of XQuartz.
Next install Inkscape by clicking the Download menu and downloading the .dmg file.

Download the .dmg file to install Inkscape.
Once you've installed both programs, you may need to restart your computer to use them. You should now be able to start Inkscape and Quark Express X11 will open with it.
Now the fun part begins! You can start importing svg files and modify them so that you will be able to import them into scanncutcanvas.
Open Inkscape and you will notice that it automatically opens a new document.
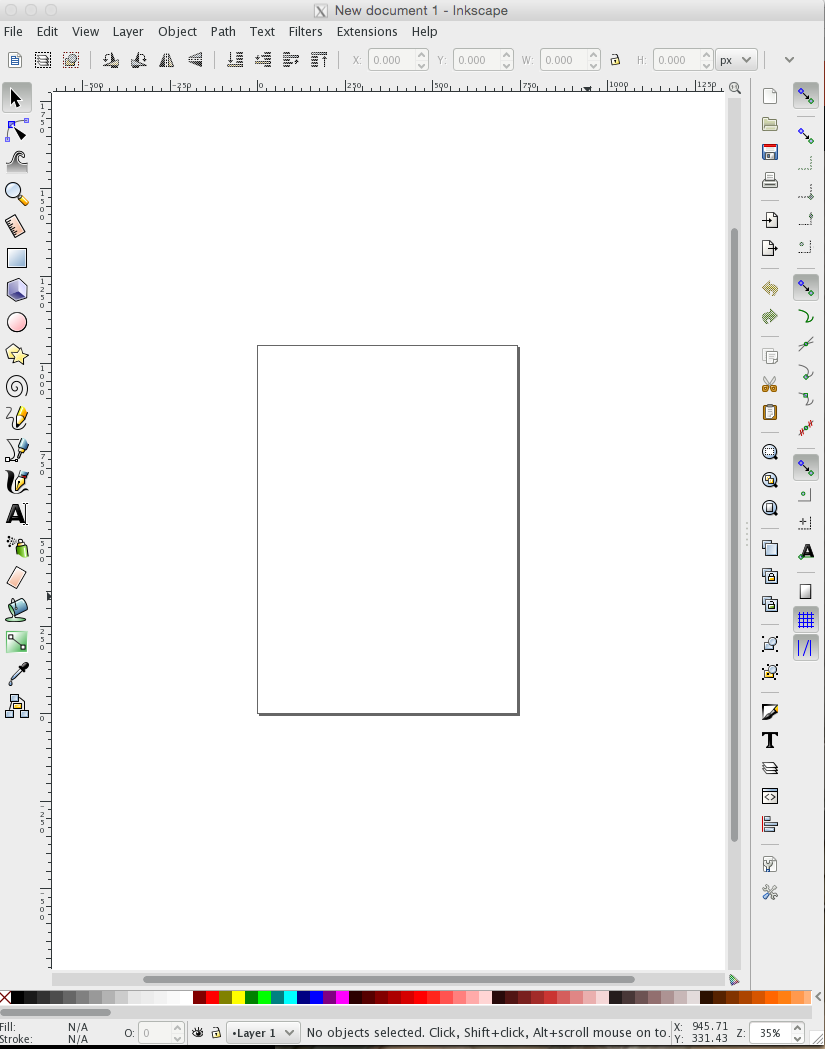
Inkscape opens a new document automatically.
Under the File menu, choose "Import". You can then select the troublesome svg file that you want to import and double click on it to import it into Inkscape.
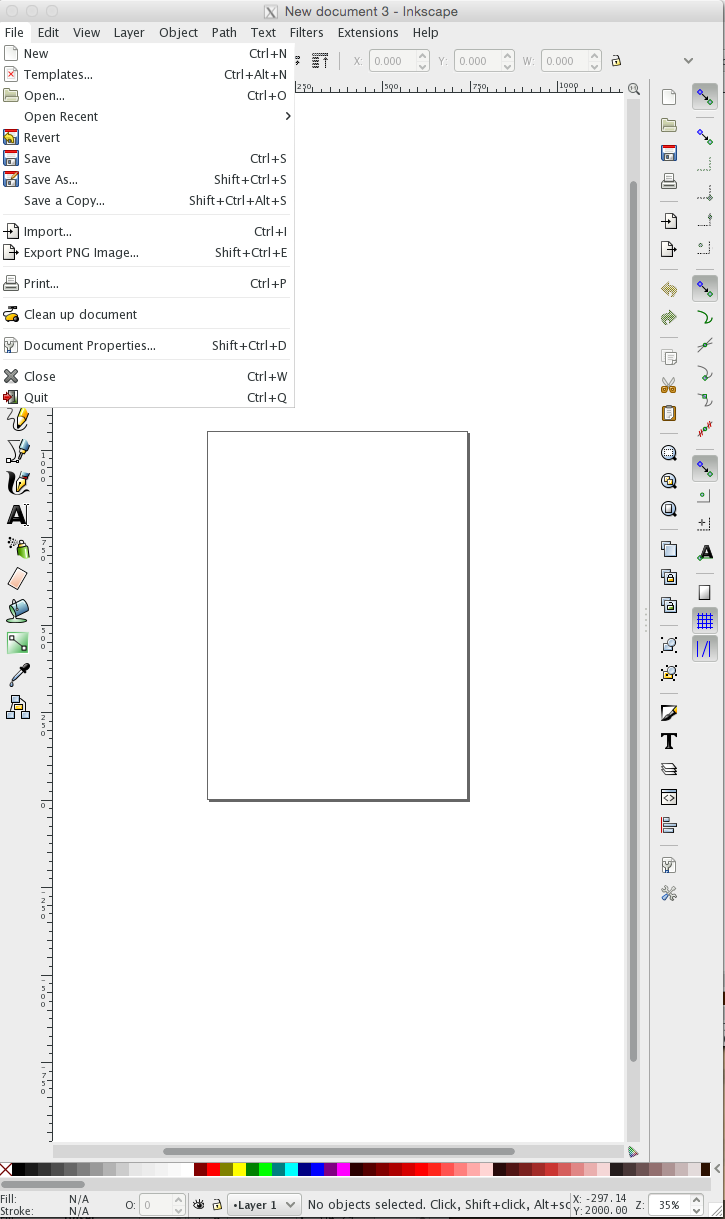
Choose the desired svg file.
I find that the graphic may sometimes be outside the work area, so just click and drag it into the rectangle. Click off the graphic to deselect it.
If you'd like, you can play around with the graphic, enlarging it or reducing it as desired. For our purposes, getting it into scanncutcanvas, you're just going to save this file. I like to use "Save as" in case I ever need to go back to the original svg file. Under the File menu, choose "Save as" and then name your file and choose the folder you'd like to store it in.

Save the svg file to the Inkscape svg format.
Here comes the important part: when you are saving the file, ensure that you are saving it in the "Inkscape SVG" format. You will notice a drop down menu with several choices in the lower right-hand corner, but the format you want is right at the top, so that makes it easy.
You've now saved the original svg file to a different format and should be able to import it easily into scanncutcanvas, which looks something like this when you open it:
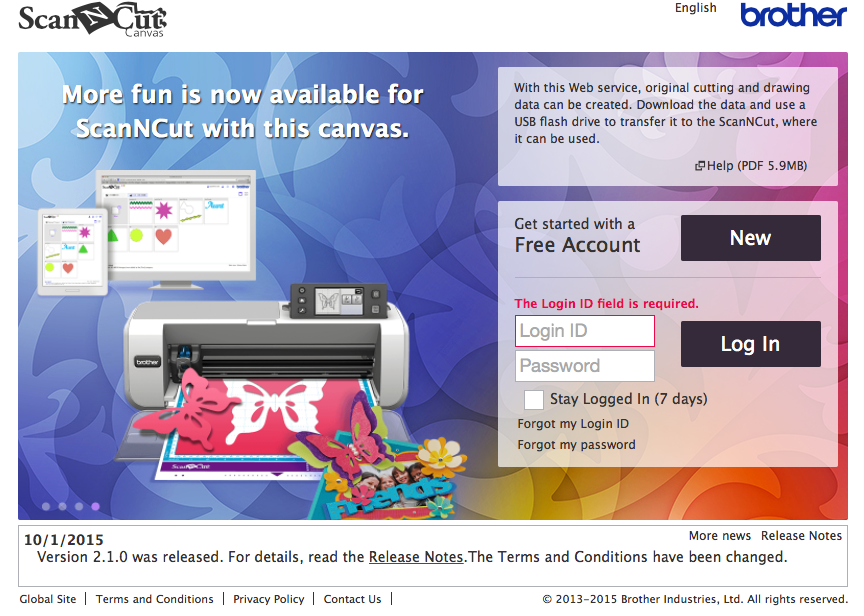
Opening scanncutcanvas.
Log in or set up a new account and you will then have access to the first page, which looks like this:
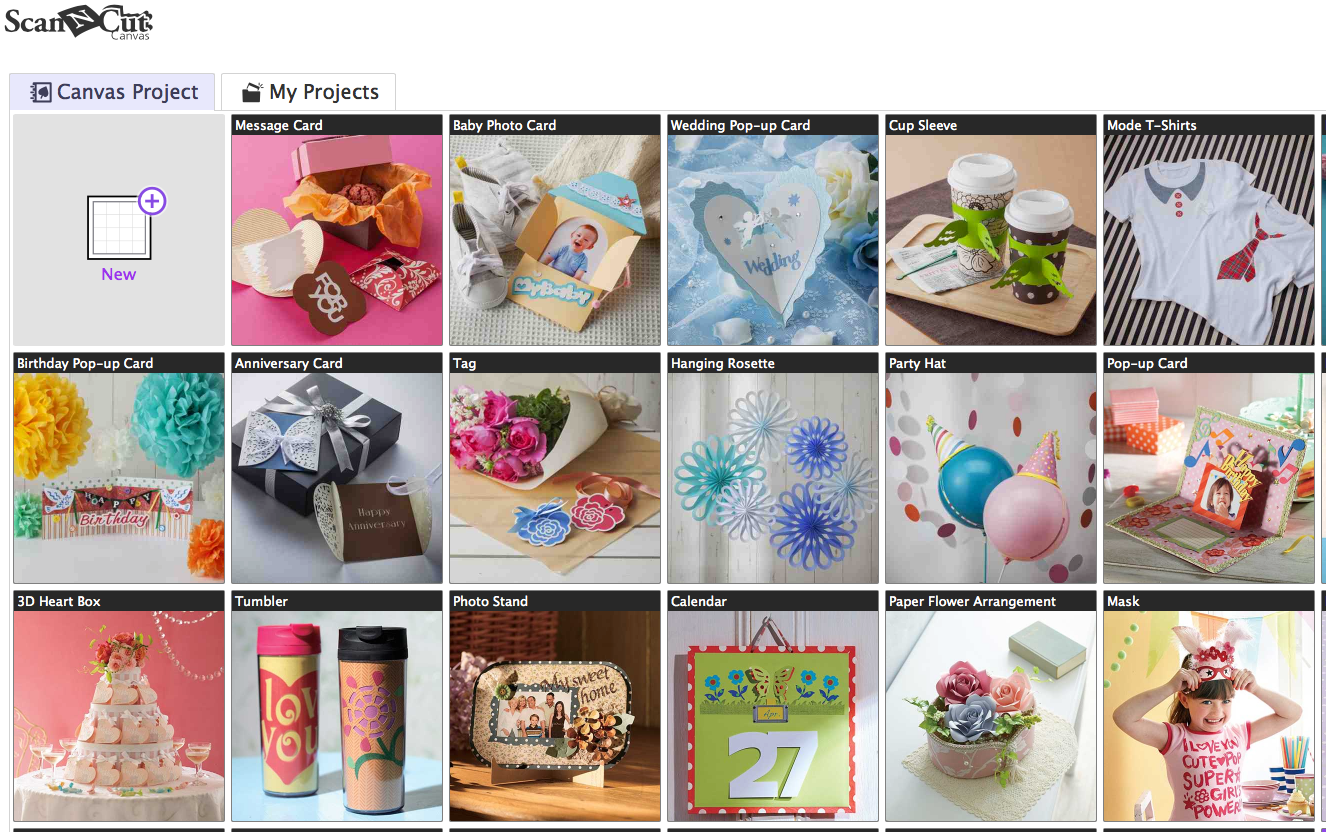
Yes, there are some cute projects, but skip those for now as you need to finish converting that svg file.
Open a new document in scanncutcanvas by clicking on the "New" icon on the left side of the page and you should see this:

A new document in scanncutcanvas.
Import the svg file that you just saved by clicking the SVG button on the top left side of the page, keeping your fingers crossed. Choose the desired svg file to import.
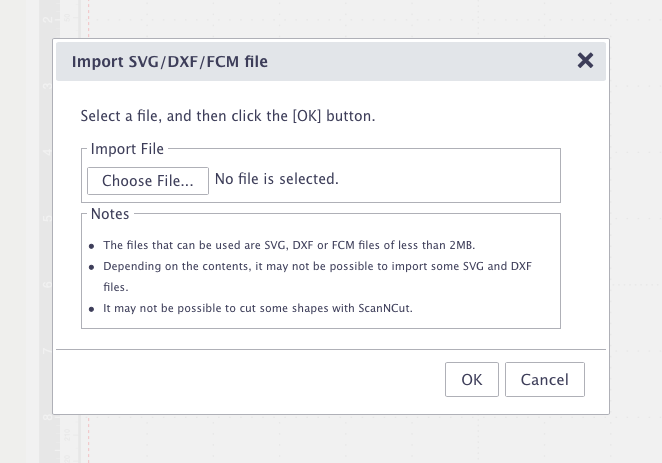
Import the desired svg file to scanncutcanvas.
The svg file should now open successfully in scanncutcanvas. You can then work on it if you would like or just download it as a .fcm file. You can then transfer it to your USB flash drive and plug it into your Brother ScanNCut to start cutting your shape.
I hope that this method works for you as well as it has for me. I've found that I've been able to access svg files that I previously could not import into scanncutcanvas.
If you have any questions or comments, please put them in the comments below.
Creatively,

Welcome! I’m Kim Jamieson-Hirst of Chatterbox Quilts, a YouTube creator and host of The Quilter’s Way. I believe that quilting is more than just a 1/4” seam and that practice makes improvement and you are improving every day!
Contact me at kjh@chatterboxquilts.com.


Want to improve your quilting and have fun doing it? Join The Quilter's Way, a private online membership site that creates successful quilters.

Check out my favourite books and tools.
As an Amazon Associate I earn from qualifying purchases from links that you may find on the Chatterbox Quilts’ website.