
CHATTERBOX QUILTS’ BLOG
Helping Quilters Learn and Improve

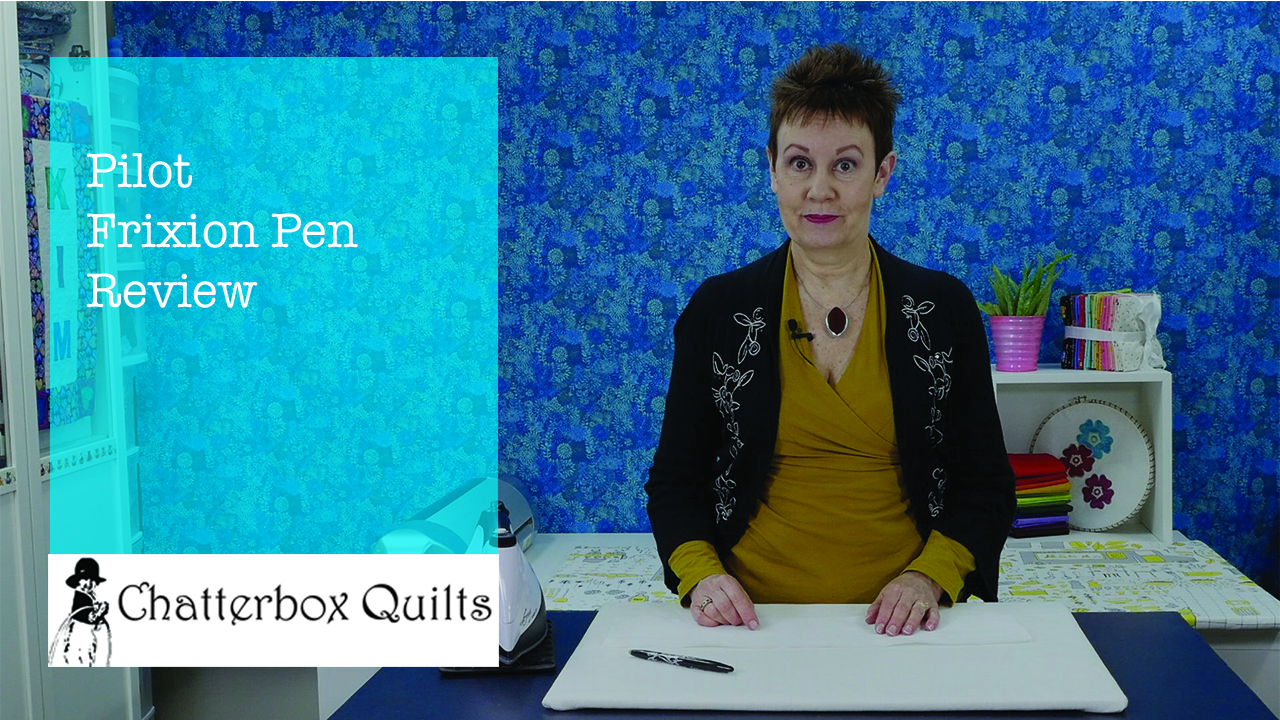
Product Review: Pilot Frixion Pen
Looking for the perfect pen to use on tracing appliqué or embroidery designs on fabric? Well, the truth is that there isn’t one perfect pen: there are air erasable, water erasable, chalk, etc. and each of them have their pros and cons. My favourite temporary marking pen to use is the Pilot Frixion pen. It creates an easy to see mark that can be erased later by the heat of an iron.
There is one possible problem: there are rumours that the marks might come back when exposed to cold. To see if this was true, I decided to put the Pilot Frixion pen to the test.
I could easily remove the marks made by the Frixion pen with my iron as the ink is removed with heat. Remember, these pens were originally designed to be used on paper and not for fabric (don’t use a Frixion pen to write a cheque!). While the marks came off easily using an iron, I wanted to see if they would come back when exposed to extreme cold.
After tracing a few designs onto cotton fabric, I put the sample in my freezer and left it overnight. I thought that this would probably be the coldest that my fabric might ever get – and hopefully it never gets this cold in my studio! The marks did come back on the fabric, but I could still easily remove them again with the heat of an iron.
There can be similar issues with other types of temporary fabric marking pens, so always be sure to do a test before you use a product on your fabric and find out that the marks come back and can’t be erased again.
To learn more about using Pilot Frixion pens on your fabric projects, click on the image below to watch a video on my YouTube channel.
If you haven’t tried out the Pilot Frixion pen, I would encourage you to do so. They are inexpensive and readily available in most office supply stores or you can click here to get some for your studio.
Creatively,

P.S. Did you know that you can sign up to receive FREE emails full of quilting goodness? Just click here to receive FREE content directly in your email inbox every few weeks from Chatterbox Quilts. I know you'll be glad you did!
P.P.S. I am an Amazon affiliate and will receive a small amount of compensation if your purchase a product by clicking through links in this blogpost. This allows me to continue to provide you with FREE content each week. Thank you.

Book Review: Lunch-Hour Wool Minis
Lunch-Hour Wool Minis by Kathy Brown is another book in the Lunch-Hour series from That Patchwork Place. It includes 14 small wool appliqué projects which are portable and small enough to complete quickly.

Photo courtesy of www.martingale-pub.com
I'm really enjoying the various books in the Lunch-Hour series as they are small enough to finish quickly and many of them are portable. I love appliqué and hand embroidery and this book has projects using these techniques. If you haven't seen my reviews on some of the other books, just click here.
Kathy includes information in the front of the book explaining the type of wool to use in these projects and her best tips for wool appliqué. This is very helpful if you have never worked with wool before as it is a bit different than using cotton fabric.

Photo courtesy of www.martingale-pub.com
The projects in Lunch-Hour Wool Minis include wall hangings and other similar type projects, but there are also some more unusual projects, such as adding wool appliqué to an oar or to a key holder.
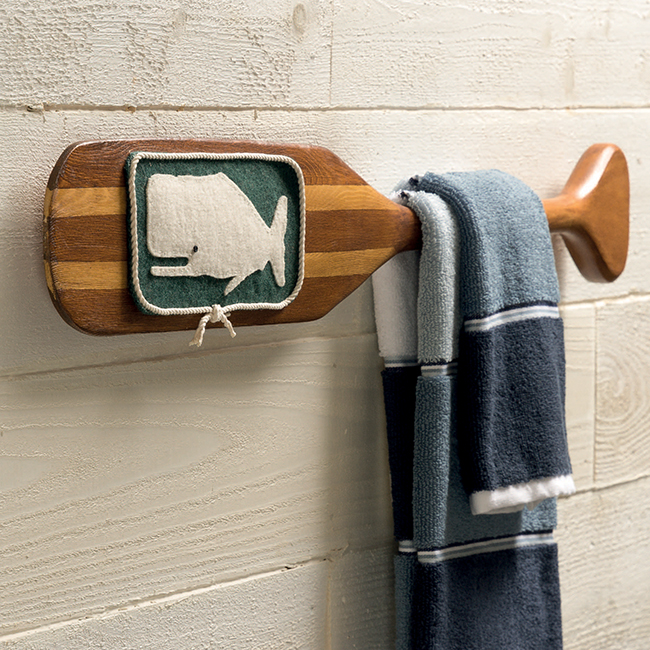
Photo courtesy of www.martingale-pub.com
To see more of the projects in Lunch-Hour Wool Minis, click on the image below to watch a video on my YouTube channel.

To get your own copy of Lunch-Hour Wool Minis, just click here.
Creatively,

P.S. Did you know that you can sign up to receive FREE emails full of quilting goodness? Just click here to receive FREE content directly in your email inbox every few weeks from Chatterbox Quilts. I know you'll be glad you did!
P.P.S. I am an Amazon affiliate and will receive a small amount of compensation if you purchase a product by clicking through links in this blogpost. This allows me to continue to provide you with FREE content each week. Thank you.

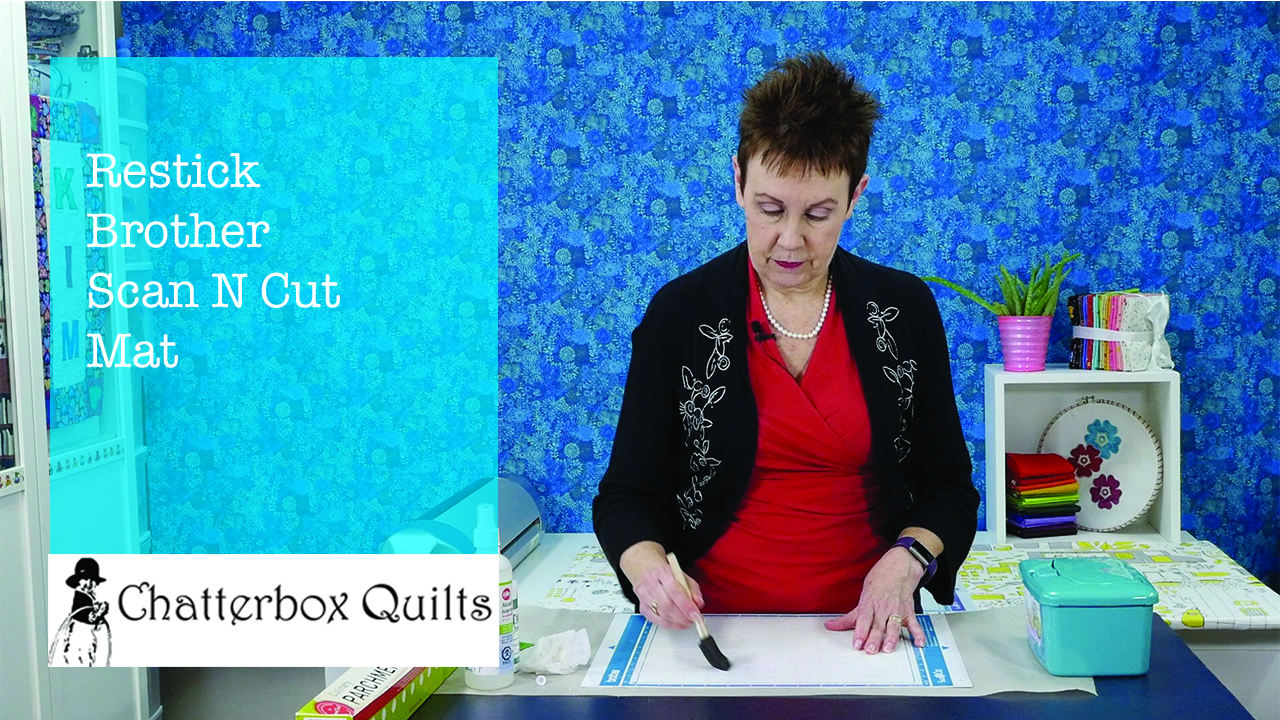
Restick Your Brother Scan N Cut Mat
After you’ve used your Brother Scan N Cut mat over and over, you’ll find that it tends to lose its stickiness. I was looking for a way to refresh my mats so I could delay purchasing any more – yah, I can be cheap that way!
I usually use my Brother Scan N Cut for cutting fabric and the method I’ve found is great for resticking mats you would use for fabric cutting. I wouldn’t suggest using this method on a mat on which you intend to cut paper or cardstock as it will make the mat really sticky and will probably make it very difficult to remove paper items.
Here’s what you’ll need to restick your Brother Scan N Cut mat:
Rubbing alcohol (in a spray container, if possible)
Used credit or gift card
Aleene’s Tack-it Over and Over Repositionable Glue
The mat you want to restick
Once you’ve gathered all of your items together, cover your working surface with some parchment paper and place the not-sticky-but-soon-to-be mat on top of it. If you have a high tack adhesive fabric support sheet on top of your mat, remove this first.
To clean the mat, spray it with rubbing alcohol. Once the mat is wet, use the baby wipes and/or the used gift or credit card to get off all of the bits and pieces of lint, thread or what have you that has stuck to the mat. I find the plastic gift card works really well to scrape off those pieces that are a bit stubborn. Be sure to use the rubbing alcohol in a well ventilated area.
Once the mat is clean, it should no longer be sticky. You’ll need to let it dry thoroughly before the next step.
Once the mat is completely dry, it’s time to make it sticky again! Take the Aleene’s Tack-it Over and Over Repositionable glue and apply it to the mat inside the blue or purple lines on the mat – in the area where you would normally affix the fabric. Use the paint brush to wipe the glue evenly over the mat and let dry completely.
Once it is dry, it is ready to be put to use. You’ll certainly notice how sticky it now it! Be sure to keep the mat clean by covering it with the clear vinyl that came with it and clean it with a baby wipe in between cuttings.
Once the mat starts to lose its stickiness, you can just repeat the process again!
Click on the image below to watch a video on my YouTube channel showing you the entire process.
P.S. Did you know that you can sign up to receive FREE emails full of quilting goodness? Just click here to receive FREE content directly in your email inbox every few weeks from Chatterbox Quilts. I know you'll be glad you did!
P.P.S. I am an Amazon affiliate and will receive a small amount of compensation if your purchase a product by clicking through links in this blogpost. This allows me to continue to provide you with FREE content each week. Thank you.

Janome 9400 HP Foot and Needle Plate
While most sewing machines come with two needle plates: a straight stitch and a zigzag plate, the Janome Horizon Memory Craft 9400 QCP comes with an additional needle plate and a special foot that goes with it. The HP foot and needle plate combination are wonderful for quilters who are striving for that perfect 1/4" seam and there are several beautiful straight stitch choices that you can create. I love this new HP foot and needle plate combination available on the Janome 9400 and it has become my go-to choice for piecing!
The HP (High Performance, or as I like to call it, Happy Piecing) foot is a bit different from the other feet included with the Janome 9400: it is already permanently attached to its own presser foot bar. See, it really is special!
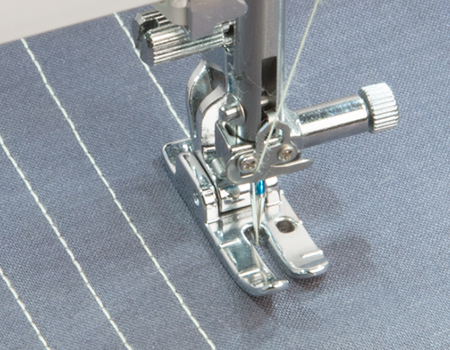
The HP needle plate is a straight stitch plate which helps to give you a lovely straight line of stitching and avoids any needle flex going in and out of the fabric. You won’t be able to do any zigzag with this needle plate in the machine as it won’t let you. Well, you could probably find a way around it if you tried really hard, but when you pop in the HP needle plate, the Janome 9400 will only show you the straight stitches that you will be able to stitch. This avoids having to worry about selecting another stitch type that might cause the needle to hit the foot and break the needle and damage the machine.

As a quilter, I don’t usually look at the other straight stitches available, but if you are a sewist, there are some really nice triple stitch options that would look amazing if you are top stitching. I could certainly see how some of these stitches would make nice embellishment details on a collar or on shirt cuffs. While the Janome 9400 will suggest the stitch length, you can always change the look of the stitch by making it shorter or longer.
To see some of the straight stitch options available using the HP foot and needle plate, click on the image below to watch a video on my YouTube channel.

Creatively,

P.S. Did you know that you can sign up to receive FREE emails full of quilting goodness? Just click here to receive FREE content directly in your email inbox every few weeks from Chatterbox Quilts. I know you'll be glad you did!
P.P.S. I am an Amazon affiliate and will receive a small amount of compensation if your purchase a product by clicking through links in this blogpost. This allows me to continue to provide you with FREE content each week. Thank you.

Book Review: Mini-Charm Quilts
Mini-Charm Quilts is another wonderful addition to the Moda All-Stars series of quilts from That Patchwork Place, an imprint of Martingale. If you haven’t watched my review of some of the previous books in the Moda All-Stars series, just click here to be taken to my book review playlist.

Photo courtesy of www.martingale-pub.com
As you have probably guessed from the title, this time the Moda All-Stars have created projects based on mini-charm packs. If you don’t know what a mini-charm is, it’s a 2½” x 2½” square and you can buy mini-charm packs, just like charm packs, with a variety of fabrics from one collection.
In Mini-Charm Quilts, various Moda designers have created 18 projects based on these 2½” square packs. You’ll find a pincushion, small quilts, a table runner, and wall hangings. Since the basis of the projects are small 2½” squares, the projects are also small – no bed quilts in this book!

Photo courtesy of www.martingale-pub.com
Working with purchased mini-charm packs makes fabric selection super simple – it’s already done for you. You could, of course, cut your own mini charms, but it’s so much easier to buy the little packs – plus, they are adorable!
You’ll notice that some of the projects use more than one mini-charm pack, so if you want to make one of these projects, be sure to check the fabric requirements carefully.
Photo courtesy of www.martingale-pub.com
If you don’t have mini-charm packs yet – and they’re so cute, you’ll want to get some – you can also use your scrap fabric to make these projects.
For more information on Mini-Charm Quilts, click on the image below to watch a video on my YouTube channel.

Get your own copy of Mini-Charm Quilts by clicking here.
Creatively,

P.S. Did you know that you can sign up to receive FREE emails full of quilting goodness? Just click here to receive FREE content directly in your email inbox every few weeks from Chatterbox Quilts. I know you'll be glad you did!
P.P.S. I am an Amazon affiliate and will receive a small amount of compensation if you purchase a product by clicking through links in this blogpost. This allows me to continue to provide you with FREE content each week. Thank you.

Welcome! I’m Kim Jamieson-Hirst of Chatterbox Quilts, a YouTube creator and host of The Quilter’s Way. I believe that quilting is more than just a 1/4” seam and that practice makes improvement and you are improving every day!
Contact me at kjh@chatterboxquilts.com.


Want to improve your quilting and have fun doing it? Join The Quilter's Way, a private online membership site that creates successful quilters.

Check out my favourite books and tools.
As an Amazon Associate I earn from qualifying purchases from links that you may find on the Chatterbox Quilts’ website.