After years of tracing appliqué designs onto fusible web without the aid of a light table, I finally gave in and purchased a light pad to make it easier to do this. While I’ve been using a window, when required, this doesn’t work very well at night, so I thought that having a light pad would be a big help.
I hadn’t looked at light tables or pads for several years and was pleasantly surprised to find that there have been big improvements in this area. Previously light tables were thick and bulky and were rather pricey. In searching for a light pad, I discovered that there are now a variety of choices in different price points making it easy for you to find exactly the size you want at a price with which you can be comfortable.
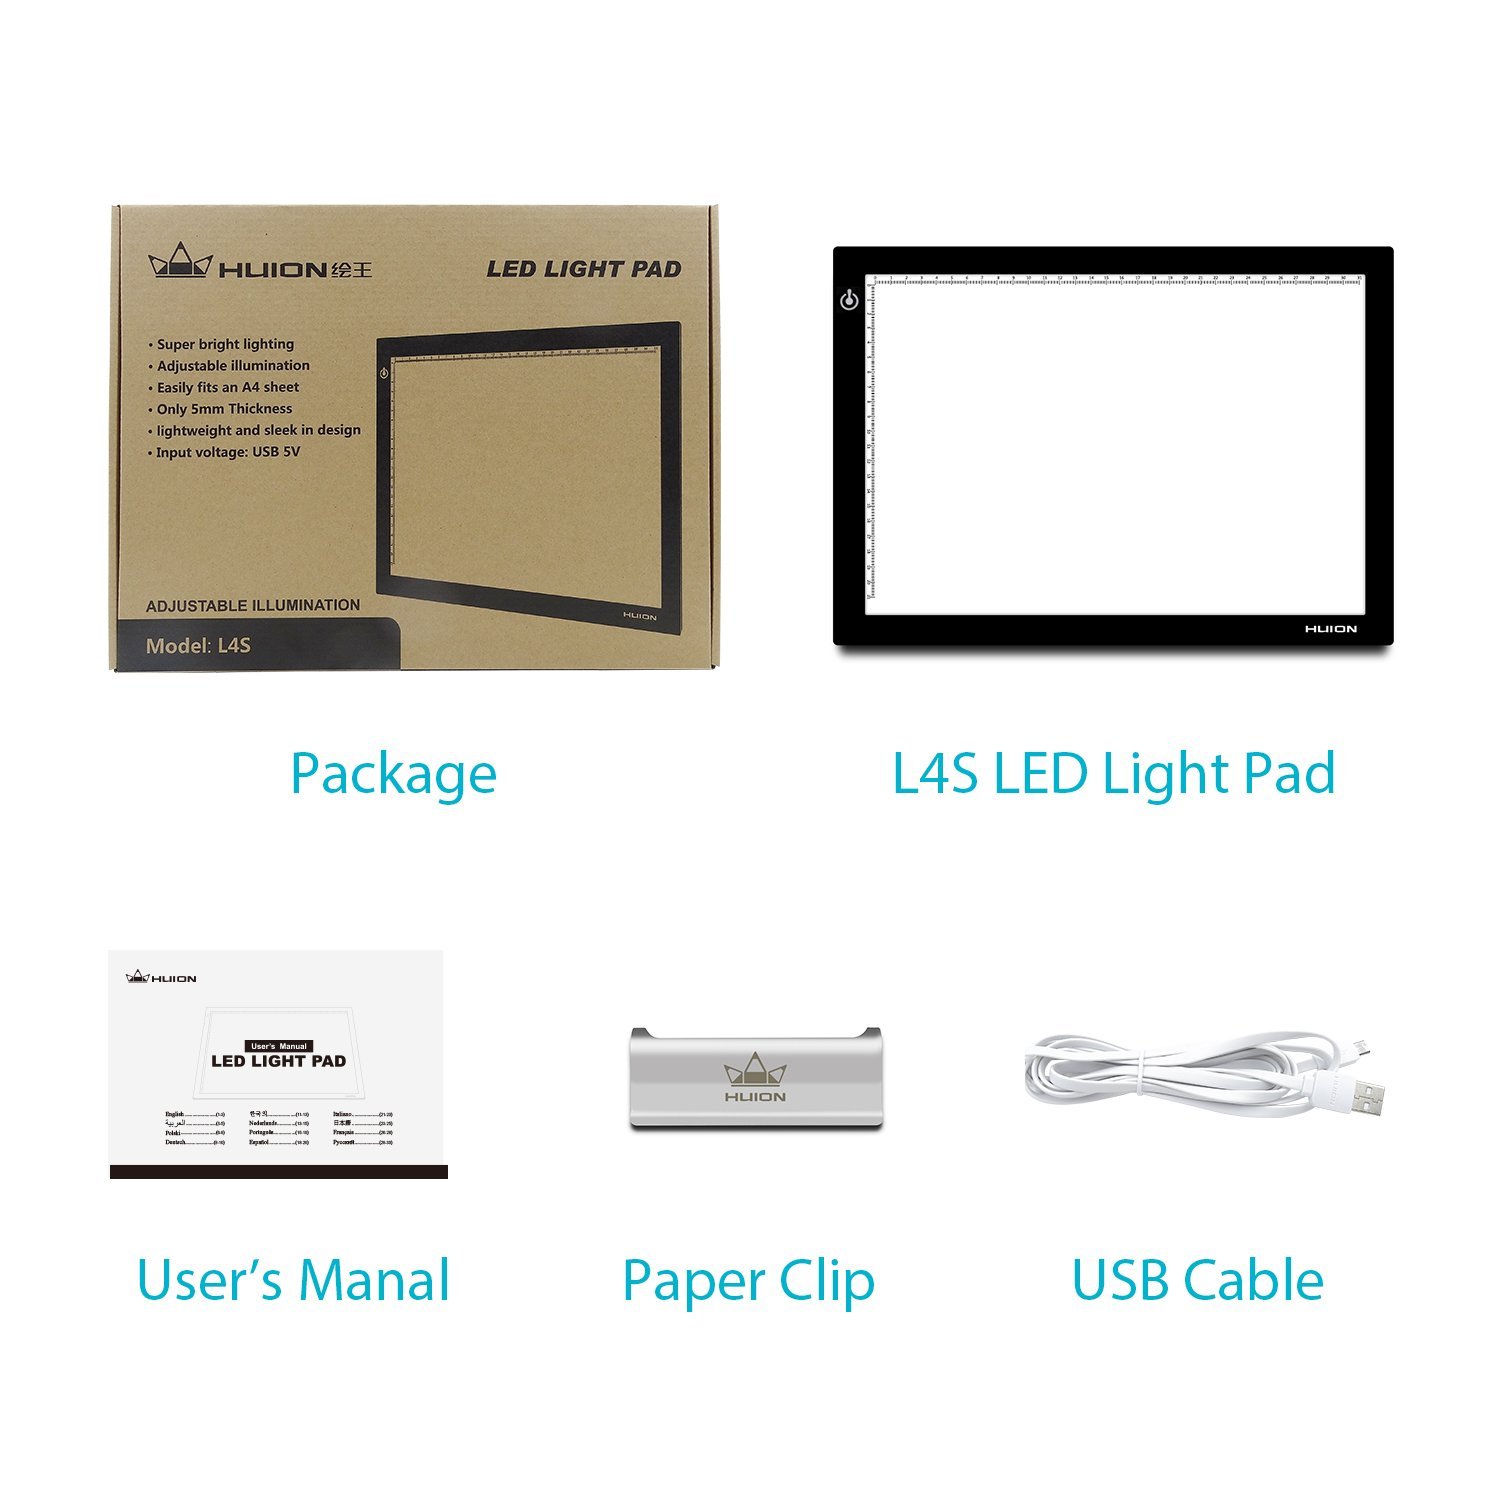
Image courtesy of www.amazon.com
I chose the Huion L4S light pad due to the price point and the size. While I do have to plug it into the USB port on my laptop to use it (I could’ve bought a battery option, which was quite a bit more expensive), I don’t find that this is an inconvenience.

Image courtesy of www.amazon.com
Once I’ve plugged it into my laptop, I press the button to turn it on and hold my finger there until it reaches the desired brightness. The nice feature of this light pad is that the light on it is dimmable. By simply keeping my finger on the on/off button, the light on it will dim. A nice feature to have! The Huion L4S light pad is also surprisingly lightweight and thin. This makes it easy to transport and store as well.

Image courtesy of www.amazon.com
I found that the light on the Huion L4S was bright enough, not only for me to trace through fusible web, but also to trace on freezer paper. I hadn’t expected that and was pleasantly surprised by this ability.
I’m happy with this purchase and look forward to putting it to use on my next fusible web appliqué project. If you are considering purchasing a light table, I can definitely recommend the Huion L4S light pad.
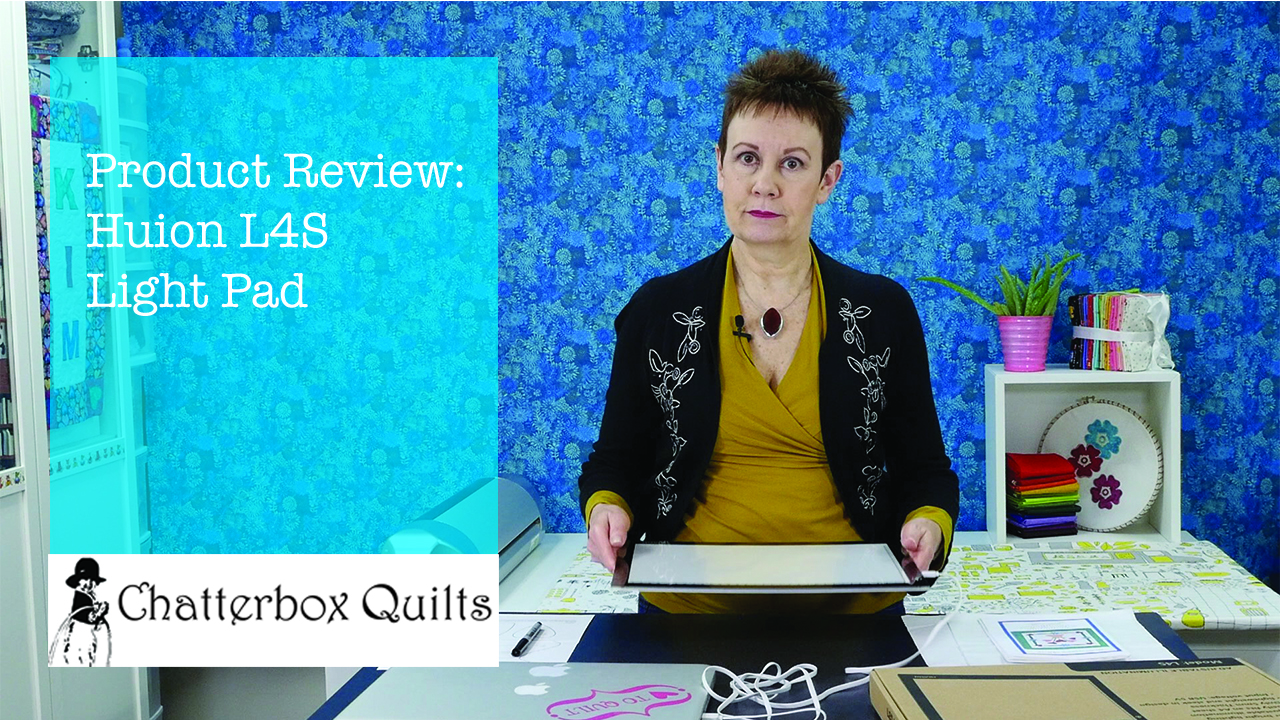
To see more features of the Huion L4S light pad, click on the image below to watch a video on my YouTube channel.
Creatively,

P.S. Did you know that you can sign up to receive FREE emails full of quilting goodness? Just click here to receive FREE content directly in your email inbox every few weeks from Chatterbox Quilts. I know you'll be glad you did!
P.P.S. I am an Amazon affiliate and will receive a small amount of compensation if your purchase a product by clicking through links in this blogpost. This allows me to continue to provide you with FREE content each week. Thank you.