
CHATTERBOX QUILTS’ BLOG
Helping Quilters Learn and Improve
It's Christmas time once again from Island Batik!

It’s here: my first ambassador box from Island Batik!

It’s here - all 35 lbs. of it! 😁
I’ve been excitedly waiting for this box to arrive and today was the day!
I love batiks and Island Batik didn’t disappoint in the fabrics they selected and sent to me. I told them that I liked bright, bold colours and that’s just what I received.
And I received a lot more fabric and other goodies than I thought I would - which is also exciting! Thanks, Island Batik! 😀
Here’s a few photos of what was in the first Island Batik 2024 Ambassador box.

Look at all the goodies in this Island Batik Ambassador box!
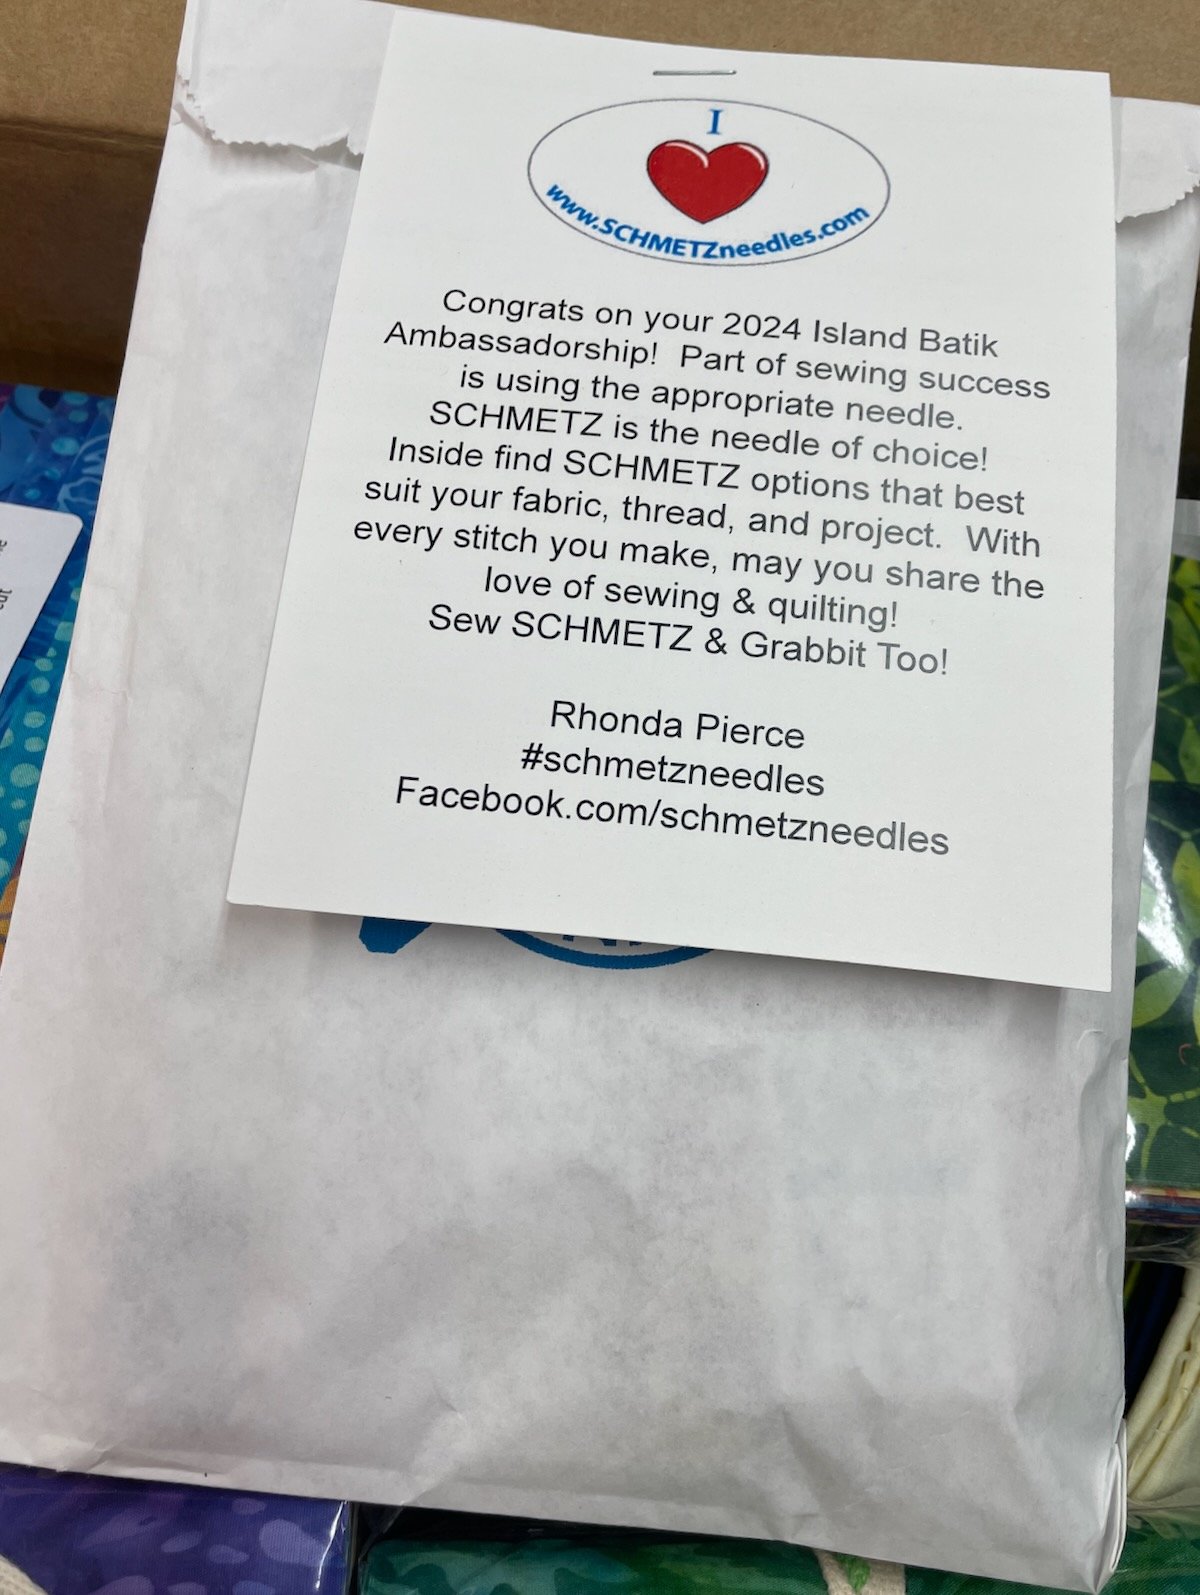
Schmetz sent an assortment of needles, informational material and a lovely note!

Island Batik “Woodstock” collection half yard bundle with coordinating fabrics and some Island Batik solids

Deb Tucker’s Studio 180 Design included a Wing Clipper 1 and Quilter’s Magic Wand tool

A queen sized package of black Hobbs 80/20 batting. Halloween project anyone?! 🦇

The new TG1600 Pro Plus iron from Oliso in butterscotch - yummy!
There was so much Island Batik and sponsor goodness in my Ambassador box that a blogpost just isn’t enough to show you everything, so I’ve created a video showing you the unboxing and a closer look at what was included in the first Island Batik Ambassador box. Click on the image below to watch the video.

Now I have to find room for all these gorgeous Island Batik fabrics and start working on my first project as a 2024 ambassador! 😉 Be sure you’re following me on Facebook and Instagram so you won’t miss out on what I’ll be creating for my first project in February 2024 and all the other fun projects I’ll be creating in 2024 with Island Batik fabrics - with Salem’s help! 🤣

Thanks to the following sponsors for sending their products to me in my first Island Batik Ambassador box: Hobbs Bonded Fibers, Oliso, Schmetz Needles, Deb Tucker’s Studio 180 Design, Island Batik.
Note: The products featured in this blogpost were given to me by Island Batik. Thank you!
#islandbatik #islandbatikambassador #hobbsbatting #hobbsinside #createwitholiso #olisoconnects #schmetz #schmetzneedles #studio180design
Exciting News to Start Off 2024!
I’ve been holding off on announcing some exciting news but can now let the cat out of the bag! Okay, Victor is actually in a bin but I think you get the idea! 😉
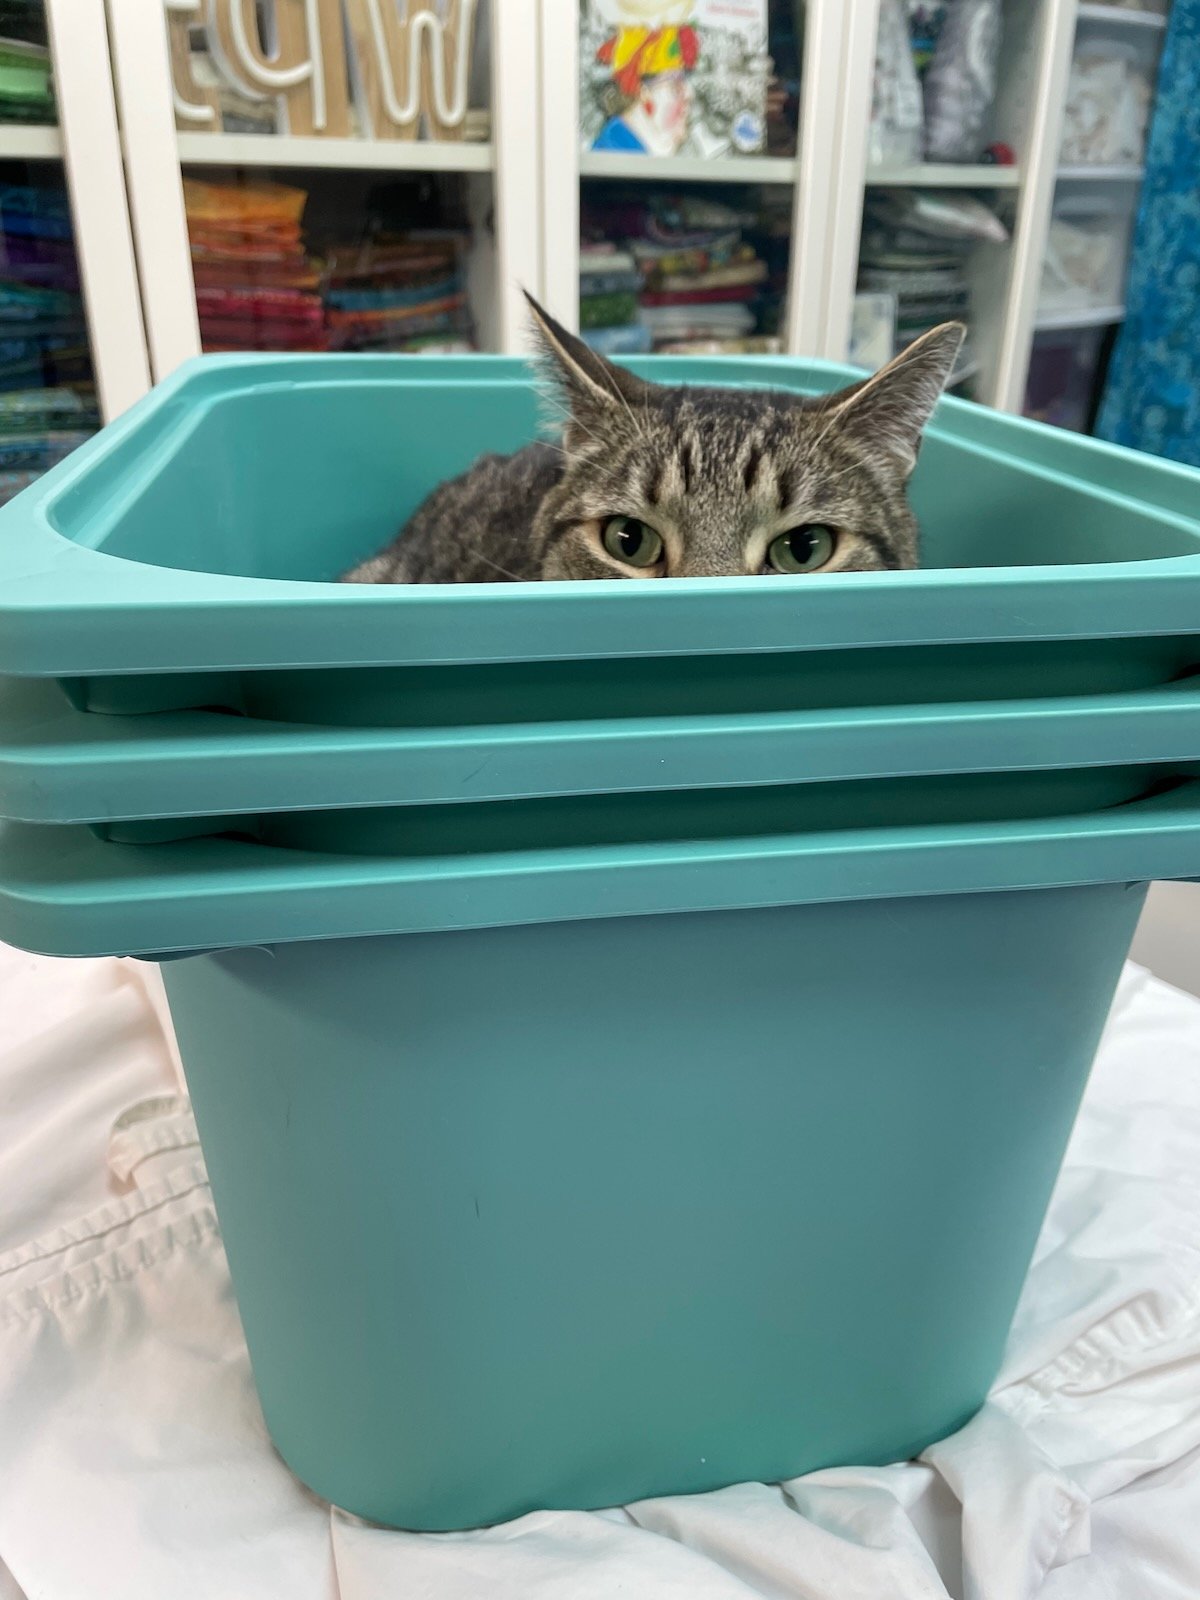
I’ve been selected to be an Island Batik 2024 Ambassador!
I’m very excited to have been chosen as one of the Island Batik Ambassadors for this year. I’m honoured to be on the team with so many accomplished quilters.
I’ve got to admit that I’m a bit nervous about creating projects for Island Batik but it will be the perfect chance to “up my game” in 2024 and I’m looking forward to that opportunity.
Look for lots of new and spectacular projects from me and the other Island Batik Ambassadors during 2024!

Managing Expectations When Giving
Sometimes your gift isn’t appreciated, and this is so disappointing and can be hurtful for you, the creator. How can you make a thoughtful gift and yet avoid the potential disappointment that may come when it is given and not appreciated or used the way you’d hoped it would?
Quilters tend to be caring people who love to share the passion for their craft and often see making and giving a quilt as the heartfelt expression of their feelings for the person they are giving their “labor of love” to. Unfortunately, what started as an act of kindness can result in disappointment for the quilter if the gift is not “sufficiently appreciated” by the person who receives it. Many quilters have encountered this situation. Let me tell you about the first time this happened to me and what it taught me.
A Cautionary Tale
Many years ago, when I first started quilting, I made a table topper quilt for a relative. I spent a lot of time on it and made sure to choose a theme and fabrics that she would love. She loved her gift and used it on her kitchen table. Unfortunately, that meant that my early “work of art” was subjected to a rough and tumble existence. I am happy that she got some use out of it but I was disappointed when I visited and saw it covered in tea stains. I guess I had thought of it as a decorative object while the person I gave the gift to saw it as a useful household item. This gift-giving experience has made me realize that I can’t control what happens to my project after it leaves my hands. It was made as a gift and now that it has been given, it has a new home away from me. It also taught me that I need to manage my expectations when deciding to give away one of my projects as a gift.
Managing Your Expectations
When we make gifts, we put a part of ourselves into that creation. If you’re like me, you will pick out designs and fabrics that you think the recipient will like. They may not be your preference, but that’s okay, because you’re focused on creating this project for someone else. Someone that you hope will love your gift as much as you loved making it. Reality isn’t always like this.
As a quilter you probably:
Really value handmade and appreciate the work that goes into the creation of something unique
Have a personal aesthetic and décorHave a different life style than some of the recipients
Understand the difficulty of some aspects of the quilt making process and appreciate the effort involved
Will appreciate the details versus the overall effect
Will have different uses for a quilt – decorative versus utility
But not everyone is the same!
Sometimes your gift isn’t appreciated, and this is so disappointing and can be hurtful for you, the creator.

How can you make a thoughtful gift and yet avoid the potential disappointment that may come when it is given and not appreciated or used the way you’d hoped it would?
You need to keep our expectations realistic when it comes to how our gifts will be received and used.
You need to remember that once one of your creations leaves your hands, it’s no longer yours. You have set it free – and whatever the recipient does with it is their choice – not yours.
The moral of this story is to be careful of your expectations. I know that many quilters love to make gifts for people and put a lot of thought into their creation. They hope that the recipient will love and cherish it and are sometimes disappointed when that person doesn’t appreciate the gift or doesn’t use it in the way that the quilter had hoped.
Tough Love
Have you effort found yourself thinking “I worked so hard on the quilt and they didn’t appreciate it”? You need to ask yourself some tough questions before deciding to make a quilt for someone as a gift. Sorry, but we need a little tough love here. Three main tough love questions:
Are you giving the quilt unconditionally
Why are you making the quilt?
Are you sure they want one or is it because you want to make them?
Are you looking for compliments, etc. or truly doing it because they will like it. Are you trying to be a hero? Will we hear you saying “I did all that work and it wasn’t appreciated”?
Having you really considered the needs/desires of the recipient?
Have you considered that the recipient may not appreciate handmade crafts?
Have you considered how they may use the quilt?
Does it match their lifestyle, décor or asthetic?
Can you “let go”?
Are you ready for them to use it in ways that you had not considered i.e they can do with it what they want?
Will you be able to handle the situation if they don’t use it?
Are you OK if they give it away?
Can you fully accept that it is no longer yours?

Setting Yourself Up For Success
My experience (and the other quilters I know) made me think about the types of projects that you could make and give as gifts: ones that would be appreciated by the recipient yet don’t have a lot of emotional investment on the part of the maker. I think the key consideration is to understand the person you are giving the quilt to and them match the “project to the person”.
Match the effort to the situation – realize that your effort may not be appropriate. Is it a special occasion?
Don’t let your enthusiasm for a specific design or technique blind you to recipients requirements
Unless you are confident that the person you are making the quilt for is capable of appreciating all the effort and skill that you used in making a complicated project then it is better to employ the KISS (Keep It Sew Simple) when choosing and making the gift.
KISS: Keep It Sew Simple.
The truth is that when things are kept simple, it’s actually better. Whether it’s a pattern or a course, whenever I pause, step back and rethink it, I realize that it would be much better – and easier on me – if I kept it simple. Complicated and complex are overrated. Keeping things simple works best in my experience. The same applies to gift giving.
You can apply the KISS principle to gifts you’re making and this will help you to avoid the disappointment when your wonderful handmade and carefully crafted quilt isn’t received with the enthusiasm you had hoped it would be. Pick simple projects that are easy for you to make. This isn’t the time for a queen-size quilt with hand appliqué on it. It is the time for a simple 4-patch quilt. Look for easy and quick patterns so that you won’t have to invest as much time and energy into your gift.
Now, don’t get me wrong. I’m not talking about the kind of projects that you would make for a friend or relative who you know will appreciate the hard work and thoughtfulness that you put into your creation and love anything that you would make them. You want to make something special for these types of people, of course. I’m offering this suggestion for projects for those recipients who may not receive your gift with the enthusiasm and understanding that you hope they will. Simple, easy projects created with care and skill will work in this situation.
I hope that this suggestion will help you in your gift creation and help avoid disappointment and hurt feelings.
Risk Free Giving
Making charity quilts is one of the best ways to help someone less fortunate by using the craft that you are so passionate about. Making charity quilts has two benefits: you are helping an organization that needs these quilts and you can use these projects to improve your quilting. Your efforts will be greatly appreciated and the quilt will be accepted unconditionally with good will and no judgement. Don’t forget charity quilts are not just for people: animal shelters are always looking for quilts for the animals in their care especially in the colder months.
If you are making a quilt for a person, you can choose simple patterns that are easy to make and use up the extra fabric that has been cluttering up your studio. I guarantee that the person receiving the quilt will appreciate your efforts a lot more than some of you more affluent friends that might receive a quilt as a gift.
Your opportunities for improving your quilting are even greater if you are making a quilt for an animal shelter. The animals don’t care how it looks as long as it is soft, snuggly and durable. This means that you can try techniques that you are just learning or in which you want to improve without feeling bad if it doesn’t turn out quite as well as you hoped. We talk in The Quilter’s Way about how practicing free motion quilting inevitably results in some amazing dog or cat blankets. You can also use up the “ugly” fabrics that you have had in your stash forever and no longer like. (Just because they are ugly to you doesn’t mean that they are really ugly).

Start your learning right now!
Download the free Get Out of the Ditch! guide to learn how to start free motion quilting by clicking here.

Conquer Your Fear of Free Motion Quilting
Change that thought of “I’m afraid to try free motion quilting” to “I’m excited to learn free motion quilting”. Changing your approach to free motion quilting you will result in early successes and will build you confidence in your abilities. The more confident you get the more creative you (and daring!) you can be with your projects.
One of the common things I hear from quilters is that they are afraid to learn free motion quilting. While it is not uncommon to have a feeling of uncertainty when trying something new, I believe that without the right attitude it will be really difficult to be successful. If you’re afraid to free motion quilt and can’t get past that feeling of fear, you won’t even try free motion quilting – and you’ll have a lot of unfinished quilt tops hanging around in your studio! There are 3 basics reasons why quilters say they are afraid to learn free motion quilting:
1. I won’t be good at it right away
2. My results won’t be as good as someone else’s
3. I’m afraid I’ll ruin my quilt
Don’t Be Afraid!

I won’t be good at it right away
I know that many of us think that we should be good right away at whatever we are learning. But that isn’t true. When you’re learning, you’re starting from scratch. As a beginner, you’re not expected to know anything about what you are learning, but, with practice, you will improve.
Remember when you first learned to ride a bike – you probably had a few spills, right? What about when you first learned to cook – I’ll bet there were a few culinary disasters. Do you remember when you first learned to quilt? I’ll bet your first project wasn’t without a few mishaps.
Think back again to that first quilt you made – you didn’t know anything about quilting, but you learned and improved. It’s the same with free motion quilting. It’s a new technique that you are going to learn and you aren’t expected to know anything about it before you start learning it.
My results won’t be as good as someone else’s
I’m sure you’ve heard the expression, “Comparison is the thief of joy”, well this is so true in quilting. When you are first learning to free motion quilt, your results won’t be great and you might feel frustrated. That’s okay. Recognize your feelings, but don’t let it stop you from continuing on.
What you don’t want to do is compare your first efforts with those of quilters who have been free motion quilting for years. It’s just not a fair comparison. Everyone starts at the same place – at the beginning. I guarantee you that everyone’s first projects looked a lot like yours will – not great – but with practice they improved – and you will too!
The only comparison you should be making is comparing your results today with your previous results. As you practice, you will get better and keeping that first project close by will show you just how far you have come!
Remember, practice makes improvement, not perfection, and you should always be striving to improve with each project you quilt.
I’m afraid I’ll ruin my quilt
Let’s face it, when you are first starting out free motion quilting your efforts aren’t going to be pretty, so don’t expect them to be. I’m going to be brutally honest here: your first free motion quilting project will not be pretty, as a matter of fact, it will be downright ugly. Bad tension, uneven stitches, big gaps in the quilting lines. It is likely that the end result of your first attempts will be more suitable for use as a “dog blanket” than a wall hanging. Let’s just acknowledge this right now and make sure we are managing our expectations.
Don’t start with a “good” quilt top as your first project. You don’t need that added pressure of worrying that your skill level isn’t “good enough” for a major project. I find a good place to start is with a panel. Panels are inexpensive and you can use the lines in the design as your quilting lines. You don’t have to think of a quilt motif, just stitch on some or all of the lines on the panel.
Get Set for Success - Take Action!
Change Your Thoughts
I want you to change that thought of “I’m afraid to try free motion quilting” to “I’m excited to learn free motion quilting”. You change your mind about things every day and you can certainly change how you think about free motion quilting. It’s not written in stone anywhere – it’s all just in your mind and you can change that! Keep a few things in mind as you start your free motion quilting journey.
Everyone who free motion quilts started in the same place you are now – at the beginning. Don’t expect your beginning efforts to look amazing – they won’t. Do expect that each time you free motion quilt you will get better because you will. Everyone has to learn to walk before they can run and this is true of free motion quilting as well.
Don’t compare your free motion quilting with anyone else’s. A lot of quilters will compare their beginning efforts to someone else’s quilting and feel discouraged. Quilters like Angela Walters have been doing this for years and for hours every day. Of course she’s good! You can admire her work, but don’t feel discouraged if you aren’t at her level – yet! Keep practicing and who knows, one day you might be the quilter that everyone else is admiring.
Tools
I believe that using the right tools having your quilting area set up properly will make your free motion quilting easier and give you a better chance of a successful outcome.
The most important tool is your sewing machine. Free motion quilting is different than normal sewing and if your sewing machine is not set up properly then your experience will be frustrating and ultimately unsuccessful. You will need to have the proper needle, needle plate and darning foot set-up in your machine. You will also need to have the feed dogs down and to set the speed control to a comfortable speed for you (if your machine has that option). Your machine should be threaded with the top thread and you should have some bobbins pre-wound with the bottom thread. I hate having to stop my quilting to wind more bobbins
Set-up
The set-up of your quilting area will have a big impact as well. It is important to have a way to support your quilt as it moves through your machine. Your sewing table is probably adequate for small projects but you may need to set up tables adjacent to your machine to support larger projects. Your sewing surface should be smooth and “slippery” so that the project moves through the sewing machine without a lot of effort. I like to use a sheet that will stick to my machine bed, but has a slippery surface on top which allows the quilt to move around easily on the machine bed.
You also need to set yourself up. Make sure that you can sit comfortably at your machine because free motion quilting can take a long time and will take a toll on your body if you are positioned awkwardly. You will want to use something to allow you to grip the quilt so you can move it around under the needle. Some quilters like to use gloves, such as Machingers or gardening gloves. I find gloves too warm, so I like to use Martelli palm quilting paddles to control my quilt.
Choose the right project
When you are first learning any technique, it’s a good idea to start small. Choose smaller, simpler projects at first, rather than a large quilt. Don’t set yourself up for discouragement and frustration by trying to work on a huge project with a complicated quilt motif that you aren’t comfortable quilting. Start small and gradually work on larger projects as your confidence and skills grow.
Audition
Before I start to quilting my project I like to get the quilt design in my head. Practicing the design before you actually stitch it helps to get it into your head and your hands – muscle memory. I do this in a few different ways. If am unfamiliar with the motif that I am going to be doing I will often draw the design over and over on paper until the motion sticks in my head. If the motif is something I have done before, I will move the quilt sandwich around under the needle of my machine, without stitching, in the motif I want to do. Once I am comfortable with the motion, I begin stitching.
Have a Quilt Plan
Many patterns have detailed instructions on how to make the quilt top but don’t give you suggestions on how to quilt it. Granted, there are endless ways to do this but some guidance other than “quilt as desired” would be helpful. There are an infinite number of ways you can free motion a project so it’s important that you have decided on the quilting design and the motifs that you are going to use before you start stitching. There is nothing more disheartening to discover halfway through your project that your choice of motif is “not working”. Unpicking a quilted project can be a soul destroying task – believe me, I know.
Practice
I hope that you’re feeling optimistic about learning free motion quilting. It’s a technique like any other in quilting and you will be able to do it, if you practice. But here’s where the tough love comes in. While I’d like to be able to wave a magic wand and you’d instantly be an amazing free motion quilter, the reality is that you do have to be committed to do the work and you do have to practice. Nothing good ever got accomplished without putting in the hard work.
Conclusion
I want you to change that thought of “I’m afraid to try free motion quilting” to “I’m excited to learn free motion quilting”. Changing your approach to free motion quilting will result in early successes and will build you confidence in your abilities. The more confident you get, the more creative (and daring!) you can be with your projects.
Remember, practice makes improvement, not perfection. You should always be striving to improve with each project you quilt. Put in the work and you will be amazed at your results!
Start your learning right now!
Download the free Get Out of the Ditch! guide to learn how to start free motion quilting by clicking here.
Now that you know the reasons you need to learn free motion quilting, check out my course “First Steps Into Free Motion Quilting” by clicking here.
You Need to Learn A Step-by-Step Process to be Successful at Free Motion Quilting
The wide range of applications of free motion quilting can complicate the process of learning the technique. The solution to addressing the impact of the endless possibilities with this technique is to develop a step-by-step approach to both learning AND applying the technique.

Free motion quilting is a very versatile technique which is great because once you learn it you will be able to apply it in simple ways for simple projects or in complex ways that allow you to demonstrate your creativity. While the versatility of the technique is wonderful for someone who is a master, it can be extremely intimidating for someone who is not quite as proficient. It can be like a writer facing a blank page with no idea of what kind of book they want to write: too many choices and no way to decide where to start.
The wide range of applications of free motion quilting also complicates the process of learning the technique. Most people never master all the variations of free motion quilting which means that most quilters continue to learn and improve their free motion quilting technique throughout their lives. If you are not careful about how you approach learning the technique, you can get lost in all the possibilities and not learn the basics. Even worse you may attempt complicated applications without a strong foundation resulting in a failure that discourages you from continuing to learn the technique.
The solution to addressing the impact of the endless possibilities with this technique is to develop a step-by-step approach to both learning AND applying the technique. A step-by-step process will have the following characteristics:
It will provide a structure to the decision-making process when applying the technique in new situations (e.g. new type of project) or when learning a new variation (e.g. motifs, designs, etc.) of the technique.
It will allow you to learn and apply the technique in small chunks with the opportunity to apply what you know, practice what you don’t, and build on successes as you move forward.
Provides ways to start simple at first with your choice of project, motifs, design, and materials and then get fancy when you are more proficient.
Provides a way to segmenting the quilting into bite-sized pieces so that you are not overwhelmed by a “blank page”.
Encourages you to use the design and fabric choices in the project as inspiration for the choice of motif and how you will apply it.
Enables you to consider the purpose of the project (e.g. blanket, wall hanging, table runner, etc.) when deciding how to quilt it.
While setbacks are a part of making projects the process should help you to make progress in ways that build confidence and reduce the risk of a morale-destroying failure.
An effective step-by-step approach will help you learn the technique without being overwhelmed by the many variations possible in that technique. It should also provide enough flexibility so that you can express your creativity. The approach doesn’t have to be complicated but it should bring some measure of organization to your learning and your quilting so that you can take advantage of the amazing possibilities available in free motion quilting.
Start your learning right now!
Download the free Get Out of the Ditch! guide to learn how to start free motion quilting by clicking here.
Now that you know the reasons you need to learn free motion quilting, check out my course “First Steps Into Free Motion Quilting” by clicking here.
P.S. Do you strive to improve your quilting skills? Do you want to have fun doing it? Do you want to meet other quilters in a supportive, safe environment? If you answered “yes” to these questions, you need to join The Quilter’s Way. The Quilter’s Way is the only quilting membership site that includes both training and an active, supportive online community. Don’t wait another day! Join now.

Welcome! I’m Kim Jamieson-Hirst of Chatterbox Quilts, a YouTube creator and host of The Quilter’s Way. I believe that quilting is more than just a 1/4” seam and that practice makes improvement and you are improving every day!
Contact me at kjh@chatterboxquilts.com.


Want to improve your quilting and have fun doing it? Join The Quilter's Way, a private online membership site that creates successful quilters.

Check out my favourite books and tools.
As an Amazon Associate I earn from qualifying purchases from links that you may find on the Chatterbox Quilts’ website.