If you’re a beginner quilter, you may not yet have a fabric stash, but you will! Let me give you some tips on how to start building a fabric stash.
When you’re first starting out quilting you may get overwhelmed when trying to decide what fabrics to buy. You may be worried that the fabrics you choose may not play well together. A well-balanced fabric stash will help with this.
There are several ways to build your fabric stash. Let’s go through some of them:
1. Buy fabrics in collections. Fabric designers create collections where all of the fabrics work well together. The same exact colours are used in the various fabrics in the collection, making for “no thinking” choosing of fabrics. Designers ensure that there is interest in their collections by having a variety of design motifs and colours in them. If you want to add solid or blender fabrics to a collection, refer to the colour dots on the selvedge to get exact matches. You can’t go wrong choosing several fabrics from a collection and you won’t have to worry about the reds not matching ;)

2. Buy fat quarter bundles. Most shops will carry fat quarter bundles that have either been assembled by the fabric manufacturer or by the shop itself. These are great for projects calling for pre-cuts and, as with collections, you can be sure that all of the fabrics in the bundle will coordinate well.

3. Buy blender fabrics. What are blender fabrics? These are fabrics that “read” as solid. They are usually a tone on tone print. They add texture to your projects and allow the eye to rest. If you only had fabrics with lots of different coloured patterns in them in your projects, it would be a bit overwhelming. This is why you need blender fabrics.
4. Buy batiks. Some of my favourite fabrics are batiks. These beautiful fabrics are great for beginners as a true batik looks the same on both sides (or so close that your eye won’t be able to tell the difference), making them perfect for fusible web appliqué projects. Batiks come in an endless array of colours and designs and always seem to coordinate well with other batiks, no matter the colours in them.

5. Buy fabrics that contrast with one another. Contrast is as important, if not more important, than colour in quilt designs. Contrast brings out the design motif and without it you won’t see the design that you’ve worked so hard to piece or appliqué together. Contrast is often overlooked when you’re choosing fabrics, but is so important in making your quilt pop.
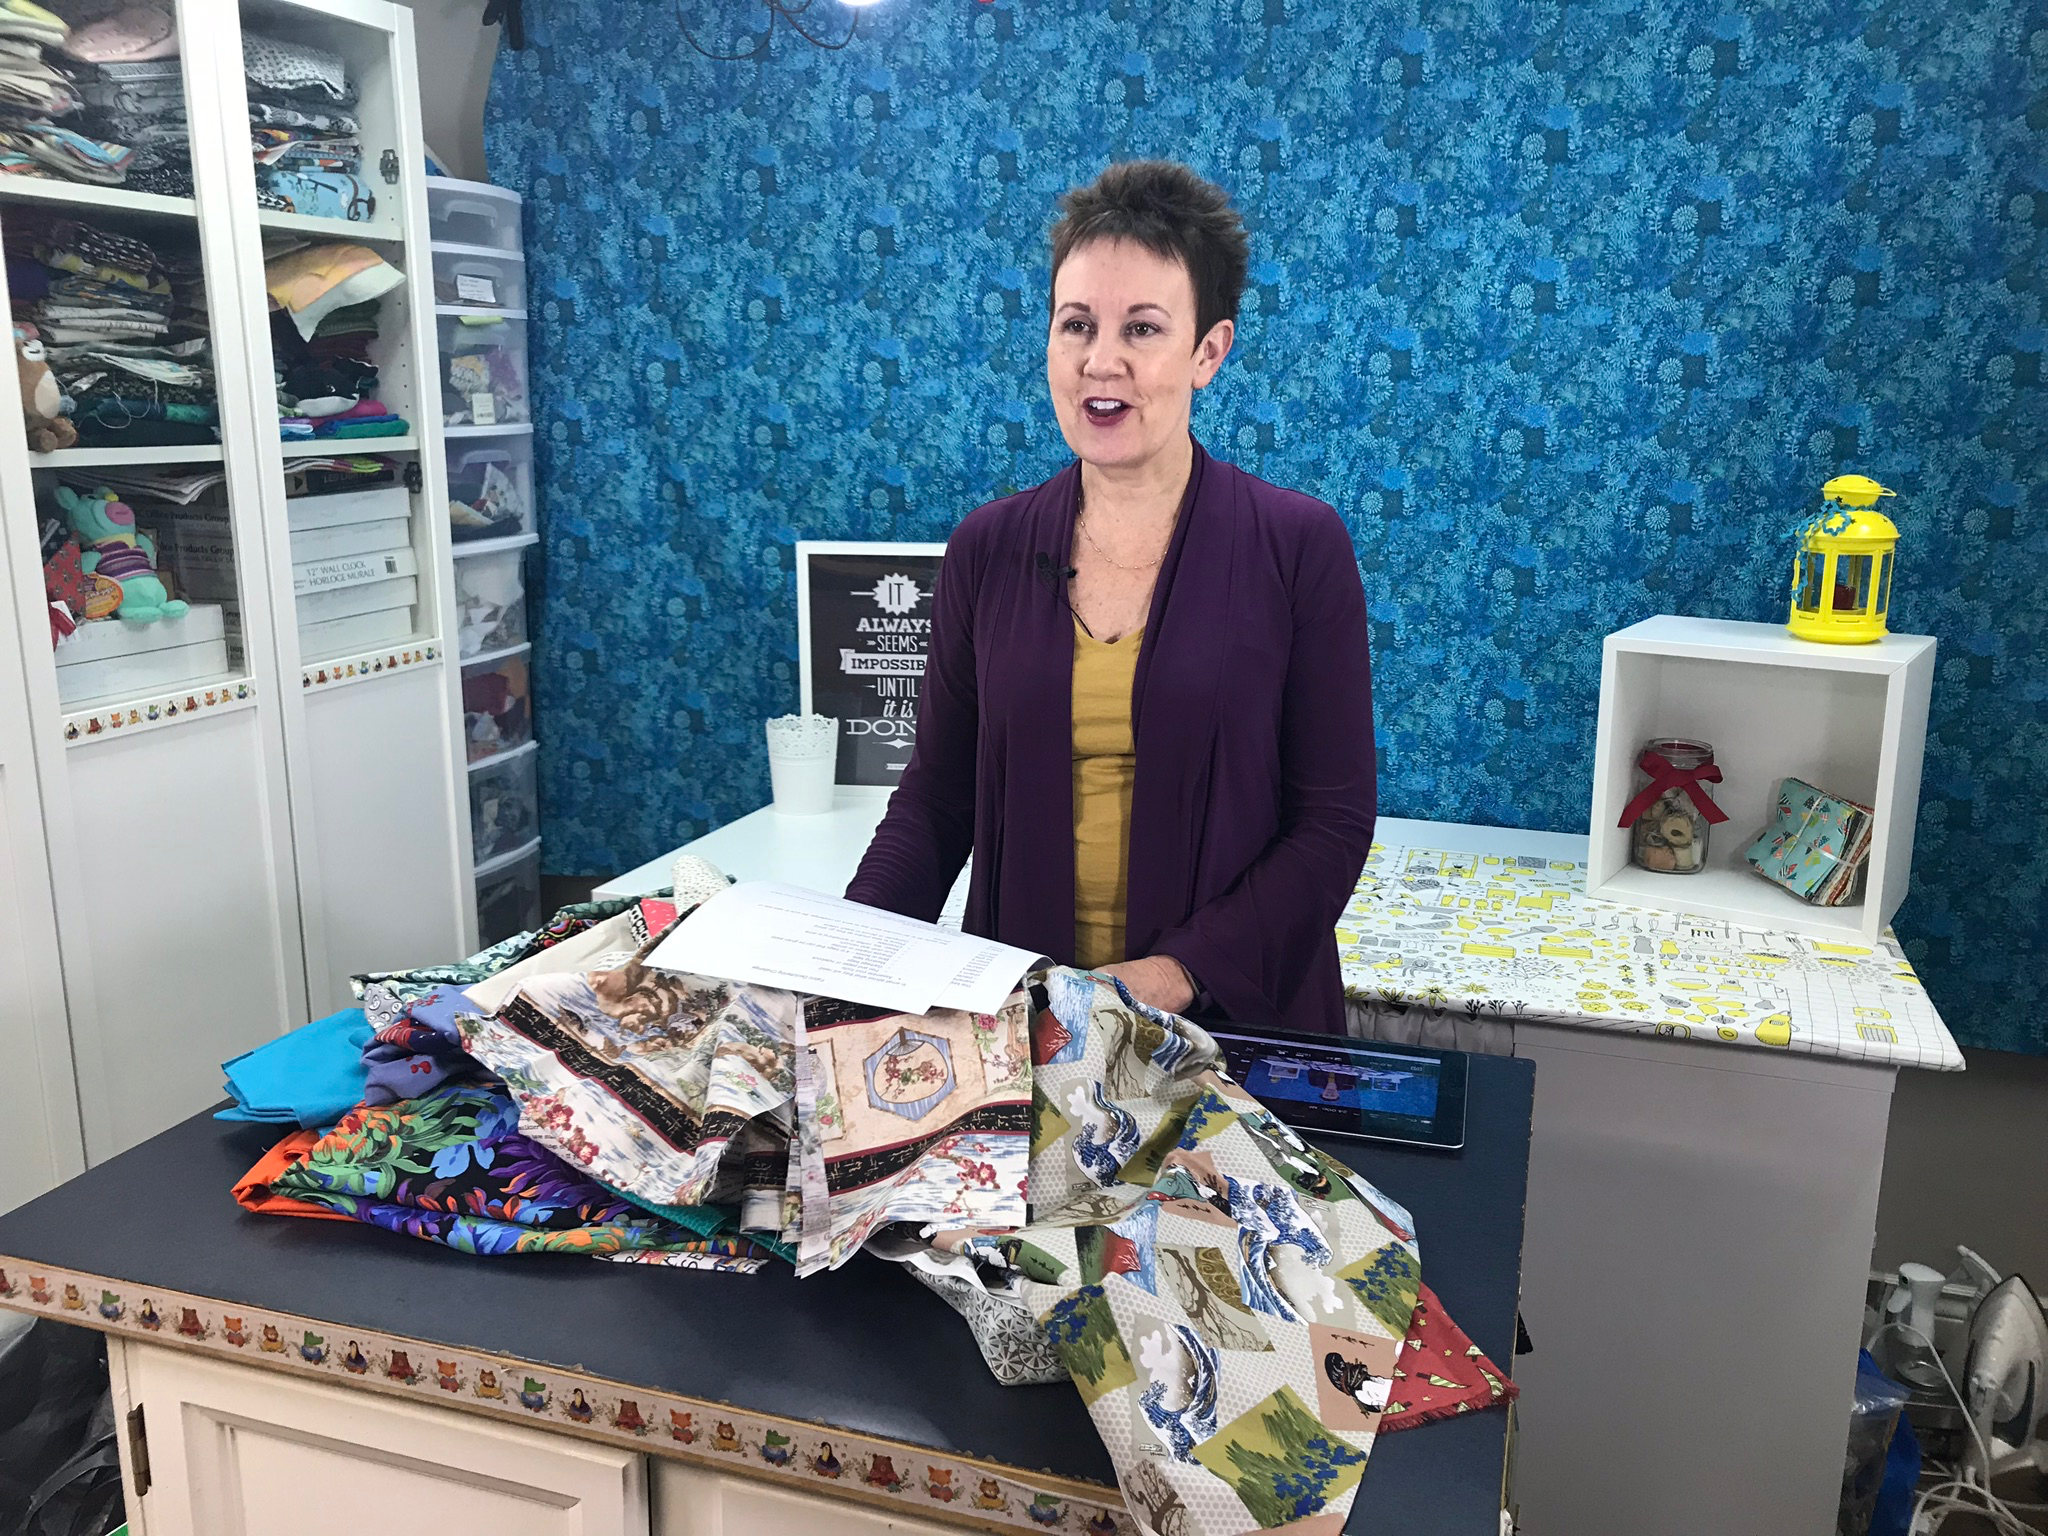
Click on the image below for more help in starting your own fabric stash.

These are some of the ways that will help you build a well-rounded fabric stash. What are your suggestions for building a fabric stash? Leave your ideas in the Comments below.
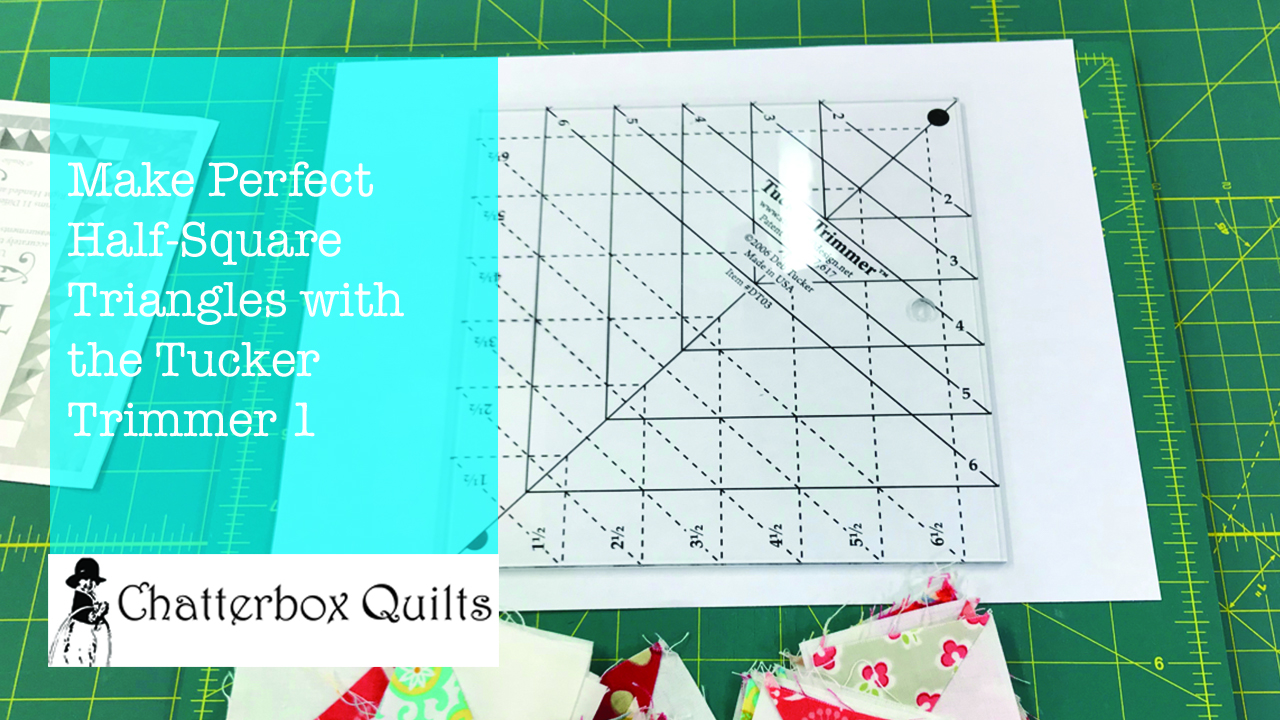
Click on the image below to watch a video showing you more about getting those important accurate fabric cuts.
Creatively,

P.S. Do you want to enhance your quilting and become the best quilter you can be? If you answered “yes” to this question, you need to join The Quilter’s Way. The Quilter’s Way is the only quilting membership site that includes both training and an active, supportive online community. Don’t wait another day! Join now.
P.P.S. Did you know that you can sign up to receive emails full of FREE quilting goodness? Click here to receive FREE content directly in your email inbox every few weeks from Chatterbox Quilts. I know you'll be glad you did!