Button Sewing on the Janome MC9450
Did you know that you can use your Janome MC9450 to sew buttons to your projects or garments? It’s so easy and saves hand sewing those buttons on – and I love to avoid this part of the process!
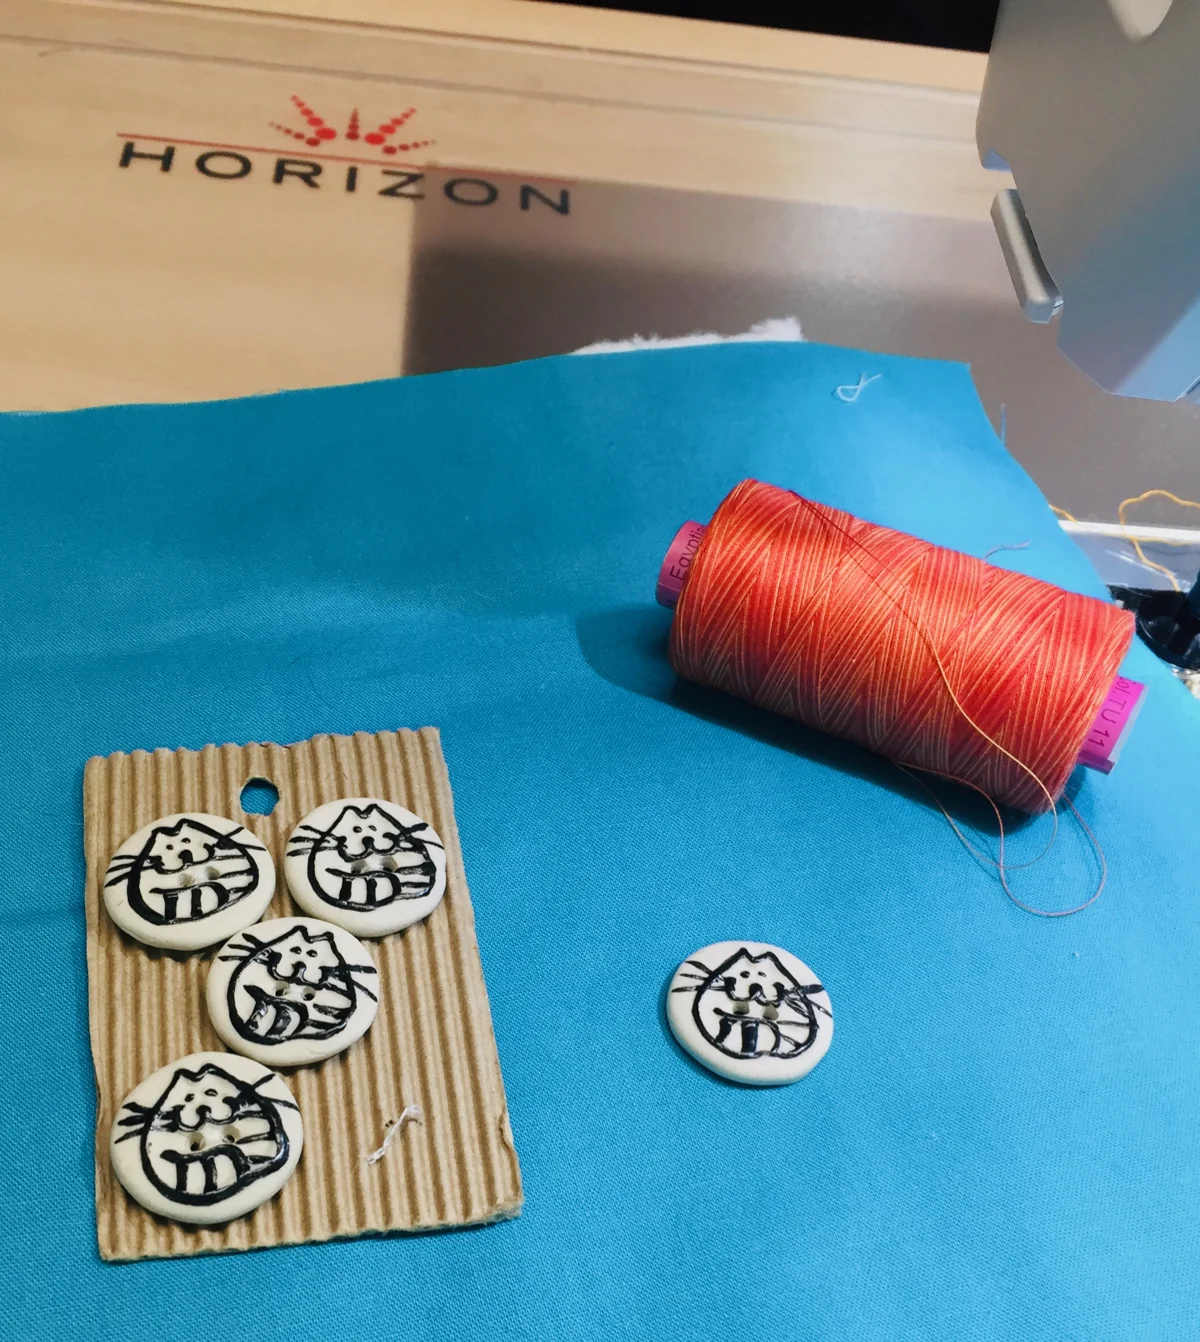
You can sew on a variety of button types, from flat buttons to those with shanks. I’ve tried both and the Janome MC9450 works really well in either situation. You’ll need to use the Button foot T for this technique. It’s the cute little open toe blue foot! Attach this to your foot holder and then to your Janome MC9450 and you’ll be almost ready to start.
To start, you’ll need a button and the garment or fabric on which you want to stitch the button. I guess this is fairly obvious, but still…
You next need to use the “Button” setting on the Janome MC9450. You can find it in the Sewing applications area (the t-shirt icon). Scroll through the various options until you find the Button setting and select it. You’ll notice that there are two choices: one for flat buttons and one for buttons with a shank or for which you will create a shank with thread. If you choose the shank button option, you’ll need to use the button shank plate, which you will place between the fabric and the button. In my particular situation, I didn’t need to use this as I was attaching a flat button.
Before you start stitching, the Janome MC9450 will ask you to drop the feed dogs. Once you do this, you are ready to go!

Decide where you want to attach the button, and, using the handwheel, slowly drop the needle into the left button hole. Again, using the handwheel, drop the needle into the right button hole. You may need to adjust the stitch width to ensure that the needle will go into the buttonhole and not into the button! Once you are sure that the stitch width is appropriate for your button, you can use your foot pedal to stitch on the button. The Janome MC9450 will automatically stop stitching when the button is secure. Cut the thread and you are done.
To see this process in detail, click on the image below.

Creatively,

P.S. Are you serious about improving your quilting? Do you want to connect with other committed quilters in a supportive, safe environment? If you answered “yes” to these questions, you need to join The Quilter’s Way. The Quilter’s Way is the only quilting membership site that includes both training and an active, supportive online community. Don’t wait another day! Join now.
P.P.S. Did you know that you can sign up to receive emails full of FREE quilting goodness? Click here to receive FREE content directly in your email inbox every few weeks from Chatterbox Quilts. I know you'll be glad you did!
P.S. I am an Amazon affiliate and, if you purchase items by clicking through the links in this post, I will receive a small amount of commission. This doesn’t cost you any more $$$, but helps me to continue creating free content for you. Thanks!