Best Wool Pressing Mat Review
Have you ever tried a wool pressing mat? I hadn’t, but decided it was time to give one a try. I received a wool pressing mat from Precision Quilting Tools to try out and I must admit that I was a bit skeptical at first. How could this be any better or different from pressing on my regular pressing surface? Well, I found out that it is a lot better and I want to share this information with you.
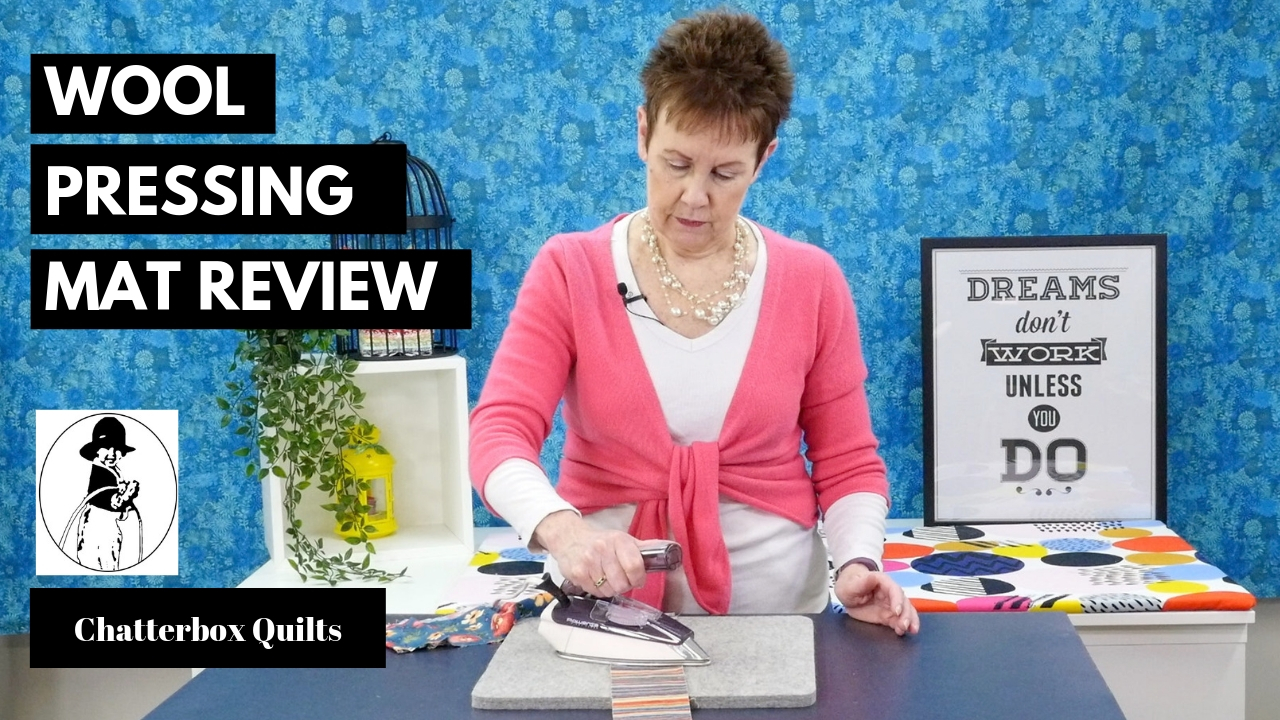
A wool pressing mat is thick and is wool all the way through. Both sides are the same so it doesn’t matter which side you are pressing on – it’s like getting two pressing surfaces in one. The Wool Pressing Mat that I tried out was 17” x 17”, but there are various sizes available. This one is the perfect size to have next to your sewing machine or to take on retreats.
Because the Wool Pressing Mat is made of 100% New Zealand wool, it absorbs the heat from the iron and “reflects” it back to the fabric. It’s kind of hard to describe how this works, but the result is that you get a really crisp pressed finish to your fabric and seams without having to press over and over to get this type of finish.
I’ve heard complaints from quilters that a wool pressing mat smells when you use it and I was concerned that this would be the case with this pressing mat from Precision Quilting Tools, but was delighted to find out that this was not the case.
When I first started pressing my fabric on the Wool Pressing Mat, I had my iron set to “Cotton”, but found out that I really didn’t need to use this high of a setting. I turned my iron down to “Wool” and, using the Wool Pressing Mat, it worked just fine. I used both steam and Mary Ellen’s Best Press when pressing in my example. I liked that I could use a lower setting on my iron and still get excellent results – all with no damp wool smell. While I did use steam, this isn’t necessary when using the Wool Pressing Mat – I just wanted to see how it worked when trying out the mat.
One caution when using any type of wool pressing mat is the surface that you use it on. The bottom of the mat isn’t as hot as the top when you are pressing, but it can get quite warm if you are using steam with it (which you really don’t need to do), so I wouldn’t suggest that you use it atop your fine furniture. I would suggest that you just place it on top of your regular pressing surface to avoid any unpleasant and unexpected side effects.
I was very pleased with the results I got when using the Wool Pressing Mat and will now be using it in my quilt studio.
For more information on the Wool Pressing Mat by Precision Quilting Tools, click on the image below.
If you’d like your own Wool Pressing Mat, click here. If you would like to see more of Kim’s favourite tools click here.
Creatively,

Download the free Get Out of the Ditch! guide to learn how to start free motion quilting by clicking here.
P.S. Are you serious about improving your quilting? Do you want to connect with other committed quilters in a supportive, safe environment? If you answered “yes” to these questions, you need to join The Quilter’s Way. The Quilter’s Way is the only quilting membership site that includes both training and an active, supportive online community. Don’t wait another day! Join now.
P.P.S. Did you know that you can sign up to receive emails full of FREE quilting goodness? Click here to receive FREE content directly in your email inbox every few weeks from Chatterbox Quilts. I know you'll be glad you did!
P.S. I am an Amazon affiliate and, if you purchase items by clicking through the links in this post, I will receive a small amount of commission. This doesn’t cost you any more $$$, but helps me to continue creating free content for you. Thanks!