
CHATTERBOX QUILTS’ BLOG
Helping Quilters Learn and Improve

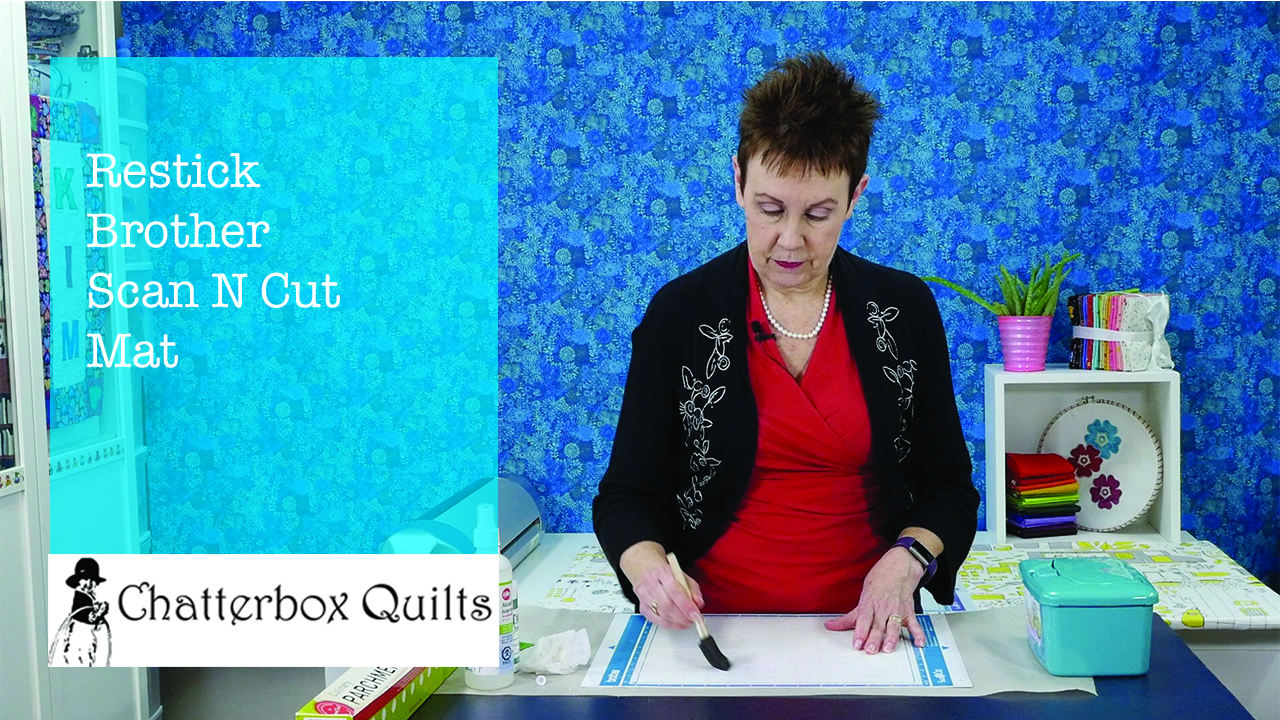
Restick Your Brother Scan N Cut Mat
After you’ve used your Brother Scan N Cut mat over and over, you’ll find that it tends to lose its stickiness. I was looking for a way to refresh my mats so I could delay purchasing any more – yah, I can be cheap that way!
I usually use my Brother Scan N Cut for cutting fabric and the method I’ve found is great for resticking mats you would use for fabric cutting. I wouldn’t suggest using this method on a mat on which you intend to cut paper or cardstock as it will make the mat really sticky and will probably make it very difficult to remove paper items.
Here’s what you’ll need to restick your Brother Scan N Cut mat:
Rubbing alcohol (in a spray container, if possible)
Used credit or gift card
Aleene’s Tack-it Over and Over Repositionable Glue
The mat you want to restick
Once you’ve gathered all of your items together, cover your working surface with some parchment paper and place the not-sticky-but-soon-to-be mat on top of it. If you have a high tack adhesive fabric support sheet on top of your mat, remove this first.
To clean the mat, spray it with rubbing alcohol. Once the mat is wet, use the baby wipes and/or the used gift or credit card to get off all of the bits and pieces of lint, thread or what have you that has stuck to the mat. I find the plastic gift card works really well to scrape off those pieces that are a bit stubborn. Be sure to use the rubbing alcohol in a well ventilated area.
Once the mat is clean, it should no longer be sticky. You’ll need to let it dry thoroughly before the next step.
Once the mat is completely dry, it’s time to make it sticky again! Take the Aleene’s Tack-it Over and Over Repositionable glue and apply it to the mat inside the blue or purple lines on the mat – in the area where you would normally affix the fabric. Use the paint brush to wipe the glue evenly over the mat and let dry completely.
Once it is dry, it is ready to be put to use. You’ll certainly notice how sticky it now it! Be sure to keep the mat clean by covering it with the clear vinyl that came with it and clean it with a baby wipe in between cuttings.
Once the mat starts to lose its stickiness, you can just repeat the process again!
Click on the image below to watch a video on my YouTube channel showing you the entire process.
P.S. Did you know that you can sign up to receive FREE emails full of quilting goodness? Just click here to receive FREE content directly in your email inbox every few weeks from Chatterbox Quilts. I know you'll be glad you did!
P.P.S. I am an Amazon affiliate and will receive a small amount of compensation if your purchase a product by clicking through links in this blogpost. This allows me to continue to provide you with FREE content each week. Thank you.

Janome 9400 HP Foot and Needle Plate
While most sewing machines come with two needle plates: a straight stitch and a zigzag plate, the Janome Horizon Memory Craft 9400 QCP comes with an additional needle plate and a special foot that goes with it. The HP foot and needle plate combination are wonderful for quilters who are striving for that perfect 1/4" seam and there are several beautiful straight stitch choices that you can create. I love this new HP foot and needle plate combination available on the Janome 9400 and it has become my go-to choice for piecing!
The HP (High Performance, or as I like to call it, Happy Piecing) foot is a bit different from the other feet included with the Janome 9400: it is already permanently attached to its own presser foot bar. See, it really is special!
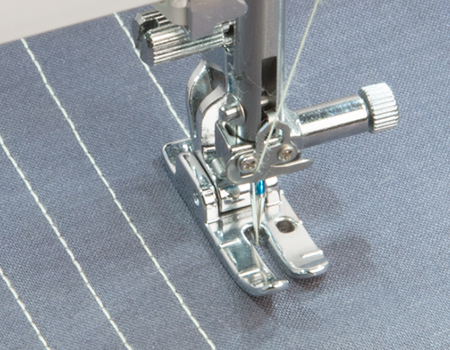
The HP needle plate is a straight stitch plate which helps to give you a lovely straight line of stitching and avoids any needle flex going in and out of the fabric. You won’t be able to do any zigzag with this needle plate in the machine as it won’t let you. Well, you could probably find a way around it if you tried really hard, but when you pop in the HP needle plate, the Janome 9400 will only show you the straight stitches that you will be able to stitch. This avoids having to worry about selecting another stitch type that might cause the needle to hit the foot and break the needle and damage the machine.

As a quilter, I don’t usually look at the other straight stitches available, but if you are a sewist, there are some really nice triple stitch options that would look amazing if you are top stitching. I could certainly see how some of these stitches would make nice embellishment details on a collar or on shirt cuffs. While the Janome 9400 will suggest the stitch length, you can always change the look of the stitch by making it shorter or longer.
To see some of the straight stitch options available using the HP foot and needle plate, click on the image below to watch a video on my YouTube channel.

Creatively,

P.S. Did you know that you can sign up to receive FREE emails full of quilting goodness? Just click here to receive FREE content directly in your email inbox every few weeks from Chatterbox Quilts. I know you'll be glad you did!
P.P.S. I am an Amazon affiliate and will receive a small amount of compensation if your purchase a product by clicking through links in this blogpost. This allows me to continue to provide you with FREE content each week. Thank you.

Sewing Machine Set Up for Free Motion Quilting
One of the most frequent questions I get asked is how I set up my sewing machine for free motion quilting so I made a video to show you how I do this.
There are really two things to consider: what tools you should have that will help you to free motion quilt easily and how to set up your sewing machine.
First, let's take a look at the tools. Having the largest area around the machine's needle to support the quilt will be very helpful. If you have an extension table, this is the time to put it on your sewing machine. If you don't have an extension table, a Sew Steady table is a great investment.

Image courtesy of amazon.com
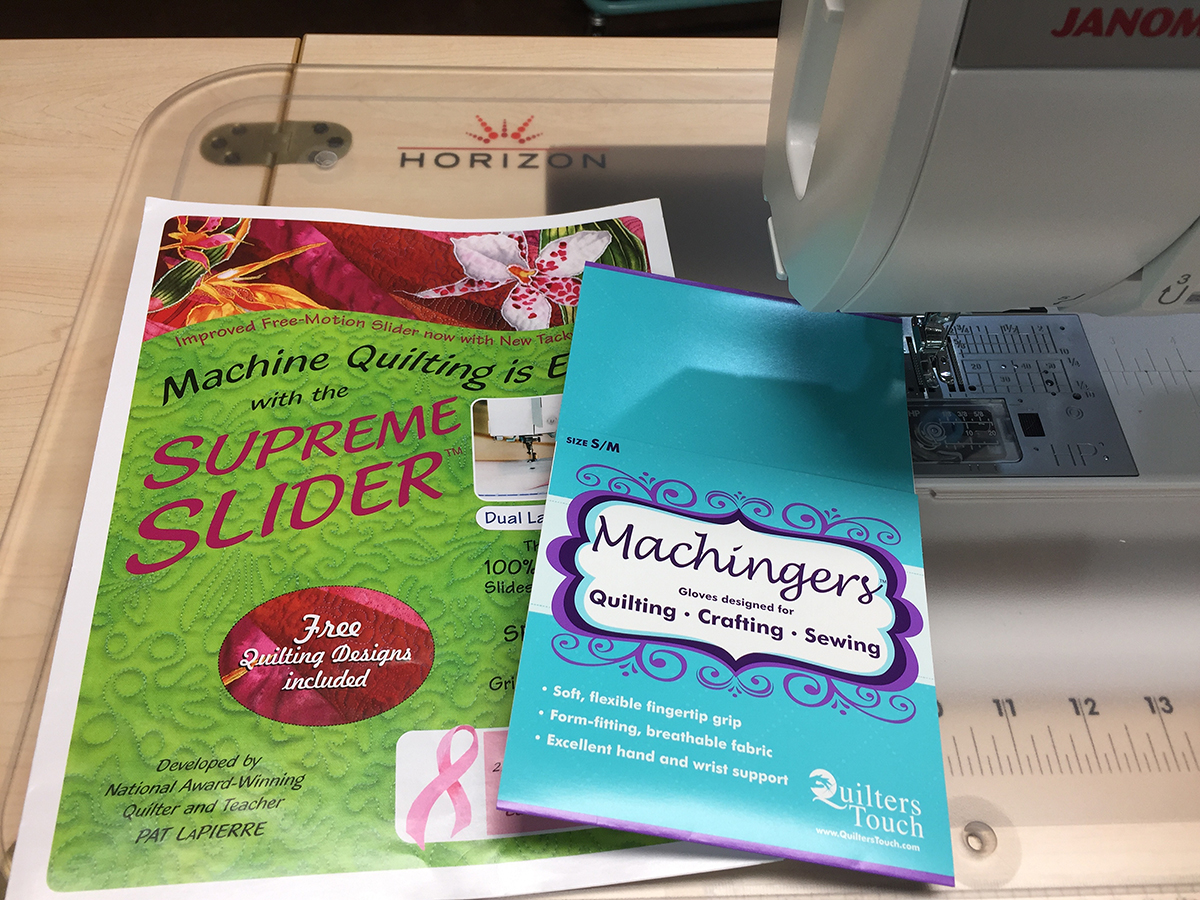
It's a good idea to have something underneath your quilt so that it will slide easily on the machine bed. I like to use the Supreme Slider: it's durable and can be easily cleaned.
You will also need something to help you grip the quilt and move it around. I like to wear Machingers for this purpose: they are lightweight and have rubberized tips on each finger that help you grab the quilt.
Now let's take a look at the machine set up. Whenever you are starting a new project, you should insert a new needle. You should also turn your stitch length to 0.
You will also want to put the appropriate foot on your sewing machine. You probably have a darning or free motion foot for your machine and you will need this when you are free motion quilting.
You should lower the feed dogs on your sewing machine - or should you? If you are using the Supreme Slider, the feed dogs are already covered and some sewing machines actually work better when the feed dogs are up when free motion quilting. Try both on your machine to see which gives you the best results.
If you have a newer sewing machine, it probably has a speed control on it. This allows you to adjust how fast the machine is stitching - how fast the needle is going up and down - when you press the foot pedal. Play around with this until you can press the foot pedal all the way to the floor and are comfortable with the rate at which the machine is sewing. This means you don't have to think about what your foot is doing - you just need to focus on moving your hands.
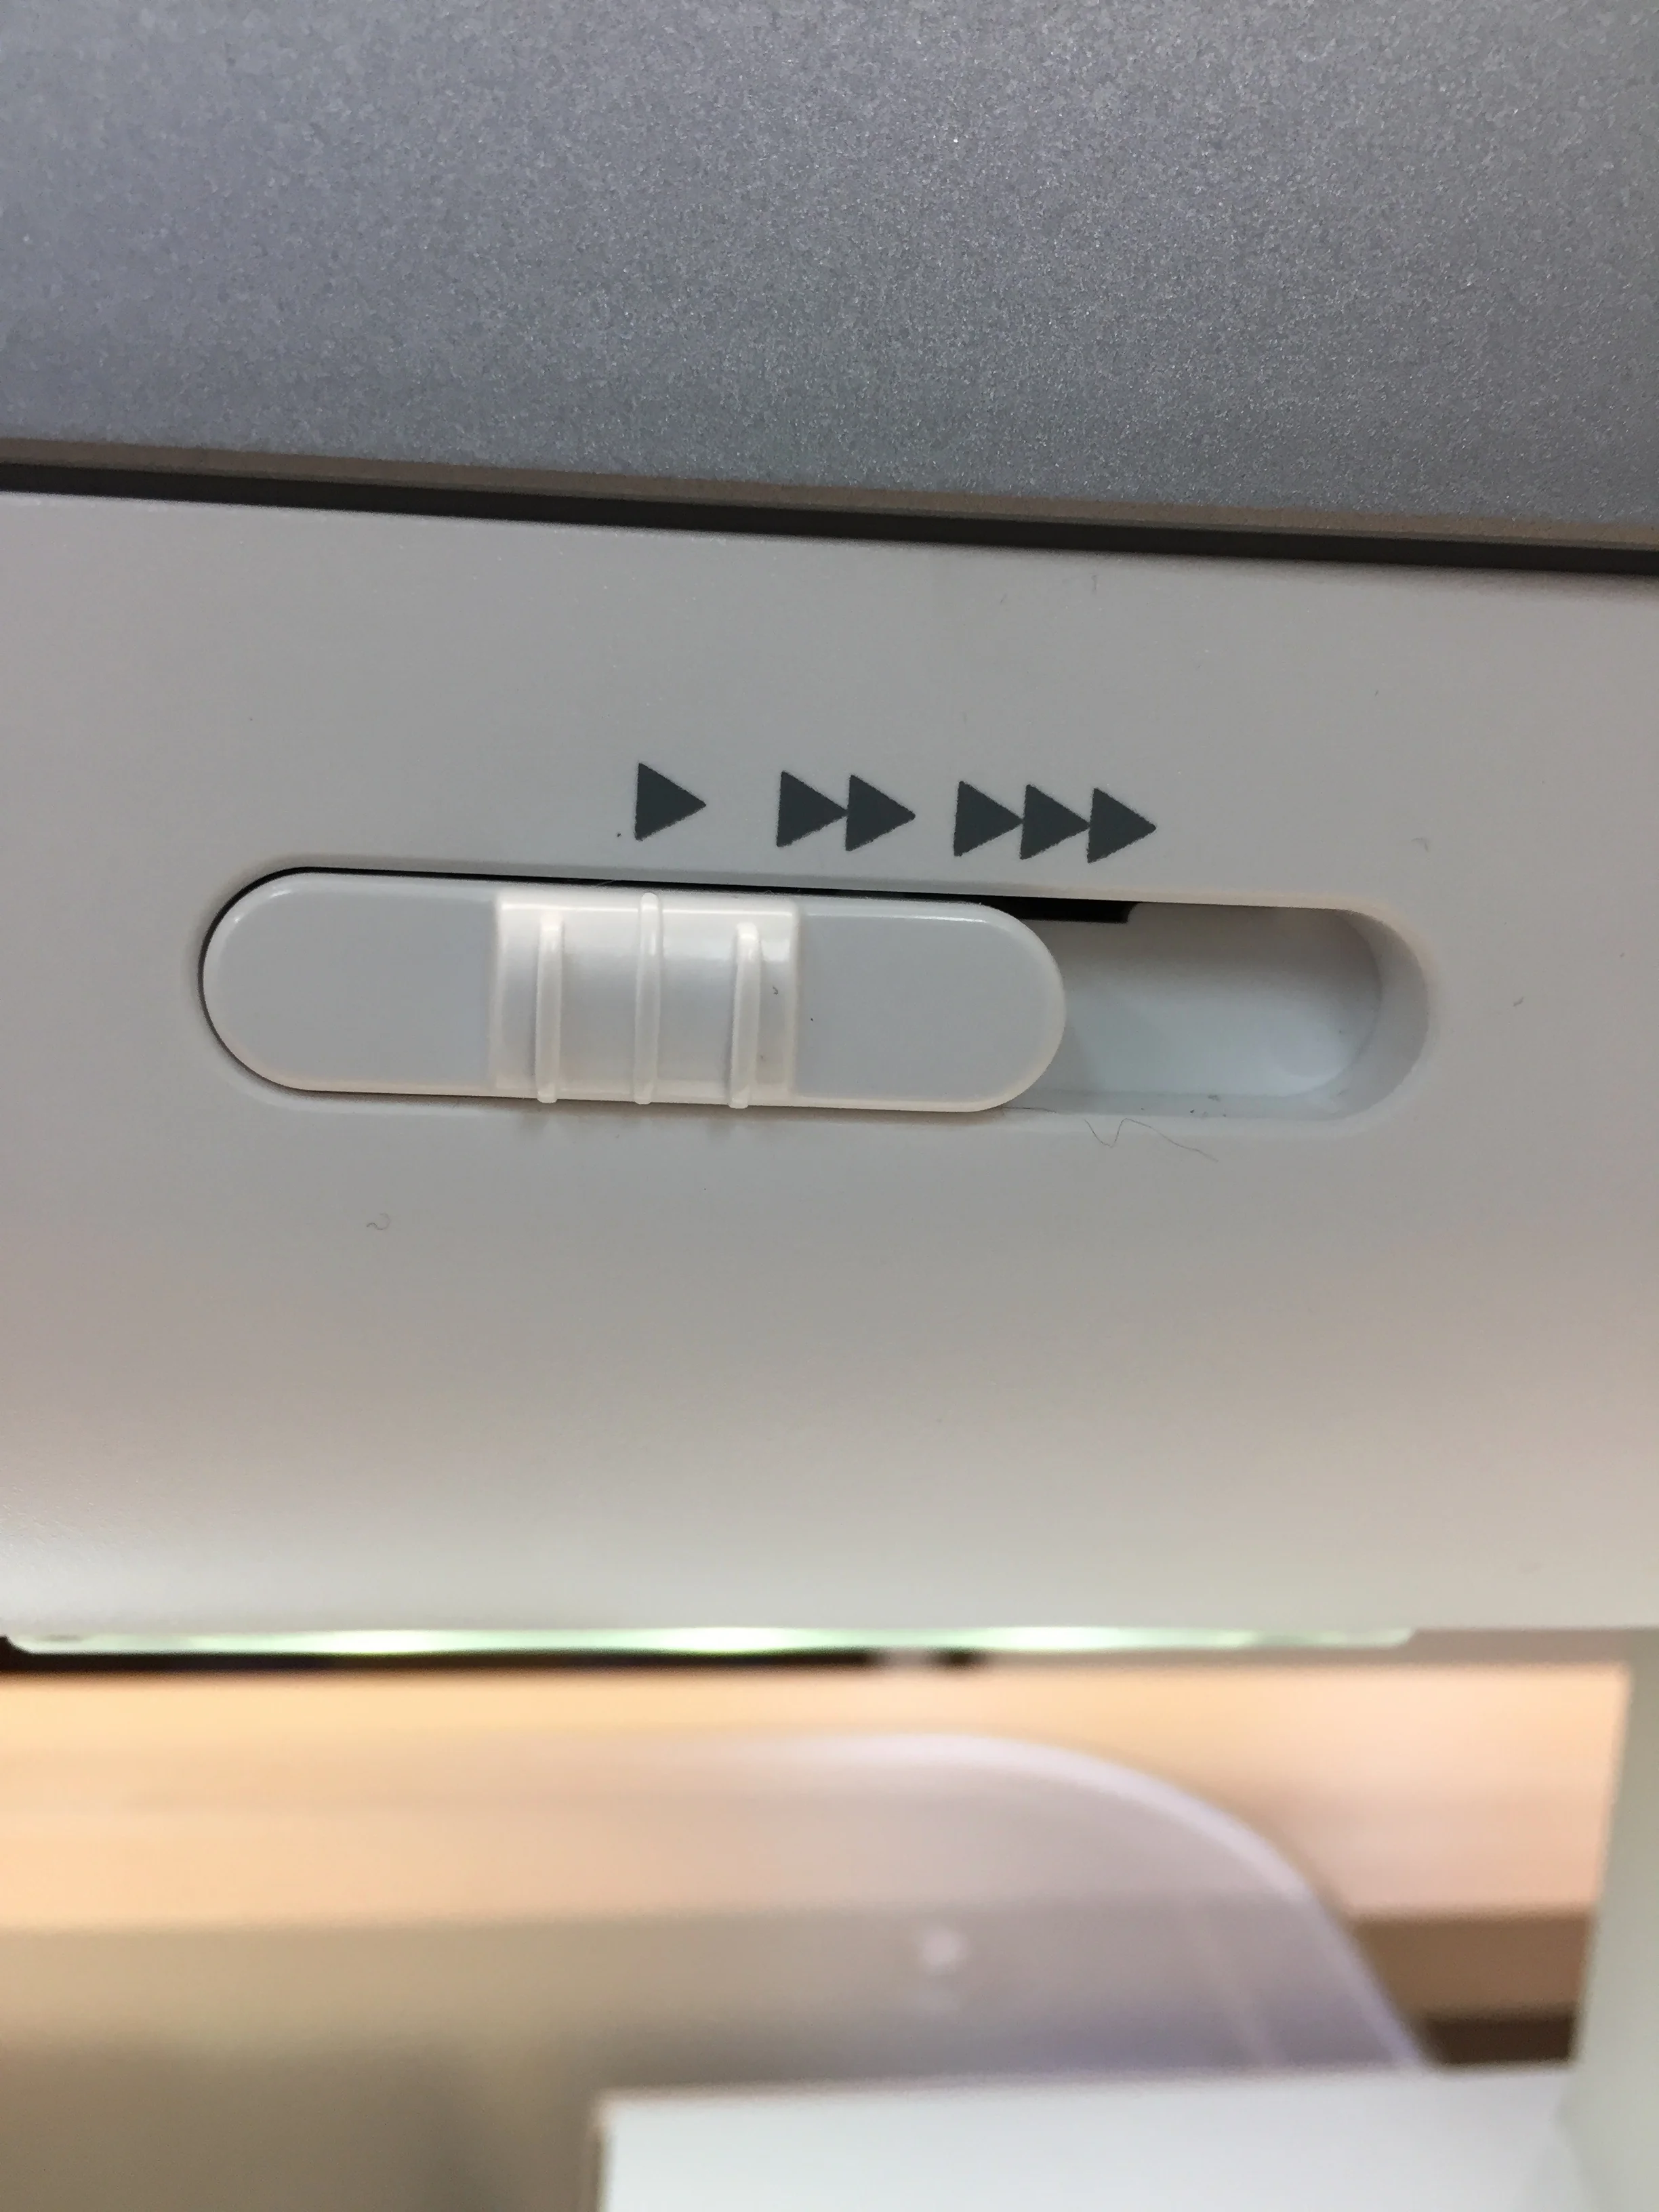
For more information on how I set up my sewing machine for free motion quilting, click on the image below to watch a video on my YouTube channel.

How do you set up your sewing machine for free motion quilting? Leave me your best tips in the Comments below.
Creatively,

P.S. Did you know that you can sign up to receive FREE emails full of quilting goodness? Just click here to receive FREE content directly in your email inbox every few weeks from Chatterbox Quilts. I know you'll be glad you did!
P.P.S. I am an Amazon affiliate and will receive a small amount of compensation if your purchase a product by clicking through links in this blogpost. This allows me to continue to provide you with FREE content each week. Thank you.

Set Up Your Janome 9400 for Free Motion Quilting
UPDATE: The Accessory Upgrade Kit for the Janome MC9400 has just been released and it includes 2 new feet to use when free motion quilting. For more information about the Accessory Upgrade Kit, click here.
The Janome Horizon Memory Craft 9400 QCP makes it so easy to free motion quilt! With its large harp space, ability to set the speed of the machine with the adjustable speed control, and the several free motion quilting feet included in the machine, you'll truly enjoy quilting your projects with it.
To achieve the best result when free motion quilting, I have a few items I always use: the Supreme Slider, which allows the quilt to slide under the needle and Machingers quilting gloves which help me to grip the quilt and move it easily.
To prepare the Janome 9400, I drop the feed dogs . The most important and helpful thing I can do on the Janome 9400 is to adjust the speed control so the speed of the machine (how fast the needle goes up and down) is comfortable for me. I should be able to press the foot pedal all the way down and hold it there and the machine is stitching at a comfortable pace for me. This can vary for each quilter, so set it for what is right for you. Being able to adjust the speed control means that you don't have to think about the foot pedal at all: you just press it all the way to the floor and hold it there. One less thing to think about when free motion quilting!
It's important to use the right needle for the task and in this case, I use a purple tip Janome needle. I always use a new needle for each project which helps to give me good results. I also use the blue dot bobbin case which has less tension and works really well when free motion quilting. To find out more about Janome bobbin cases, watch this video.
There are four different free motion quilting feet included with the Janome 9400: The PD-H foot, the QO (open toe foot), QC (closed toe foot), and QV foot (echo quilting). The PD-H foot is typically called the free motion or darning foot and this, unlike the other feet, has an integral foot holder. Be sure that the bar on this foot goes on top of the needle bar, which will allow it to "hop" as it quilts along. The other three feet will fit on your regular presser foot holder. They attach a little differently than other presser feet, so watch the video to see exactly how to attach them so they lock in tightly.
The variety of presser feet that you can use is helpful and the Sewing Application on the Janome 9400 simplifies the choice of stitches: it does the thinking for you. You will have a choice of straight or zigzag stitches and this will depend on what needle plate you have installed on the Janome 9400. Once you choose a stitch, the Janome 9400 suggests which presser foot would give the best results when using this stitch. If you choose straight stitch 2 or zigzag stitch 2, you have the ability to change the height of the presser foot to the best height for the quilt thickness. I like a sewing machine that guides me to the choices that will give me the best results!
To see how to set up the Janome Horizon Memory Craft 9400 QCP for free motion quilting, click on the image below to watch it on my YouTube channel.

If you are hesitant to try free motion quilting on your Janome 9400, don't be! The features on the Janome Horizon Memory Craft 9400 QCP will help you in your free motion quilting journey and make this part of your project easy and enjoyable.
Creatively,

Download the free Get Out of the Ditch! guide to learn how to start free motion quilting by clicking here.
P.S. Did you know that you can sign up to receive FREE emails full of quilting goodness? Just click here to receive FREE content directly in your email inbox every few weeks from Chatterbox Quilts. I know you'll be glad you did!
P.P.S. I am an Amazon affiliate and will receive a small amount of compensation if your purchase a product by clicking through links in this blogpost. This allows me to continue to provide you with FREE content each week. Thank you.
10 Favourite Easter Projects
We've had so much snow in Calgary this winter that it's hard to believe that it is almost Easter. While I feel that I should still be stitching up snowmen, I think it's time to start thinking about flowers, bunnies and Easter eggs.
I've found 10 cute Easter designs that I think you will enjoy - and you still have time to create them. Here are a few of my favourites:
1. 10 Free Bunny Sewing Patterns
What would Easter be without bunnies? Diy-crush has curated lots of sweet bunny patterns for you to stitch up.

From diy-crush.com
2. Hippity Hoppity Easter Mini Quilt
More bunnies, but this time in a pieced wall hanging. Hippity Hoppity Easter Mini Quilt is from Nadra of Ellis & Higgs. I think you could have lots of fun choosing fabrics for these bunnies and I might be tempted to add a fluffy tail to them too!

Hippity Hoppity Easter Mini Quilt from Ellis & Higgs
3. Easter Brights
If you're wondering where the Easter eggs are hiding, you'll find some of them in Easter Brights from Chatterbox Quilts.
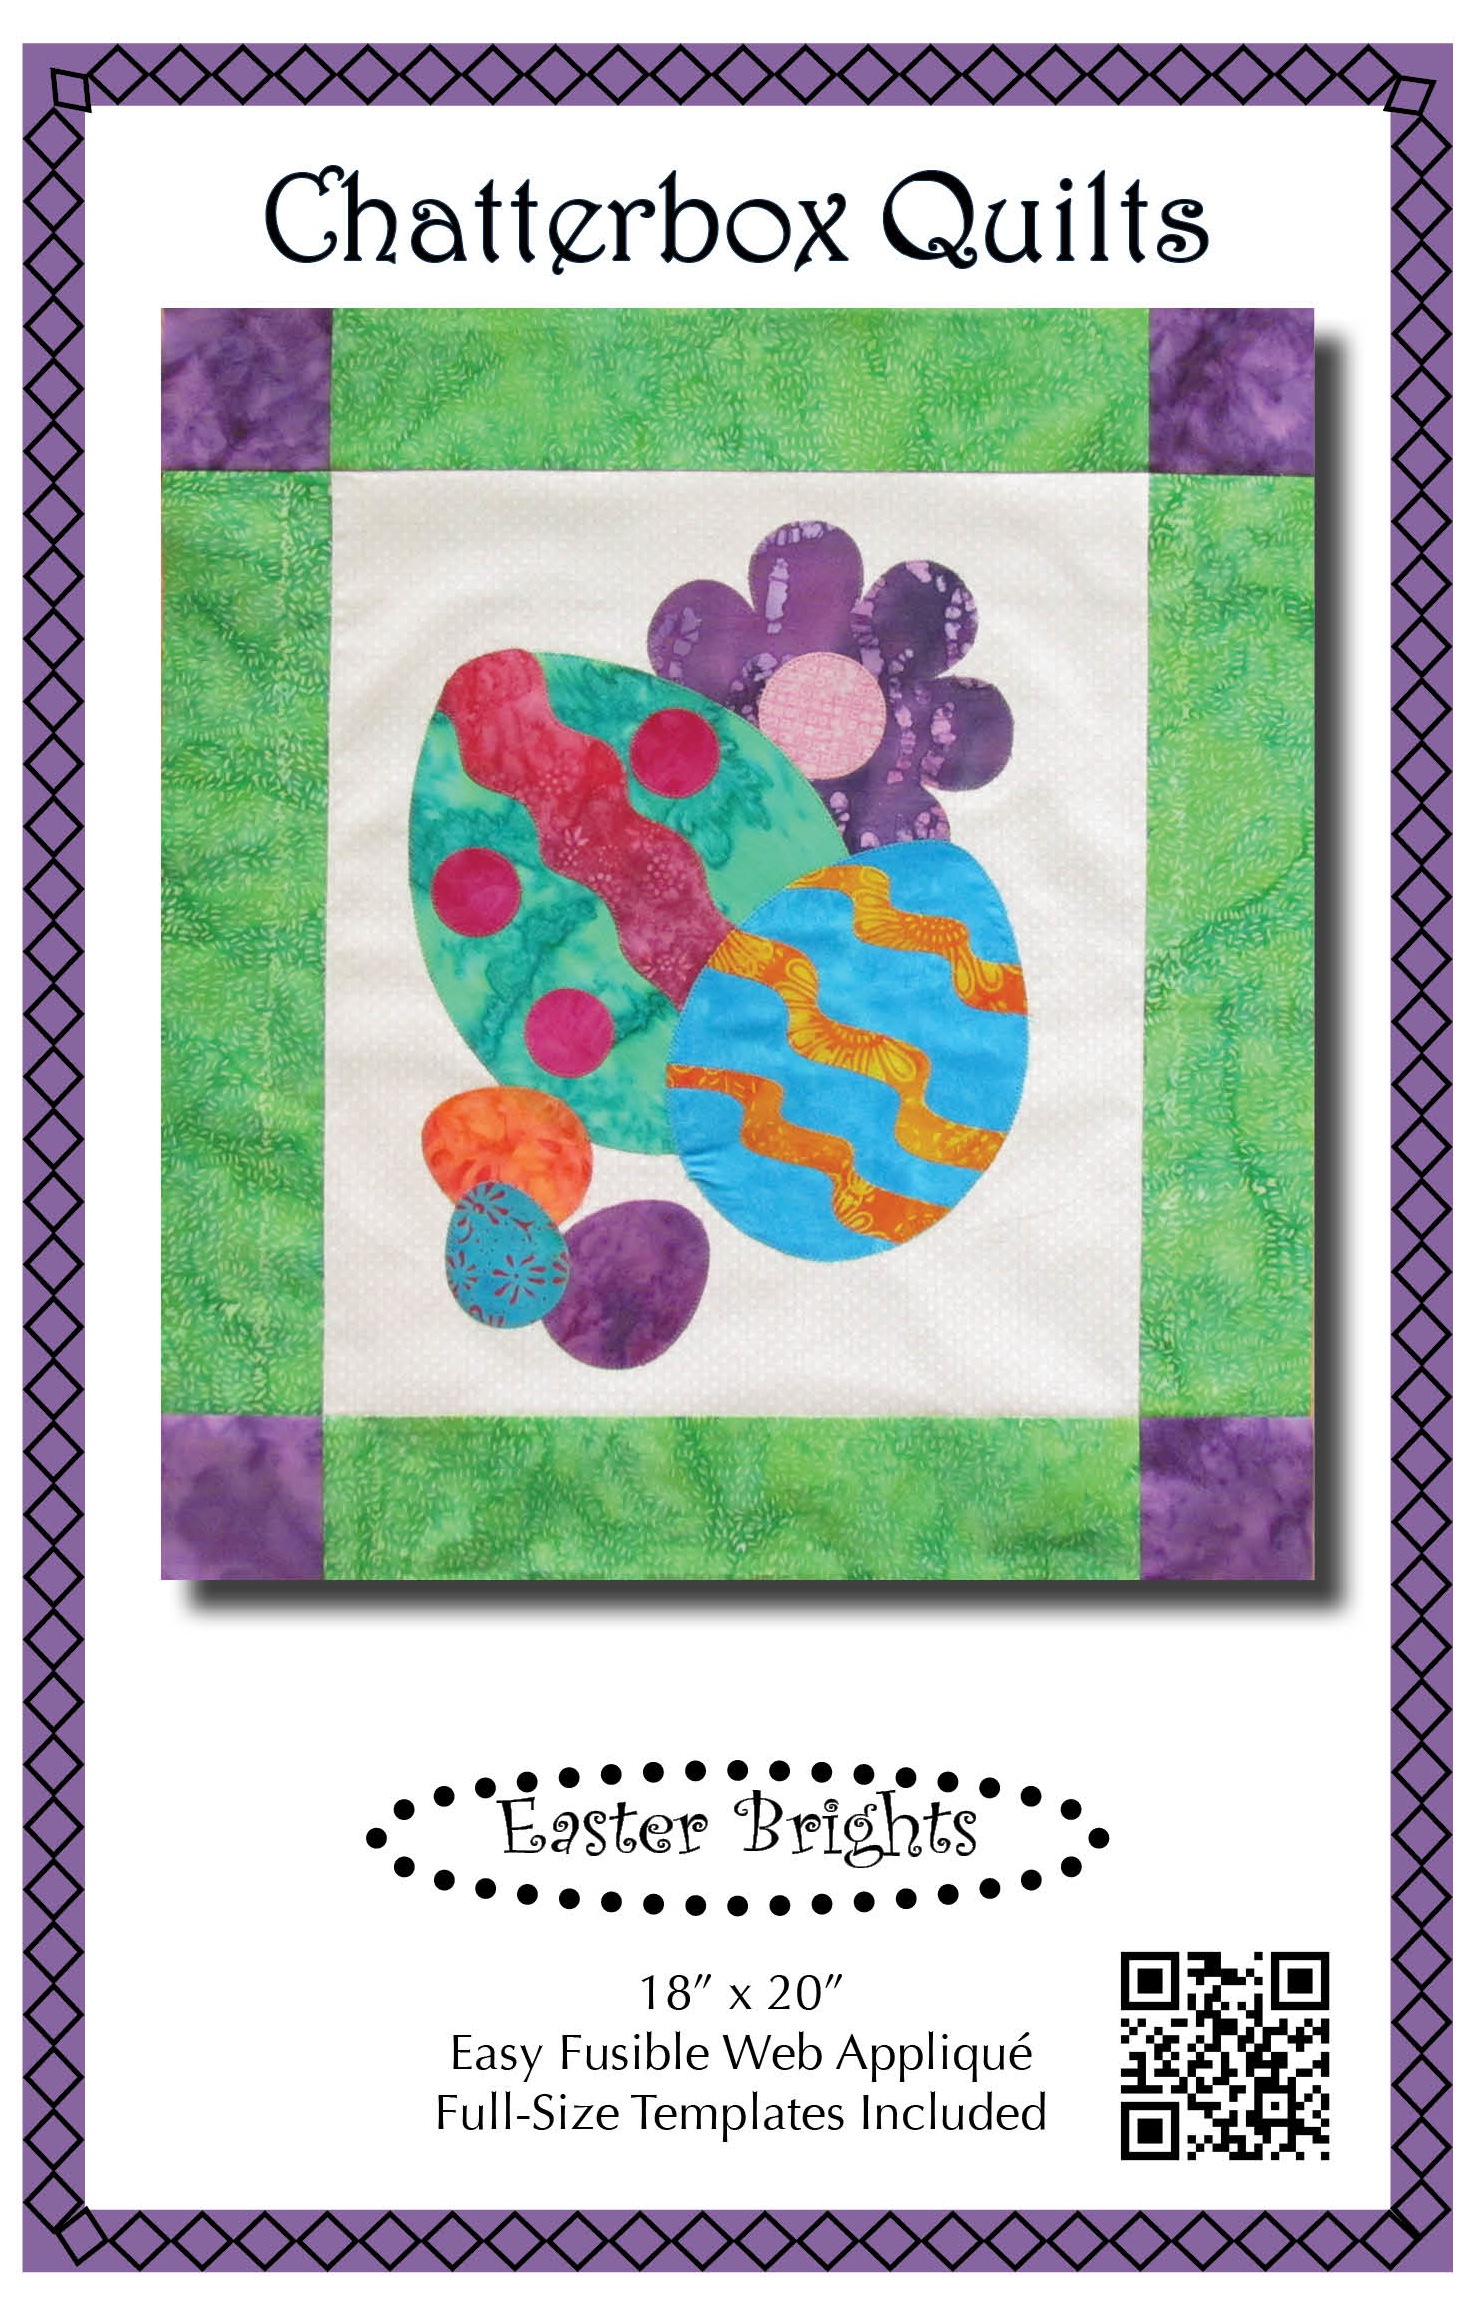
Easter Brights from Chatterbox Quilts
4. Fancy Felt Egg
If you want to do a small felt project embellished with hand embroidery stitches, check out the Fancy Felt Egg from Wendi Gratz at Shiny Happy World.

Fancy Felt Egg from Happy Shiny World
5. EggIE Softies
If you have little ones in your house, they'll love the EggIE softies. Fun for them and a great way to use up your fabric scraps and trims.

EggIE Softies from Fiona Carter
6. Easter Bunny Pillow
Now that it's warming up (everywhere but Calgary!), you won't be needing your warm winter sweaters. Recycle your worn ones into this Easter Bunny pillow from Better Homes & Gardens.
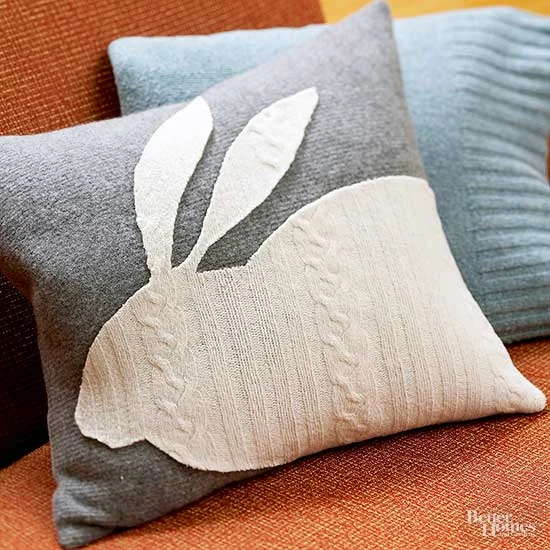
Easter Bunny Pillow from Better Homes & Gardens
7. Easter Table Runner
Here's a super cute table runner to make and it will be quilted up quickly as it uses the quilt as you go technique. Check out the Easter Table Runner from Patchwork Posse

Easter Table Runner from Patchwork Posse
8. Quilted Carrot Table Runner
I'm sure all these bunnies must be getting hungry! I've got just the solution: the Quilted Carrot Table Runner from Better Homes & Gardens.

Quilted Carrot Table Runner from Better Homes & Gardens
9. Easter Treats
We've got the bunnies, the eggs, the carrots and even some flowers, but I'm missing the best part of Easter: chocolate! Easter Treats by Chatterbox Quilts includes a chocolate bunny between spring blooms.
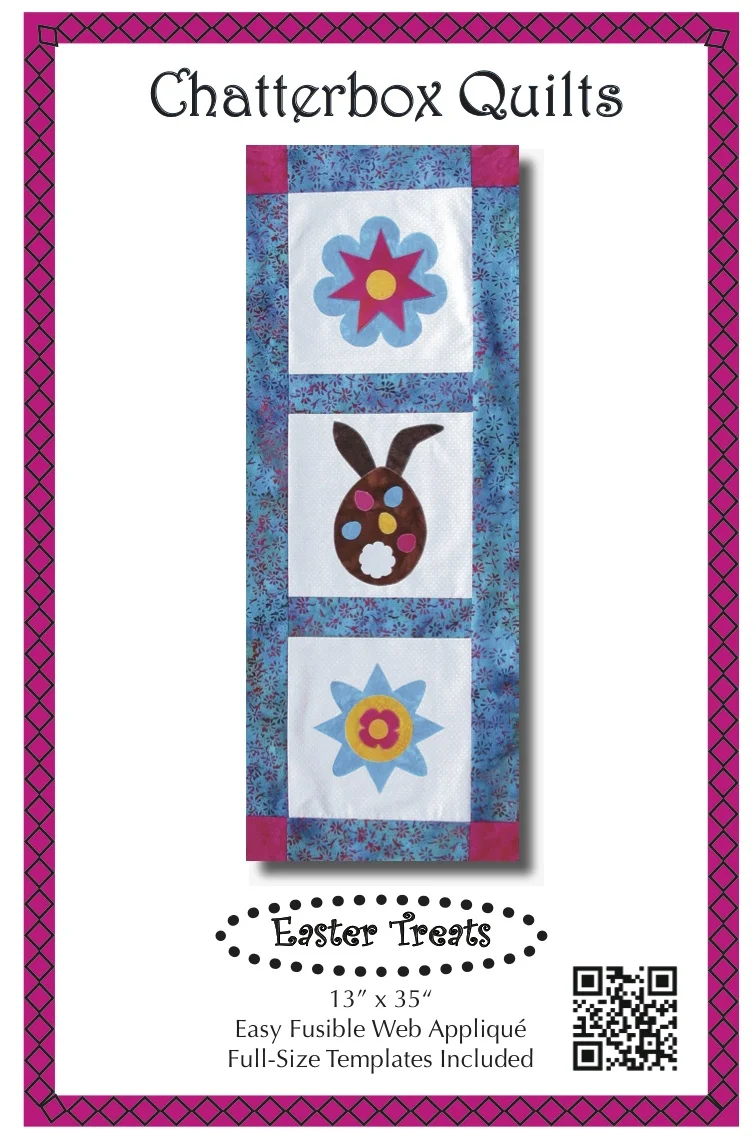
Easter Treats by Chatterbox Quilts
10. Decorating Easter Eggs with Lori Kennedy
In case you need some help quilting some of these projects, Lori Kennedy of The Inbox Jaunt has a wonderful tutorial on Easter egg free motion quilting.

I'll be on Spring Break next week, so I'll be back with you in two weeks. I hope you have a wonderful (and warmer than Calgary) Easter.
Creatively,


Welcome! I’m Kim Jamieson-Hirst of Chatterbox Quilts, a YouTube creator and host of The Quilter’s Way. I believe that quilting is more than just a 1/4” seam and that practice makes improvement and you are improving every day!
Contact me at kjh@chatterboxquilts.com.


Want to improve your quilting and have fun doing it? Join The Quilter's Way, a private online membership site that creates successful quilters.

Check out my favourite books and tools.
As an Amazon Associate I earn from qualifying purchases from links that you may find on the Chatterbox Quilts’ website.