
CHATTERBOX QUILTS’ BLOG
Helping Quilters Learn and Improve

Skip the Binding and Face Your Quilt!
I hate to bind my quilts. If you have been following me for awhile, you’ve probably heard me say this once or twice (at least!). I recently found a method to use facing on a quilt, rather than binding. Robbi Joy Eklow had a blogpost on this and I tried it and have used it on several projects so far with great results.
I hate to bind my quilts. If you have been following me for awhile, you’ve probably heard me say this once or twice (at least!). I recently found a method to use facing on a quilt, rather than binding. Robbi Joy Eklow had a blogpost on this and I tried it and have used it on several projects so far with great results.
I’ve found several reasons to love this method of finishing my quilt edges:
it’s also a great way to use up leftover binding strips. The facing strips are 2½”, so leftover binding strips work perfectly.
It’s a great way to use up scrap fabric. The facing strips don’t have to be all the same fabric, so you can use up lots of your scraps using this method. You can even stitch scrap fabric strips together to get the facing strip length that you need.
This method saves time. The facing strips don’t go all the way around the quilt edge, so there is less hand sewing to do. Yes!!
This is the perfect way to finish your quilt edges when you don’t want the “frame” that binding creates.
This method automatically creates hanging corners so you don’t need to add a hanging sleeve.
With so many advantages, I know you’re going to want to try out this technique so let’s find out how to face a quilt.
You’ll need:
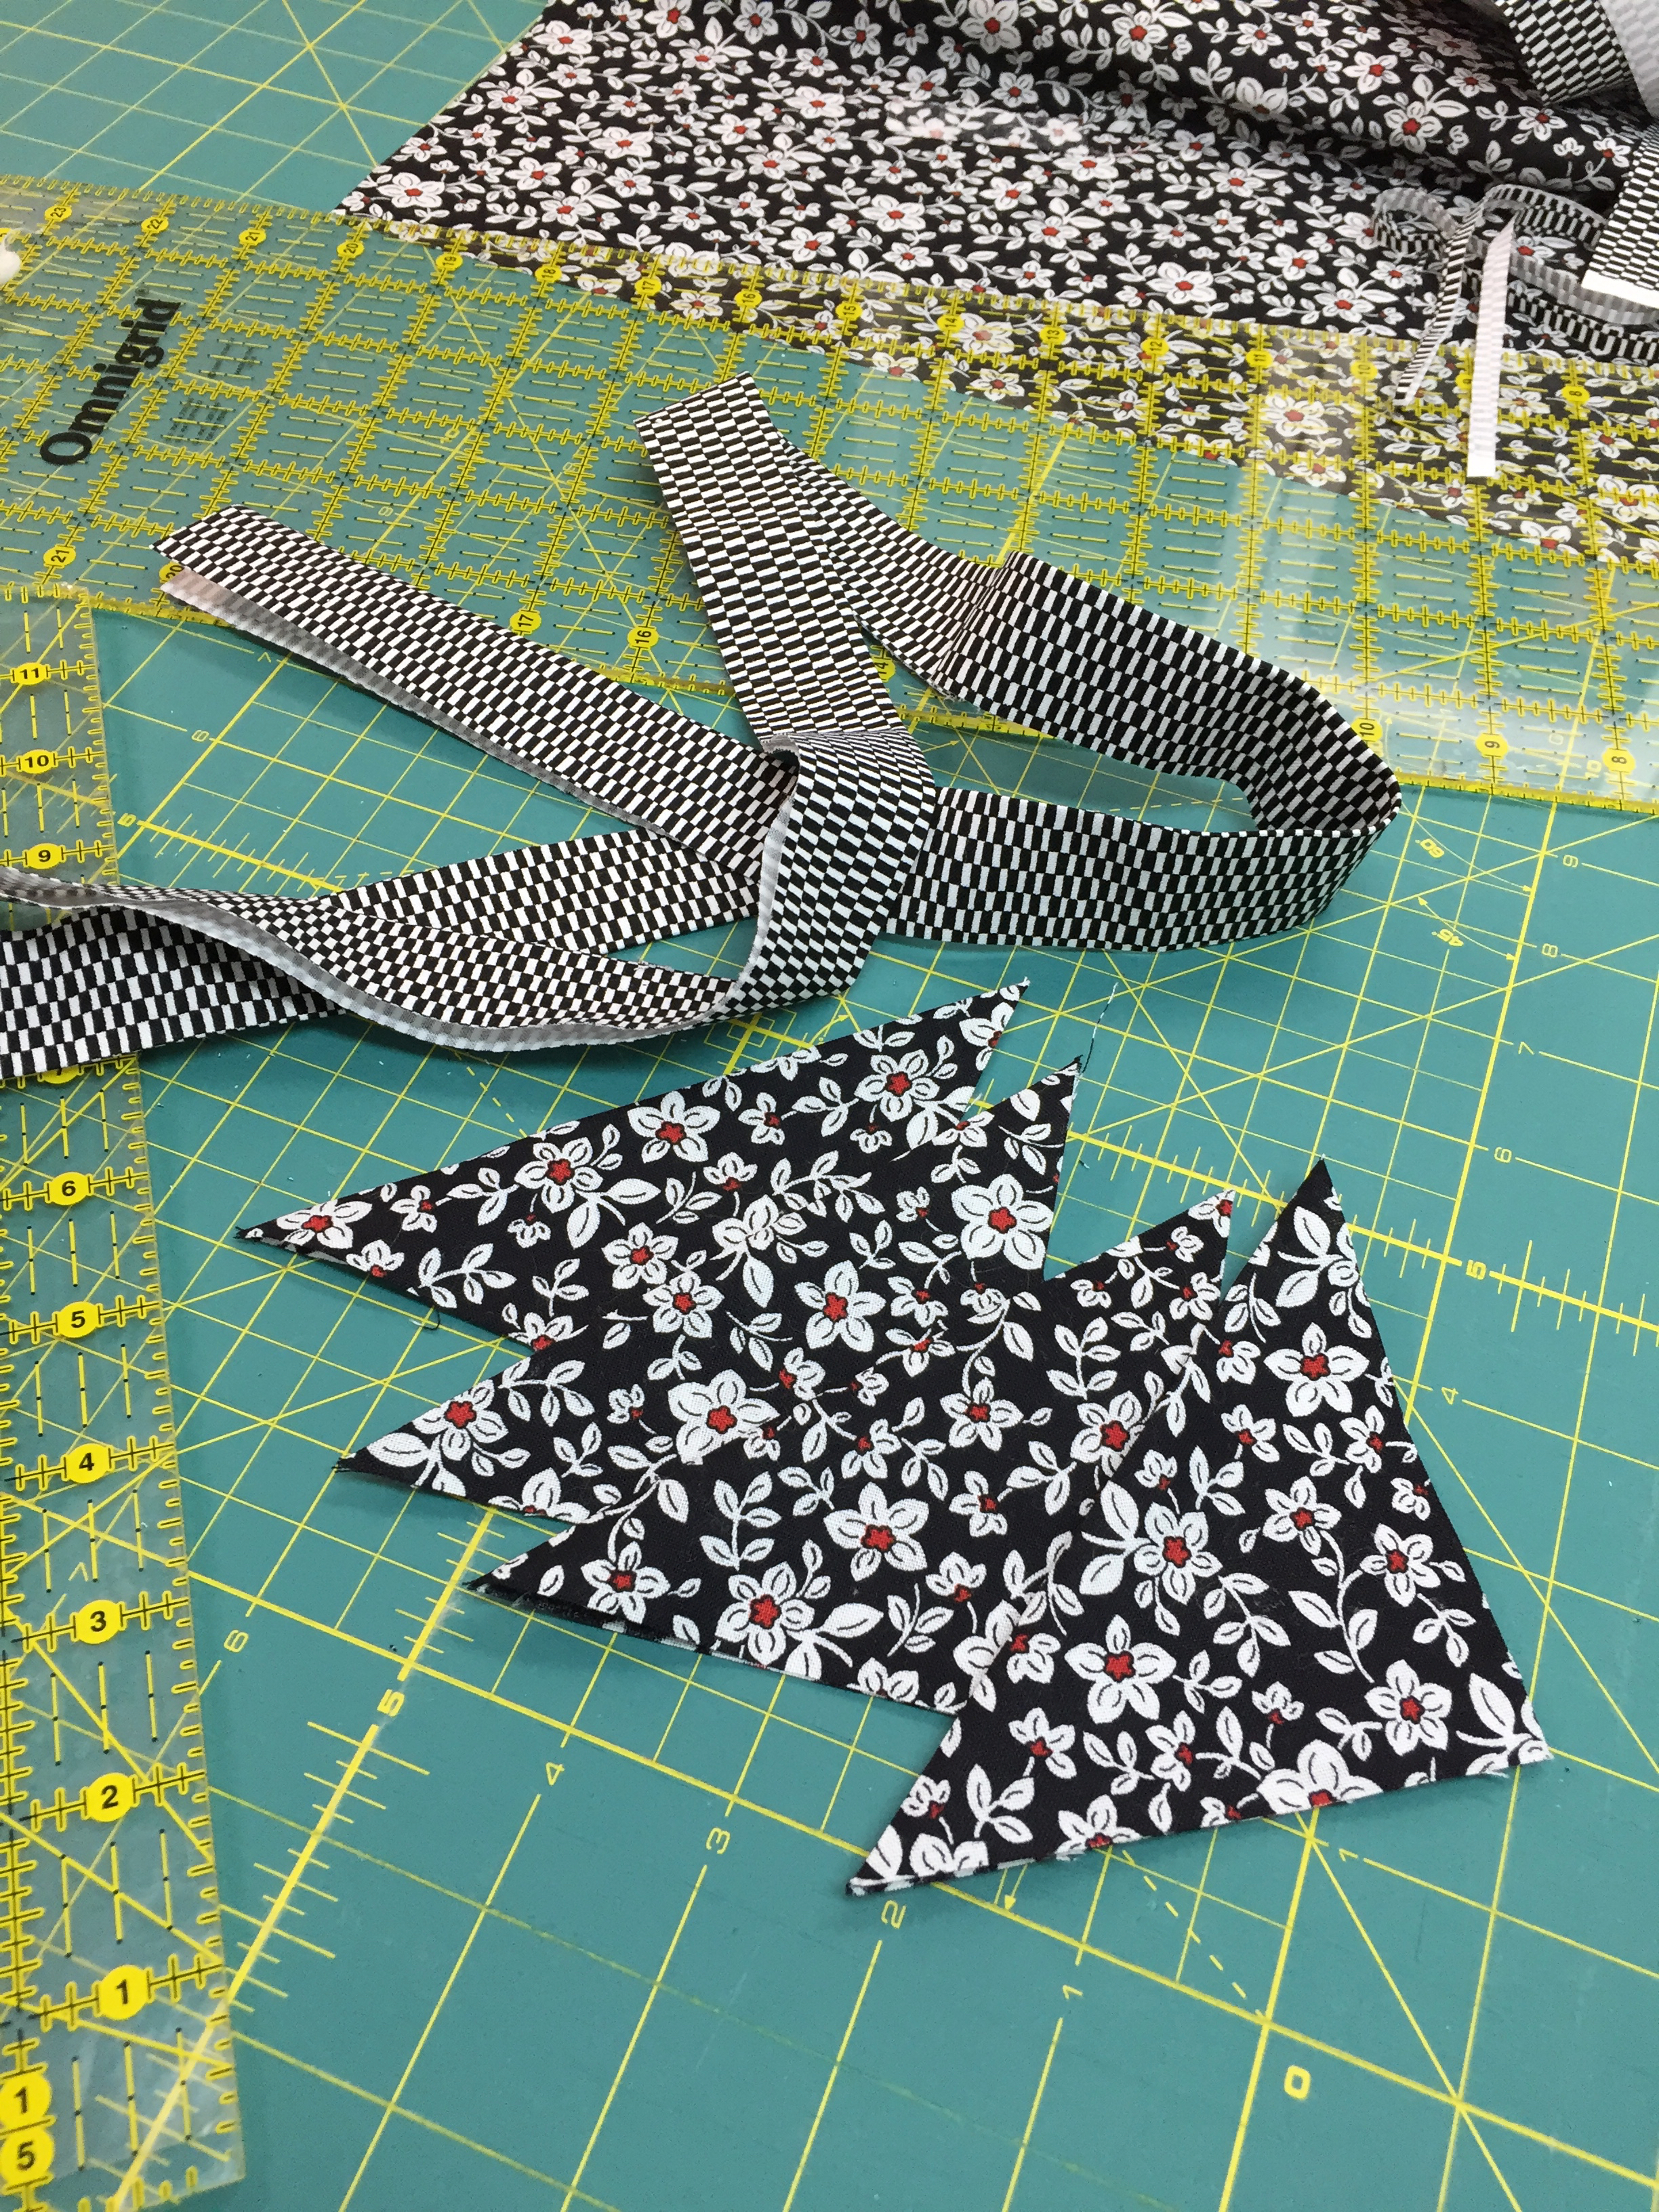
2½” strips of fabric that are the length of each of the project sides, less 2”. You can cut the strips in advance or cut them as you stitch along. The fabric doesn’t have to match for the 4 strips nor does it have to coordinate with the project front as you won’t see the facing. Prepare this fabric as you would for a binding – fold it in half and press.
4 – 3” or 4” squares of fabric for the corners. You might see this fabric a bit on the front, so use the same fabric for all the squares. Fold the squares on the diagonal to form triangles, wrong sides together, and press.
Let’s face our quilt!
At one corner on the top of the quilt, match the raw edges of the folded fabric square with the raw edges of the project. Pin in place. Repeat for the other corners.
Starting on one side of the project, pin a 2 ½” strip about 1” in from the corner on the front of the project. The strip should cover part of the folded fabric square. Start at the quilt’s edge and stitch the facing strip using a ¼” seam. Cut the facing strip about 1” from the corner (if you haven’t already cut it to size), covering part of the next folded fabric square. Continue stitching to the corner. Stop stitching and break thread.

Continue adding the 2½” facing strips on all of the other sides, starting the strip about 1” in from the corner and ending it 1” in from the far corner. Be sure that the 2½” facing strips cover part of the folded fabric squares (now triangles) in each corner.
Once all of the 2½” facing strips have been sewn on, go back to where the stitching crosses each other in the corners and stitch diagonally through this juncture a few times to reinforce the stitching.

Now it’s time to do some ironing. Using steam, press the facing strips out towards the edge of the quilt project. They will be heading over to the back side of the quilt, so be sure to press them well.
To help ease these strips towards the back of the quilt, you can top stitch the facing strips. Stitch a scant ¼” in from the seam line on the facing strips. Moving your needle position over so that you are stitching a scant ¼” inch will help.

Next, trim off the excess fabric towards the corners. There is quite a bit of bulk with this method, so trimming off the corner fabric will help. Starting at the end of one of the facing strips, angle your scissors towards the corner and cut off the fabric, batting, etc. Be sure you don’t clip through that diagonal stitching you did at each corner!

Let’s get those facing strips to the back where they belong! Use your iron and plenty of steam to press the facing strips to the back of the quilt. You can gently pull on the facing strips as you press to help. If some of the quilt top shows on the back, that’s okay. You just don’t want the facing strips to show on the front.
Once you have them all pressed to the back, you can flip the folded fabric squares to the back too. Press out the corners with a blunt object – I like to use That Purple Thang to do this.
You now have a perfectly faced quilt project and the folded fabric squares can be used to hang the project.

The final step is to hand stitch the facing strips to the quilt (yes, there is still some hand stitching to be done with this method), but if you don’t get to this right away, no worries as there aren’t any raw edges that might fray to worry about.
For a step-by-step tutorial on this technique, click the image below.
Click here if you would like to see my favourite quilting tools.
Creatively,

Download the free Get Out of the Ditch! guide to learn how to start free motion quilting by clicking here.
P.S. Are you serious about improving your quilting? Do you want to connect with other committed quilters in a supportive, safe environment? If you answered “yes” to these questions, you need to join The Quilter’s Way. The Quilter’s Way is the only quilting membership site that includes both training and an active, supportive online community. Don’t wait another day! Join now.
P.P.S. Did you know that you can sign up to receive emails full of FREE quilting goodness? Click here to receive FREE content directly in your email inbox every few weeks from Chatterbox Quilts. I know you'll be glad you did!
P.S. I am an Amazon affiliate and, if you purchase items by clicking through the links in this post ,I will receive a small amount of commission. This doesn’t cost you any more $$$, but helps me to continue creating free content for you. Thanks!

Best Thread for Piecing Quilt Tops
One of the most frequent question I get asked is: “What thread do you use for piecing your quilts?”

Some quilters want to know if they have to match their thread colour to their fabric. Others want to know what weight of thread is best for piecing a quilt. There are certainly lots of choices available and it can be confusing to pick the “right” thread for this job.
Here are the answers to all of these questions:
1. Do I have to match my thread colour to my fabric colour?
No! You should be able to use two colours of piecing thread: a cream or neutral colour and a light grey. I use the cream thread for light fabrics and the grey for darker ones. I don’t switch between the light and dark threads in a project: I decide if the quilt top is predominantly composed of light fabrics or dark ones and then choose my thread colour accordingly. As you won’t be seeing your thread (hopefully!), you don’t need to worry about matching it to your fabric.
2. What thread fibre and weight do you use to piece your quilt top?
I like to use a lighter weight cotton thread – either a 50 or 60 weight – as thread does add some bulk to your project, even though it is quite thin. Choose a 50 or 60 weight cotton thread to keep the thread bulk to a minimum.
3. What thread brand do you like to use?

Photo courtesy of www.aurifil.com
I like to use either an Aurifil Mako 50/2 or Mettler silk-finish cotton. I use cones for my piecing thread as I go through it quite quickly and it is more economical to buy it this way. Whatever thread you use for piecing be sure that it is a quality thread. You wouldn’t put cheap fabrics in your quilt, so don’t cheap out on your piecing thread!
For more information on thread choices for piecing, click on the image below.

What is your preferred thread to use in your quilt tops? Leave me a comment below to let me know.
Creatively,
Download the free Get Out of the Ditch! guide to learn how to start free motion quilting by clicking here.
P.S. Are you serious about improving your quilting? Do you want to connect with other committed quilters in a supportive, safe environment? If you answered “yes” to these questions, you need to join The Quilter’s Way. The Quilter’s Way is the only quilting membership site that includes both training and an active, supportive online community. Don’t wait another day! Join now.
P.P.S. Did you know that you can sign up to receive emails full of FREE quilting goodness? Click here to receive FREE content directly in your email inbox every few weeks from Chatterbox Quilts. I know you'll be glad you did!

DIY Studio Storage Ideas
There are lots of “made for quilting” storage items, but you don’t need to spend money for specialty storage solutions for your quilt studio. Look for alternative storage solutions that you may already have in your home to use in your quilt studio.

If you’re like me you probably have a few UFO’s (WIP’s as I optimistically like to call them) in your studio and you need a way to keep all the fabrics and notions together until you are ready to work on that particular project. Pizza boxes or similar flat boxes work well for storing WIP’s.
In my studio, I use clock boxes that I brought home from the school I work at. These were going to be recycled, but I recognized their potential and rescued them. They fit perfectly in the Billy bookcases that I use to store my fabric. I use a Frixion pen to write the project name and information on the box so I can erase this and reuse the box for another WIP.

Keeping my WIP’s in boxes like these allows me to stack them on a shelf and they are then organized. This allows me to pull out a box when I want to work on that project.

As I do hand embroidery, I like to have my needles, threads, thimbles, and other hand sewing items in a small container. I’ve found the perfect box for this purpose: a Purdy’s chocolate tin! Not only do I get to enjoy the delicious chocolates, but the tin is the perfect size to hold all my stitching items. A double win!

If you don’t have a Purdy’s near you (they are a Canadian company), you might be able to recycle other similar tins or boxes. Another example is the peanut brittle box that I saved. It’s larger and has a magnetic closure that I really like. This works well for small project pieces, such as half-square triangles or EPP (English Paper Piecing). Makes you look at food containers in a whole new light!
Consider other furniture pieces that you might have in your home for storage or cutting or pressing stations. In my studio, my cutting table is actually old kitchen cabinets that we repurposed into a cutting table and storage area. My pressing station is an Ikea table top with storage cubbies underneath and the pressing mat itself was custom made to the size I needed.
If you’d like to make your own pressing mat, click here for a step-by-step tutorial.
For more information on storage containers that I use in my quilt studio, click on the image below.

The money you save by recycling alternative items to use in your studio can be used to buy fabric, notions or those specialty items that you actually need - and that’s a win too!
Creatively,
P.S. Are you serious about improving your quilting? Do you want to connect with other committed quilters in a supportive, safe environment? If you answered “yes” to these questions, you need to join The Quilter’s Way. The Quilter’s Way is the only quilting membership site that includes both training and an active, supportive online community. Don’t wait another day! Join now. The Quilter’s Way is the only quilting membership site that includes both training and an active, supportive online community. Don’t wait another day! Join now.
P.P.S. Did you know that you can sign up to receive emails full of FREE quilting goodness? Click here to receive FREE content directly in your email inbox every few weeks from Chatterbox Quilts. I know you'll be glad you did!
Note: I am an Amazon affiliate and, if you purchase items by clicking through the links in this post ,I will receive a small amount of commission. You won’t pay any more $$ for these items, but it will help me to continue creating free content for you. Thanks!

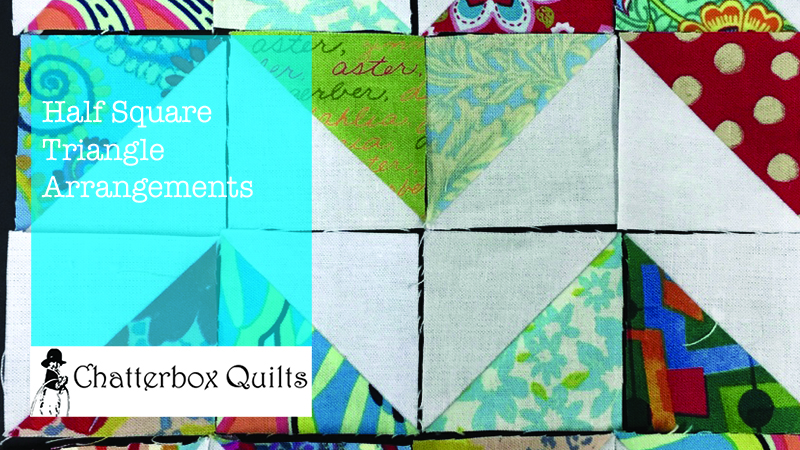
Best Ideas for Bonus Half-Square Triangles
I love using “bonus” half-square triangles (HST’s) in projects. If you don’t know what a “bonus” HST is, let me explain.

When making stitch and flip projects (click here for a playlist that includes several block variations using this technique), you can create bonus HST’s when you clip off the excess fabric at the corners. I take these bonus HST’s and keep then in a bin so they are ready when I want to use them in a completely new project.
I found some interesting ideas for projects in the books I have in my quilting library. Simply Charmed, a table runner design by Sherri McConnell, in Lucky Charm Quilts by Moda All-Stars would be a perfect project for my bonus HST’s.

Photo courtesy of Martingale Publishing
Another idea is Boden, a wall hanging in Teach Me to Sew Triangles by Pat Sloan uses all HST’s and can be stitched up as a single block or combined together in multiples to make a larger project.

Photo courtesy of Martingale Publishing
The nice thing about using HST’s is that you can use them in a project even if the pattern instructions call for a different size of HST’s. The arrangement of the HST’s will be the same, the project just might finish at a smaller or larger size. Note: This assumes that the pattern calls for HST’s of all the same size, not a combination of various different sizes of HST’s.
It’s easy to create your own HST designs. Click on the image below to see some of the various blocks that you can create with HST’s.
What do you do with your bonus HST’s? Leave me a comment below to let me know.
Creatively,
Note: I am an Amazon affiliate and, if you purchase items by clicking through the links in this post ,I will receive a small amount of commission. You won’t pay any more $$ for these items, but it will help me to continue creating free content for you. Thanks!
P.S. Are you serious about improving your quilting? Do you want to connect with other quilters in a supportive, safe environment? If you answered “yes” to these questions, you need to join The Quilter’s Way. The Quilter’s Way is the only quilting membership site that includes both training and an active, supportive online community. Don’t wait another day! Join now.
P.P.S. Did you know that you can sign up to receive emails full of FREE quilting goodness? Click here to receive FREE content directly in your email inbox every few weeks from Chatterbox Quilts. I know you'll be glad you did!

Easy Valentine's Day Heart Ornament
Valentine’s Day may still be a month away, but it’s never too early to start making heart-felt ornaments to decorate your quilt studio.

This is a project that only uses a bit of fabric, batting, and ribbon or trim for the hanging loop. Once you have these materials assembled, it’s time to go to your sewing machine to stitch it up.
I used the monogram feature and decorative stitches on the Janome MC9400 to embellish a sweet heart ornament. It’s easy to do and so fun to personalize by creating the phrases that are most “Valentine-y” to you. To learn more about using these features on the Janome MC9400, click here.
I recommend that you create and stitch out your phrases on a trial piece of quilt sandwich so you’ll be sure that they are exactly the way you want them to be before stitching them on your “real” ornament. I created “XOXO” (hugs and kisses), “Kisses” and “Sweetheart” with the monogram feature on the Janome MC9400 to use on my ornament. I stitched these out in various fonts until I found the ones that I liked the best. I was then all ready to add them to my heart ornament.

With several hundred decorative stitches available to use on the Janome MC9400, it was tough to determine which ones I wanted to use, so I kept it simple: I used some hearts (D13) and then chose one of the stitches in the Decorative category (D21) for the edge stitching. While it’s easy to get carried away with the decorative stitches, try not to do this or you’ll lose the effect of them on this size of ornament. For this project, simple is the best way to go.

For all the details on how to create your own heart ornament in time for Valentine’s Day, click on the image below for the video tutorial.

What words or phrases would you use on your Valentine’s Day ornament? Let me know in the comments below.
Creatively,
P.S. Do you want to enhance your quilting and connect with other quilters from around the world? If you answered “yes” to this question, you need to join The Quilter’s Way. The Quilter’s Way is the only quilting membership site that includes both training and an active, supportive online community. Don’t wait another day! Join now.
P.P.S. Did you know that you can sign up to receive emails full of FREE quilting goodness? Click here to receive FREE content directly in your email inbox every few weeks from Chatterbox Quilts. I know you'll be glad you did!

Welcome! I’m Kim Jamieson-Hirst of Chatterbox Quilts, a YouTube creator and host of The Quilter’s Way. I believe that quilting is more than just a 1/4” seam and that practice makes improvement and you are improving every day!
Contact me at kjh@chatterboxquilts.com.


Want to improve your quilting and have fun doing it? Join The Quilter's Way, a private online membership site that creates successful quilters.

Check out my favourite books and tools.
As an Amazon Associate I earn from qualifying purchases from links that you may find on the Chatterbox Quilts’ website.