
CHATTERBOX QUILTS’ BLOG
Helping Quilters Learn and Improve

Learning From Gammill Quilt Artist, Sharon Blackmore
I recently had the opportunity to interview Gammill Quilt Artist and long arm quilter extraordinaire, Sharon Blackmore of Love Shack Quilts, Sharon is a local long arm quilter, specializing in custom quilting, and is the host of the Prairie Quilt Militia and How do I Quilt This? Facebook group.

Sharon has been free motion quilting for about 20 years and long arm quilting (always on a Gammill) for about 12 of those years. Her secret to her amazing quilting is that she quilts every day. Yes, practice definitely makes progress towards perfection!
Sharon loves to challenge herself and this is also how she has improved her skills over the years. She believes that it’s important to challenge yourself and try projects outside your comfort zone to improve your quilting skills. Recently she has been quilting on leather and cork and the results are incredible!
As a Gammill Quilt Artist, Sharon has been teaching in Canada and the US on the Quilting with Confidence tour. Sharon loves teaching and appreciates the opportunity to learn from the other Gammill insructors on the tour.
The Rebel, designed and quilted by Sharon Blackmore
Click on the image below to learn more about Sharon and her quilting journey.

After we filmed this interview, Sharon and I recorded several more videos where Sharon shared quilting tips and advice on free motion quilting and went in-depth on how she quilted several of her quilts. These videos are available exclusively for members of The Quilter’s Way. Not yet a member, check it out here.
Click here to learn more about the Prairie Quilt Militia and the How do I Quilt This? groups.
Creatively,

P.S. Are you serious about improving your quilting? Do you want to connect with other committed quilters in a supportive, safe environment? If you answered “yes” to these questions, you need to join The Quilter’s Way. The Quilter’s Way is the only quilting membership site that includes both training and an active, supportive online community. Don’t wait another day! Join now.
P.P.S. Did you know that you can sign up to receive emails full of FREE quilting goodness? Click here to receive FREE content directly in your email inbox every few weeks from Chatterbox Quilts. I know you'll be glad you did!
P.S. I am an Amazon affiliate and, if you purchase items by clicking through the links in this post, I will receive a small amount of commission. This doesn’t cost you any more $$$, but helps me to continue creating free content for you. Thanks!

Pillowcase Method to Finishing a Quilt
Do you use the pillowcase method to finish your quilt projects? Do you know about the pillowcase method? If you don’t, I’m going to tell you all about it and you are going to love this easy way to finish smaller projects.
The pillowcase method is a way to finish your quilts without binding them. Yes, you know I hate binding, so this is one of my go-to techniques for avoiding it! You’ll need:
Your quilt top
Batting cut to the size of your quilt top
Backing cut to the size of your quilt top
No binding strips!
You are going to layer the 3 parts of your quilt as follows, from the bottom up:
Batting
Quilt top, right side up
Backing, wrong side up
Pin these 3 layers together around the raw edges, leaving a gap so you can turn it right side out later on. The size of the gap depends on the size of your project: a 3” to 4” is okay for most small to medium size projects. Leave a larger unsewn area is you are working on a bigger project.
After pinning the 3 layers together, sew around the outside of the sandwich with a ¼” seam, remembering to leave that unsewn gap for turning. I like to use a walking foot to do this. Clip off the corners and turn the project right side out, pushing out the corners (I like to use That Purple Thang to do this). Hand sew the opening closed and your project is now ready for quilting.
For detailed instructions, click on the image below.

Have you ever used the pillowcase method before? If so, let me know your results in the Comments below.
Creatively,
Download the free Get Out of the Ditch! guide to learn how to start free motion quilting by clicking here.
P.S. Are you serious about improving your quilting? Do you want to connect with other committed quilters in a supportive, safe environment? If you answered “yes” to these questions, you need to join The Quilter’s Way. The Quilter’s Way is the only quilting membership site that includes both training and an active, supportive online community. Don’t wait another day! Join now.
P.P.S. Did you know that you can sign up to receive emails full of FREE quilting goodness? Click here to receive FREE content directly in your email inbox every few weeks from Chatterbox Quilts. I know you'll be glad you did!
P.S. I am an Amazon affiliate and, if you purchase items by clicking through the links in this post, I will receive a small amount of commission. This doesn’t cost you any more $$$, but helps me to continue creating free content for you. Thanks!

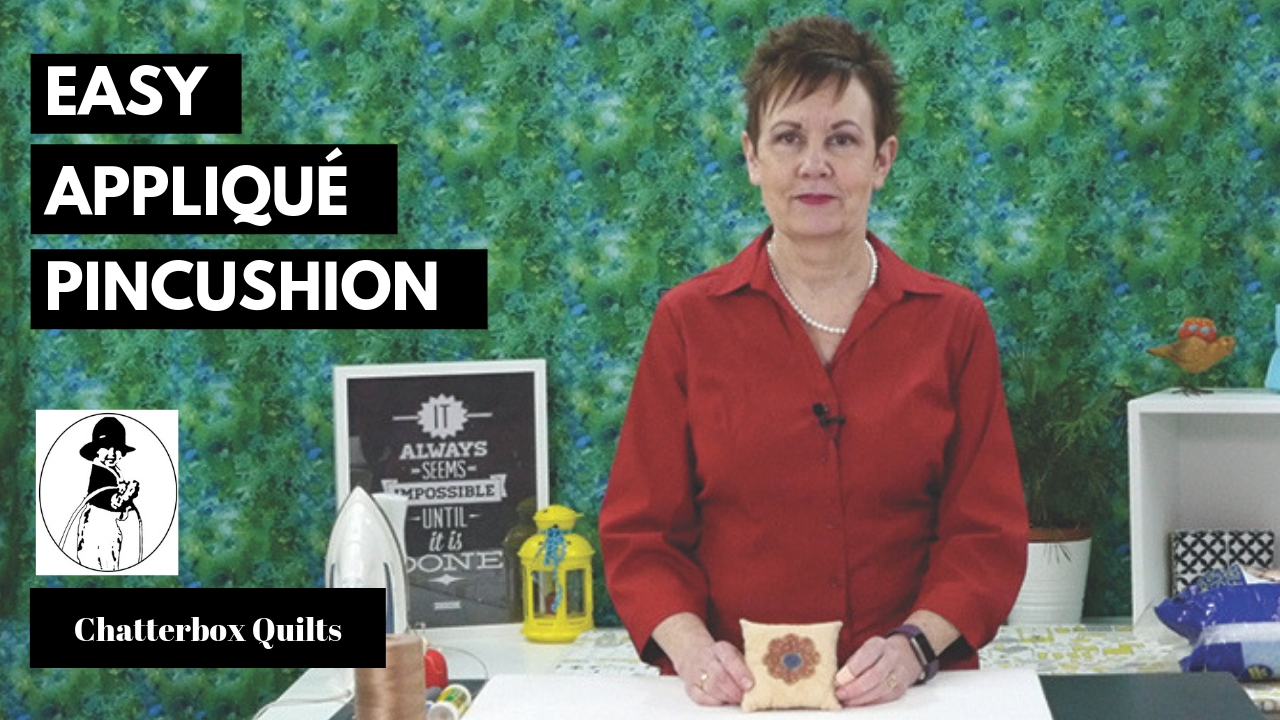
Easy Appliqué Pincushion Tutorial
If you’ve never made a pincushion before, you’ll want to keep reading. This project is great for using up scrap fabrics and for dipping your toes into fusible web appliqué. It doesn’t take long to make at all, so it’s a perfect “gotta have it done in an hour” gift.

If you have never tried this easy form of appliqué and want complete instructions on how to do it, you’ll definitely want to check out my course, Fusible Web Appliqué Essentials. It goes step-by-step through the whole process of making a fusible web appliqué project. (Or join The Quilter’s Way where this course is included free with your membership).
Now back to the pincushion project. Here’s what you’ll need:
Two charm squares – one for the top and one for the backing
An appliqué shape that is backed with fusible web or you can use a glue stick to adhere it to the top
Perle cotton or similar heavy thread and a long, thick needle
Polyester fill or similar filling
Usual sewing supplies

Once you’ve assembled all your materials, starch the two charm squares so they are stiff. This makes them easier to work with.

Fuse or glue the appliqué to the top charm square. Finish the appliqué edges by stitching with your chosen stitch. I like to use a narrow zigzag.
Note: You might need a fabric stabilizer underneath the fabric, depending on the denseness of the stitch you have selected.
Place the top and back charm squares right sides together and stitch around them with a ¼” seam, leaving an opening on one side to turn. Clip the corners and turn it right side out, poking out the corners (I like to use That Purple Thang to do this).
Stuff with Polyfil or similar stuffing until very firm. Hand stitch the opening closed.

If you like the look of your pincushion just as it is, you can stop here, but if you want to give it a bit more definition, read on.
To give it a pincushion shape, I like to stitch through the centre of the pincushion and out the back several ties, pulling the thread taut each time. Use two lengths of perle cotton for this (a regular weight thread might break - ask me how I know!). Knot the thread and starting on the back, push the needle through to the top. Take a small stitch and then go back down to the back, pulling the thread taut. You could add a button on top while doing this if you wished. Do this 3 times and then knot the thread in the back.
Your pincushion is now done!
For a complete step-by-step tutorial on creating this pincushion, click on the image below.
Have you ever made a pincushion before? Share your ideas and experiences in the Comments below.
Creatively,
P.S. Are you serious about improving your quilting? Do you want to connect with other committed quilters in a supportive, safe environment? If you answered “yes” to these questions, you need to join The Quilter’s Way. The Quilter’s Way is the only quilting membership site that includes both training and an active, supportive online community. Don’t wait another day! Join now.
P.P.S. Did you know that you can sign up to receive emails full of FREE quilting goodness? Click here to receive FREE content directly in your email inbox every few weeks from Chatterbox Quilts. I know you'll be glad you did!
P.S. I am an Amazon affiliate and, if you purchase items by clicking through the links in this post ,I will receive a small amount of commission. This doesn’t cost you any more $$$, but helps me to continue creating free content for you. Thanks!

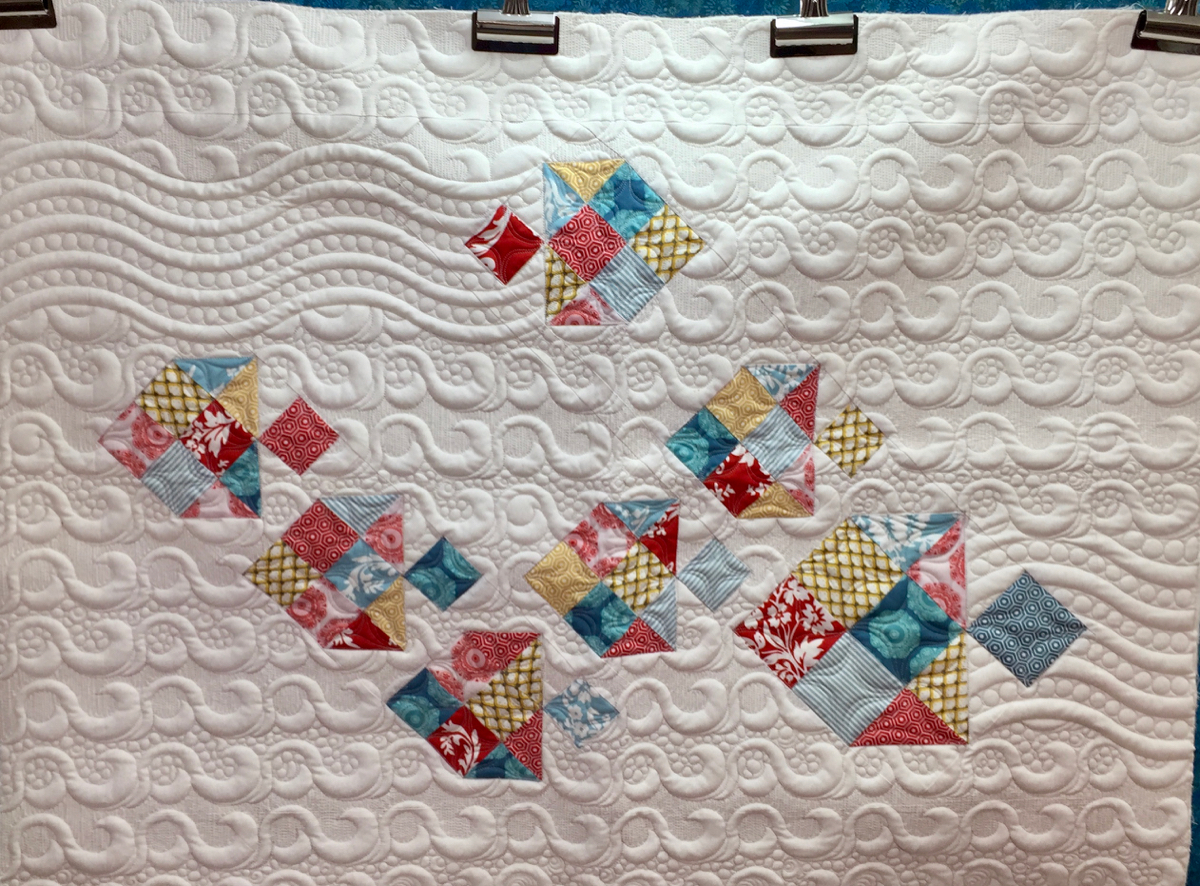
Facing a Quilt Part 2
Lots of quilters loved this technique and some of them had some questions. As the edges of the facing strips aren’t finished, they wondered if they might fray when washed. Others wanted to know if this technique would work for large bed-sized quilts. To answer all of their questions, I created another video and you can watch it by clicking on the image below.
One of my recent blogposts was all about how to face your quilt, rather than adding a binding to it. If you haven’t yet read that post, you can find it here.
This is such a great method for wall hangings as it uses up excess binding strips and small pieces of scrap fabric. It also avoids those pesky mitred corners (if you love mitring your binding corners, I’m sorry). It allows the border or background fabric to flow right to the edge of the project without the “stop” that the binding can cause.

Lots of quilters loved this technique and some of them had some questions. As the edges of the facing strips aren’t finished, they wondered if they might fray when washed. Others wanted to know if this technique would work for large bed-sized quilts. To answer all of their questions, I created another video and you can watch it by clicking on the image below.

Have you ever tried this technique on one of your quilt projects? Let me know how that worked for you in the Comments below.
Creatively,
P.S. Are you serious about improving your quilting? Do you want to connect with other committed quilters in a supportive, safe environment? If you answered “yes” to these questions, you need to join The Quilter’s Way. The Quilter’s Way is the only quilting membership site that includes both training and an active, supportive online community. Don’t wait another day! Join now. The Quilter’s Way is the only quilting membership site that includes both training and an active, supportive online community. Don’t wait another day! Join now.
P.P.S. Did you know that you can sign up to receive emails full of FREE quilting goodness? Click here to receive FREE content directly in your email inbox every few weeks from Chatterbox Quilts. I know you'll be glad you did!
P.S. I am an Amazon affiliate and, if you purchase items by clicking through the links in this post, I will receive a small amount of commission. This doesn’t cost you any more $$$, but helps me to continue creating free content for you. Thanks!

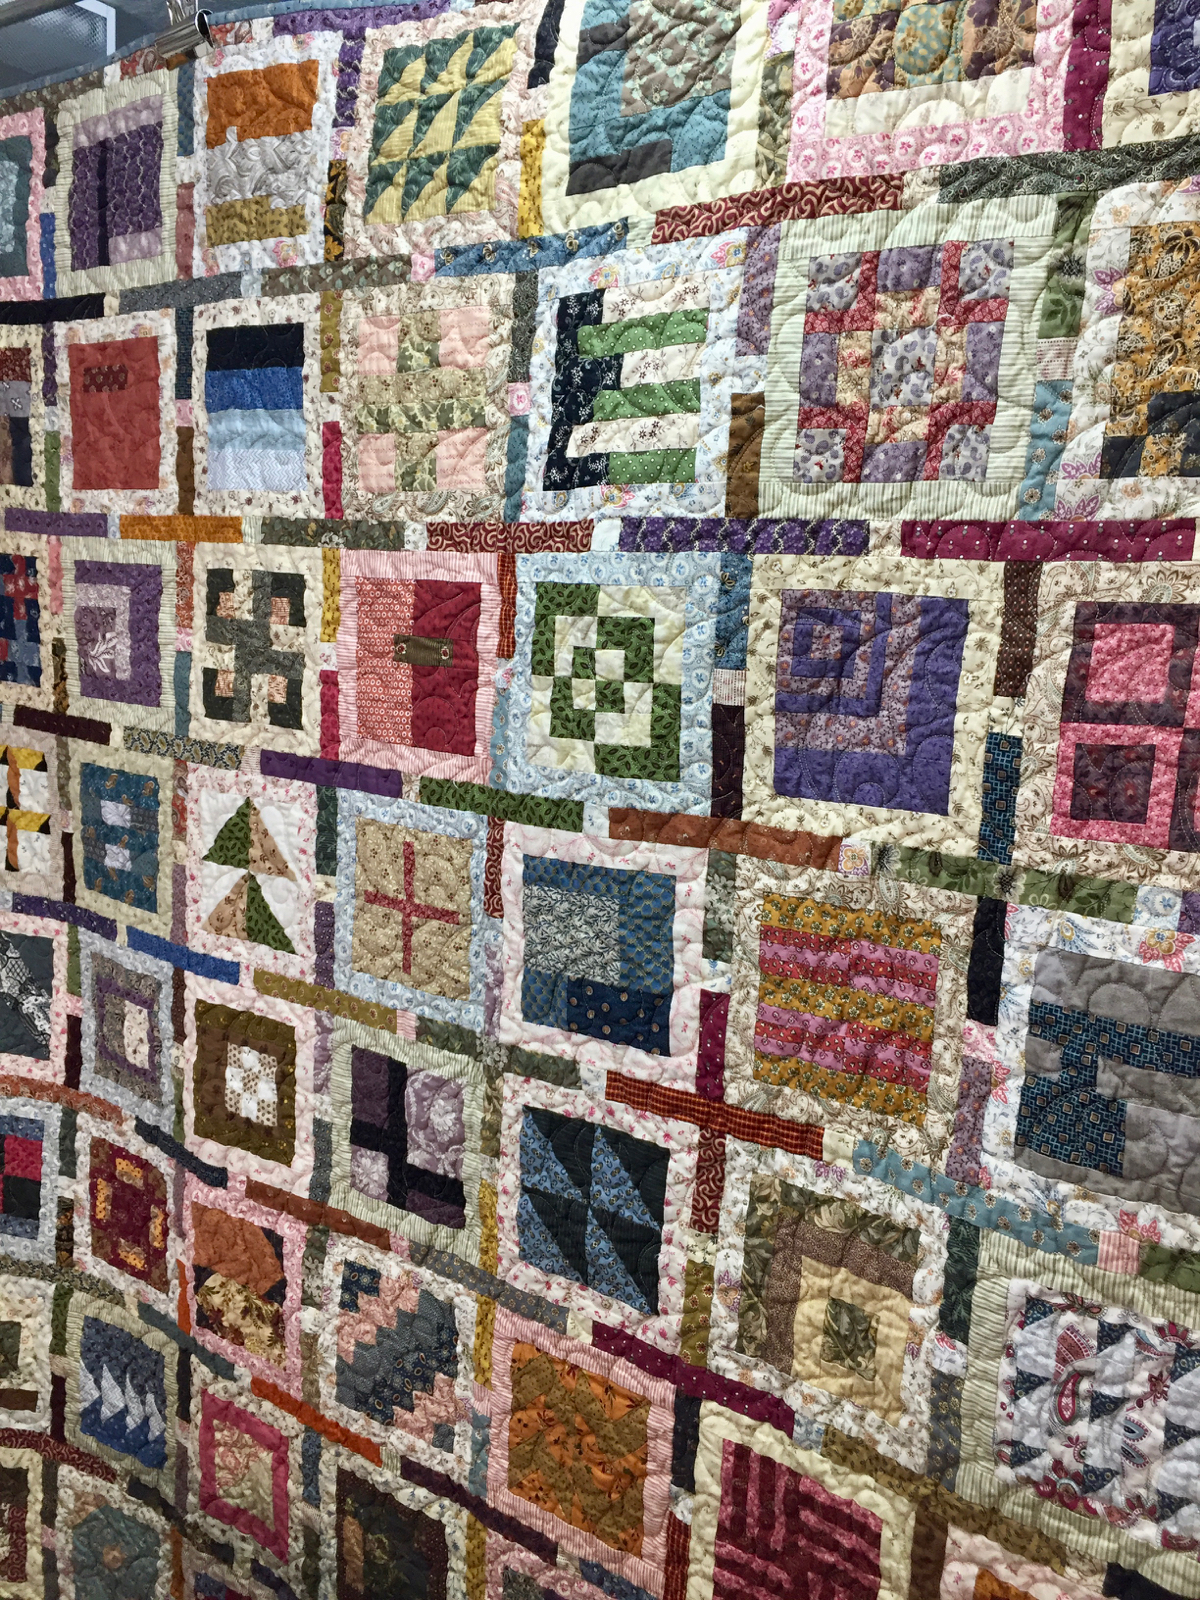
Pros and Cons of Quilt Kits
Do you buy quilt kits? Many quilters absolutely love picking up kits, while others don’t like them at all. There are advantages and disadvantages to quilt kits, so let’s explore these.
PROS:
1. KITS CAN HELP WITH FABRIC SELECTION AND COLOUR CHOICE
If you’re a beginner quilter, you may not have much confidence in putting fabrics together. You may just be starting to develop your colour sense and kits can help you with this. All of the fabrics are already chosen for you and you can be sure that they will all work well together. Fabrics selected for a kit can help you learn how to put various colours and fabrics together effectively.
2. KITS CAN SAVE YOU MONEY
If you are working on a pattern that requires a lot of different fabrics, but only a small amount of each of them, kits can be a real money-saver. Take a look at any patterns by McKenna Ryan or Toni Whitney and you will see that there are a lot of fabrics needed to make any of their projects. Yes, you could buy all of the different fabrics, but it would probably cost you quite a bit more money than purchasing a kit as you can’t typically buy a very tiny piece of fabric.
3. KITS CAN SAVE YOU TIME
As all of the fabrics for the pattern are already selected for you, you don’t need to spend time choosing fabrics at the quilt store or from your stash. Of course, that cuts down on some of the fun of browsing through a quilt shop, but you could be making progress on the project with the saved time.
While there are lots of good reasons to buy quilt kits, there are also some disadvantages. They are:
CONS:
1. THE KIT MIGHT BE SHORT ON FABRIC
Kits are either created by the fabric manufacturer or the quilt shop and depending on whether or not they took mis-cuts into account when cutting the various fabrics, you might find that you are in trouble if you cut a piece incorrectly. It can be difficult to replace a fabric in a kit if you need to do so.
2. KITS AREN’T UNIQUE
Typically kits are mass produced and all contain the same fabrics so your project will look the same as anyone else’s who bought that kit. Sometimes there may be more than one colourway in a kit, but this isn’t typical. If you want to have a totally unique project, kits might not be your best choice.
3. IT’S DIFFICULT TO ASSESS KIT QUALITY
Since you haven’t chosen the fabric yourself, it can be difficult to determine the quality and quantity of the fabrics in a kit. If you are choosing a kit in a quilt shop, I suggest that you ask the staff to open it up so you can check on the fabric quality and quantity. This can be difficult to do if you are purchasing it from an online source. Check the return policy on kits in case you aren’t satisfied with the quality of the fabric or the amount included. You’ll also want to check out the pattern included to ensure that the instructions are clear and complete. I always check out patterns before purchasing them – in a kit or separately.
For more information on whether or not quilt kits might be for you, click on the image below.

If you are considering buying a kit, keep these points in mind and it will help to ensure that you aren’t disappointed in your purchase.
Creatively,
Download the free Get Out of the Ditch! guide to learn how to start free motion quilting by clicking here.
P.S. Are you serious about improving your quilting? Do you want to connect with other committed quilters in a supportive, safe environment? If you answered “yes” to these questions, you need to join The Quilter’s Way. The Quilter’s Way is the only quilting membership site that includes both training and an active, supportive online community. Don’t wait another day! Join now. The Quilter’s Way is the only quilting membership site that includes both training and an active, supportive online community. Don’t wait another day! Join now.
P.P.S. Did you know that you can sign up to receive emails full of FREE quilting goodness? Click here to receive FREE content directly in your email inbox every few weeks from Chatterbox Quilts. I know you'll be glad you did!
P.S. I am an Amazon affiliate and, if you purchase items by clicking through the links in this post ,I will receive a small amount of commission. This doesn’t cost you any more $$$, but helps me to continue creating free content for you. Thanks!

Welcome! I’m Kim Jamieson-Hirst of Chatterbox Quilts, a YouTube creator and host of The Quilter’s Way. I believe that quilting is more than just a 1/4” seam and that practice makes improvement and you are improving every day!
Contact me at kjh@chatterboxquilts.com.


Want to improve your quilting and have fun doing it? Join The Quilter's Way, a private online membership site that creates successful quilters.

Check out my favourite books and tools.
As an Amazon Associate I earn from qualifying purchases from links that you may find on the Chatterbox Quilts’ website.