
CHATTERBOX QUILTS’ BLOG
Helping Quilters Learn and Improve

Binding with the Multi-Purpose Quilt Spray
As more people have used this spray, I've been receiving questions about other ways that it can be used. I've found another fantastic use for it: binding. Okay, you will still have to stitch the binding down, but you can use the Multi-Purpose Quilt Spray to hold the binding in place so it is much easier for you to stitch. No more pins or clips required!
I'm starting off this post with a question: have you read my previous blogposts about the Multi-Purpose Quilt Spray? If the answer is no, I've provided a link so you can read all about the many things you can do with this spray and download a FREE printable so you can make and use your own Multi-Purpose Quilt Spray.
I've had so many of my subscribers tell me how much they enjoy using this spray and saving money at the same time. More money in your pocket is always a good thing, no?! If you haven't tried it yet, please download the FREE information and try it.
As more people have used this spray, I've been receiving questions about other ways that it can be used. I've found another fantastic use for it: binding. Okay, you will still have to stitch the binding down, but you can use the Multi-Purpose Quilt Spray to hold the binding in place so it is much easier for you to stitch. No more pins or clips required!
To learn more about other similar uses for the Multi-Purpose Quilt Spray, please watch the video below or on my Youtube channel.

I can't believe that I didn't think of this use for the Multi-Purpose Quilt Spray sooner - it's so obvious and so helpful!
If you've used the Multi-Purpose Quilt Spray, please leave a comment below to let me know how you liked it and what you are using it for. I'd love to hear what you think.
Creatively,

P.S. Join the private Chatterbox Quilts Facebook group for information about helpful quilting tips and techniques with a sprinkling of vintage sewing machine discussion thrown in. :)

Uneven Stitch and Flip Block
We're going to learn how to make an Uneven Stitch and Flip block. I think you could also call this a lozenge block as that's what it looks like to me. You'll need:
- 1 background square
- 4 corner squares
Welcome to the second Telecast Thursday in July. I hope you're enjoying some summer fun and maybe doing a bit of quilting too.
I'm continuing with my stitch and flip quick quilt blocks this week. We're going to learn how to make an Uneven Stitch and Flip block. I think you could also call this a lozenge block as that's what it looks like to me.
Let's start! You'll need:
- 1 background square
- 4 corner squares - see the information below about the sizes of these squares
I've created 2 examples of this Uneven block:
- In the first example I used a 4" background square and 2 - 1½" squares and 2 - 2½" squares. I placed the similar sized squares opposite/diagonal to each other on the background square.
- In the second example I used a 4" background square and all of the corner squares differ in size from one another: 1½" 2" 2½" and 3" squares
You'll use a similar construction technique to the other stitch and flip blocks: drawing a diagonal line on the back of the corner squares and then placing the corner squares on the corners of the background square. You will then stitch on the drawn diagonal lines on each of the corner squares.
Important: You will need to be careful when stitching down the corner squares in this block and I would suggest that you stitch one down and then press it out to the corner of the background square before stitching on the next corner square. If this sounds a bit confusing, just click on the image below to watch the video where it will all be made clear :)

The Uneven Stitch and Flip block is a great way to use up small pieces of fabric as the corner squares don't need to be the same size at all. Just be sure to choose contrasting fabrics for the corner squares - and these don't even have to be the same fabric either.
Have you come up with ideas on how to combine some of the stitch and flip blocks that you've learned? I'd love to hear your ideas, so post them in the Comments below or on my YouTube channel.
Creatively,

Are you a member of my private Chatterbox Quilts Facebook group? If not, please join me there to discuss quilting topics and vintage sewing machines.

Vodka in the Quilt Studio
I'm sure you've heard the advice that a glass of wine can help relax you when you are free motion quilting: how about vodka? Not your usual quilt studio cocktail, but why not? Okay, while I'm using vodka in the quilt studio, it's not for drinking, it's for making an alternate version of the Multi-Purpose Quilt Spray.
I'm sure you've heard the advice that a glass of wine can help relax you when you are free motion quilting: how about vodka? Not your usual quilt studio cocktail, but why not? Okay, while I'm using vodka in the quilt studio, it's not for drinking, it's for making an alternate version of the Multi-Purpose Quilt Spray.

When you use rubbing alcohol in the recipe, the result is that the spray has a very distinctive odour, much like being in a doctor's office. This isn't usually desirable in a quilt studio! Some of my YouTube subscribers suggested that I try vodka in the place of the rubbing alcohol and you could then add essential oils to personalize its scent. I did and the results were great!

To learn more, watch the video below or on my YouTube channel.

If you don't already have the FREE downloadable recipe to make your own Multi-Purpose Quilt Spray - with or without vodka - be sure to get it now.
For more information on the many uses of the Multi-Purpose Quilt Spray, watch the videos in this playlist on my YouTube channel. It's really a handy product to have in your studio!
If you've used the Multi-Purpose Quilt Spray for some of your projects, let me know the result in the Comments below.
Creatively,

P.S. If you're a quilter and haven't yet joined my private Chatterbox Quilts' Facebook group, I'd love to have you join us. Learn and share with other quilters in this exclusive group.

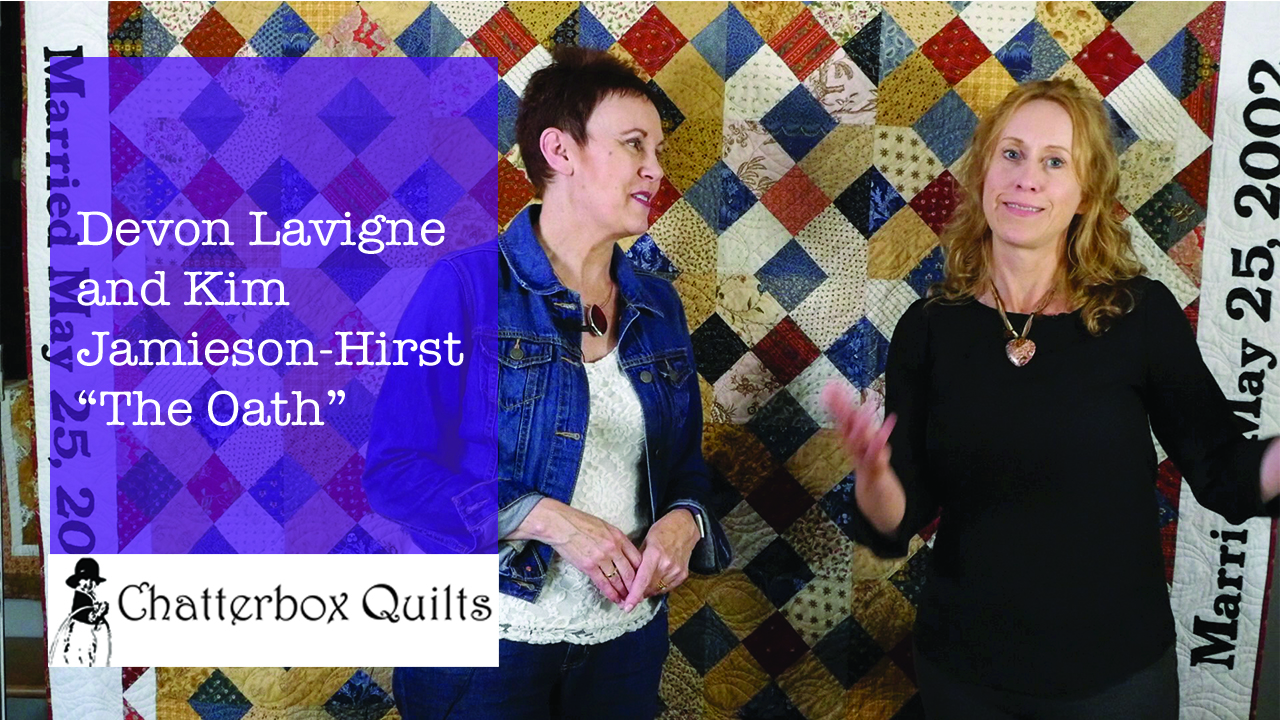
Text Design for The Oath from Quilt Traditions
Today I'm going to do a bit of bragging, something I try not to do. I'm mentioned in a book! My name is in a book. I'm in a book!
I was so excited to read the Acknowledgements section in Devon Lavigne's book, Quilt Traditions, because I was in it! There's nothing like seeing your name in print and I just felt so proud. Why was Devon mentioning me in her book? Because I helped her with a small part of "The Oath", one of the projects in Quilt Traditions.
While Devon is a piecer, I love to appliqué, specifically fusible web or raw edge appliqué. Devon was working on Quilt Traditions and wanted to add some text and numbers to one of the projects in the book. She reached out to me to ask if I could help her out and of course I said yes!
I needed to design and appliqué letters and words for the two side borders on The Oath. It was a bit of a challenge, but I was very pleased with the end result. The Oath celebrates a special event, in this case an anniversary, and little did I know that the date on the quilt was actually Devon and her husband, Rob's wedding date. This made the quilt even more special!
To learn how I created the appliqué for The Oath, you can watch the video below or on my YouTube channel.
Devon and I have collaborated on another project: the online Potion Quilt Along. You can join us for this 4 part pieced quilt along from anywhere in the world - that's why I love the internet! Learn how to do a partial seam technique when creating the blocks in Potion as well as helpful tips on construction. Devon and I will give you tips and the back story behind this quilt from Quilt Traditions. Register now so you'll be ready to join us when the Potion Quilt Along kicks off on July 17, 2017.
Creatively,

P.S. I am an Amazon affiliate and as such I receive a small monetary compensation if you purchase by clicking through any of the links in this blogpost. Thanks for helping me to continue creating free content for you.

Gemstone Stitch and Flip Block
They say that "diamonds are a girl's best friend" and sticking with that theme, I'm showing you how to create a Gemstone block. Create this in your favourite gem colour (mine would be green for emeralds) and you can have a whole quilt full of sparklies. To create one block you'll need:
- 1 background rectangle
- 4 corner squares
Happy Telecast Thursday!
I'm enjoying my looong summer vacation since I'm done work until the end of August. Yeah! There is definitely an advantage for a quilter to be free for a few months before returning to work/school in the fall. It's a great time to catch up on projects!
Teaser: I am gearing up for not just one, but two online quilt alongs! One is starting very soon (the Potion Quilt Along) and the other one will be running in September. Keep watching your inbox for more details soon.
Okay, now back to Telecast Thursday. This week I have another stitch and flip block to share with you. I love all the different combinations and hope that you are enjoying them too.
They say that "diamonds are a girl's best friend" and sticking with that theme, I'm showing you how to create a Gemstone block. Create this in your favourite gem colour (mine would be green for emeralds) and you can have a whole quilt full of sparklies.
Now to get down to the construction method. To create one block you'll need:
- 1 background rectangle
- 4 corner squares
Did you notice the difference from the other stitch and flip blocks? Yes, we are using a rectangle, not a square, for the background. So daring!
In my example, my background rectangle is 3 1/2 x 6 1/2" and my corner squares are 2" square. Choose contrasting fabric for the corner squares to get that gemstone effect.
Like the previous stitch and flip blocks, you will be drawing a diagonal line on the back of all the 2" corner squares. Be sure to use a removable marker so you won't have these lines hanging around after you've created the block.
Arrange the corner squares on the corners of the background rectangle and stitch on the diagonal lines. Click on the image below to watch exactly how to arrange these to be sure your Gemstone block turns out okay.
After you've finished stitching, you will need to trim off the excess fabric on all corners and press the corner squares out to the corners of the rectangle - or where they were before you trimmed them off :)
For more information, click on the image below to watch the video.

I really like the look of this Gemstone block and can see using it in lots of projects. Let me know in the Comments below or on my YouTube channel how you would use these blocks in a quilt project: make a lot and combine them, combine them with other stitch and flip blocks?
Creatively,

P.S. Join me in my private Chatterbox Quilts Facebook group to chat about vintage sewing machines and quilting topics. I'd love to see you there :)

Welcome! I’m Kim Jamieson-Hirst of Chatterbox Quilts, a YouTube creator and host of The Quilter’s Way. I believe that quilting is more than just a 1/4” seam and that practice makes improvement and you are improving every day!
Contact me at kjh@chatterboxquilts.com.


Want to improve your quilting and have fun doing it? Join The Quilter's Way, a private online membership site that creates successful quilters.

Check out my favourite books and tools.
As an Amazon Associate I earn from qualifying purchases from links that you may find on the Chatterbox Quilts’ website.