Miscellaneous

Quilting Books for Autumn, Halloween and Thanksgiving

It's that time of year again! Cooler temperatures and shorter days mean that fall is just around the corner.

 
Quilting Books for the Autumn Season - 1.jpg
 

I love fall quilt projects, whether it is just for autumn or for Thanksgiving (in October for Canadians and November for Americans) or my favourite, Halloween. 

 
Quilting Books for the Autumn Season - 2.jpg
 

I've gone through my personal quilt book library and pulled out a few favourite quilting books that have projects for either autumn, Thanksgiving, Halloween or all three! They are (in no particular order):

'Tis the Autumn Season by Jeanne Large and Shelley Wicks

Festive Fall Quilts by Kim Schaefer

A Harvest Melody by Nancy Halvorsen 

Easy Does it for Autumn by Nancy Halvorsen

Acorn Hollow by Nancy Halvorsen

Stitches from the Harvest by Kathy Schmitz

Critter Halloween by Brandywine Designs 

 
Quilting Books for the Autumn Season - 4.jpg
 

Where possible, I have included links so you can take a closer look at these books - or get your own copy.


Click on the image below to get a sneak peek of each of these books.


Do you have a favourite book - or two - that have seasonal projects in them? Leave me a comment below to tell my the ones you like the best.

Creatively,


P.S. Did you know that you can sign up to receive FREE emails full of quilting goodness? Just click here to receive FREE content directly in your email inbox every few weeks from Chatterbox Quilts. I know you'll be glad you did!

P.P.S. I am an Amazon affiliate and will receive a small amount of compensation if you purchase a product by clicking through links in this blogpost. This allows me to continue to provide you with FREE content each week. Thank you.

How to Use Estate Sale Finds in Your Quilt Studio

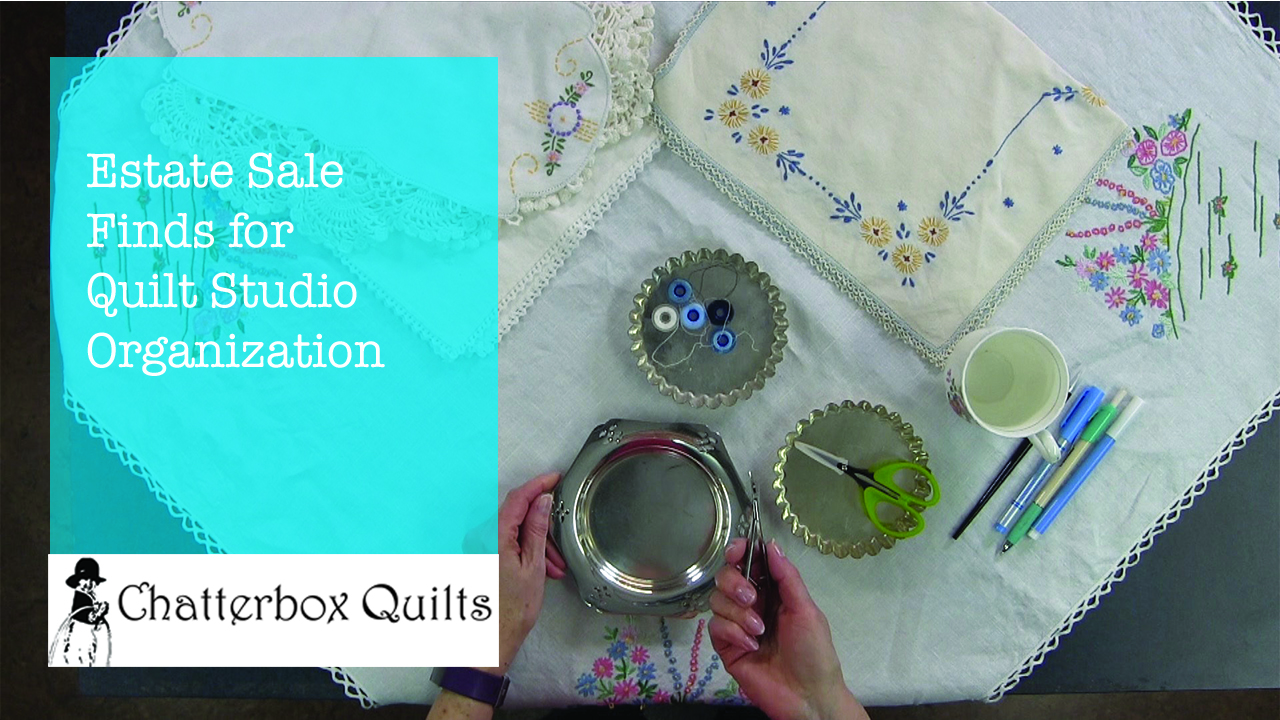
I love going to estate sales and that's where I find vintage linens and where I've also picked up some of my vintage sewing machines. There are always a lot of cute trinkets and smaller kitchen items that can be helpful in the quilt studio.

I have a hard time saying no to anything cute, but I really need to think about what I'm going to do with these items if I do buy them. Thank goodness I've found a way to incorporate them in my quilt studio (and can thereby justify my purchases to my hubby).

I share my quilt studio with my two cats, Teeka and Victor, and this means that things have to be "cat proof" or unbreakable. This pretty much rules out lovely china dishes, but there are lots of silver-plated items at estate sales, so I'm usually able to find something that would be useful.

To see what types of items I buy at estate sales with the intention of putting them to use in my quilt studio, you can watch the video below or on my YouTube channel.

Do you repurpose vintage items that you buy to use in your quilt studio? Leave a comment below to let me know what types of items you use to help organize your quilt studio.

Creatively,


Kim's signature small aqua.jpg
 

P.S. Did you know that you can sign up to receive FREE emails full of quilting goodness? Just click here to receive FREE content directly in your email inbox every few weeks from Chatterbox Quilts. I know you'll be glad you did!

Make Your Own Portable Pressing Surface

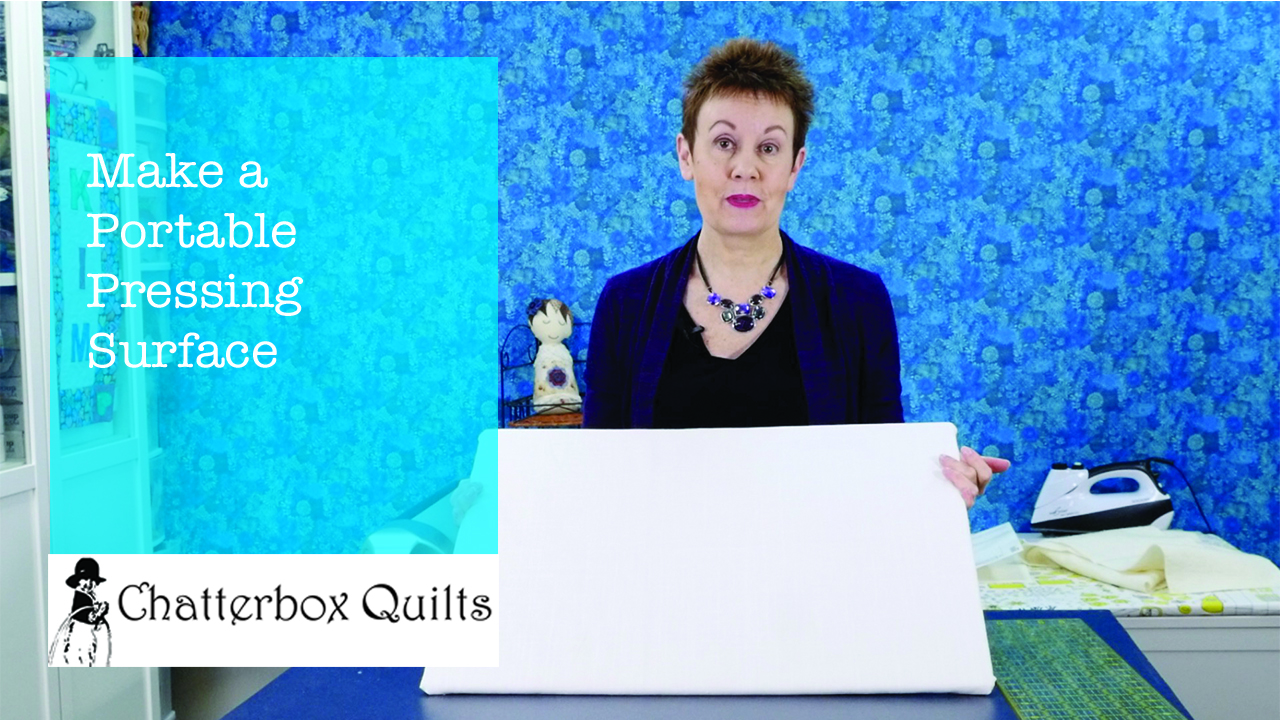
Every quilter needs some type of pressing surface. Some like to use their ironing boards, while others prefer a more rectangular surface. I used my ironing board for quite some time, until I decided that I needed a better type of pressing surface. So I decided to make one!

I actually have two different pressing surfaces, both of them portable: a large 24" x 48" one that is my main pressing surface and another smaller one that I take with me on retreats and that you've probably seen in my YouTube videos. Both are made the same way.

 
Kim and pressing surface.jpg
 

To make your own pressing surface, you'll need:

  • MDF (medium-density fibreboard) for the base, cut to the size you want your pressing surface to be

  • 100% cotton batting, cut about 2" - 3" larger on all sides than the MDF

  • 100% cotton fabric to cover the top of your pressing surface, cut about 2" - 3" larger on all sides than the MDF (I love Ikea fabric for this as it is 100% cotton and quite thick)

  • Wood glue or staple gun

The process is fairly easy to do and my favourite part of this type of pressing surface is that if (when!) the top gets stained, you can take the fabric and batting off the MDF and recover it.

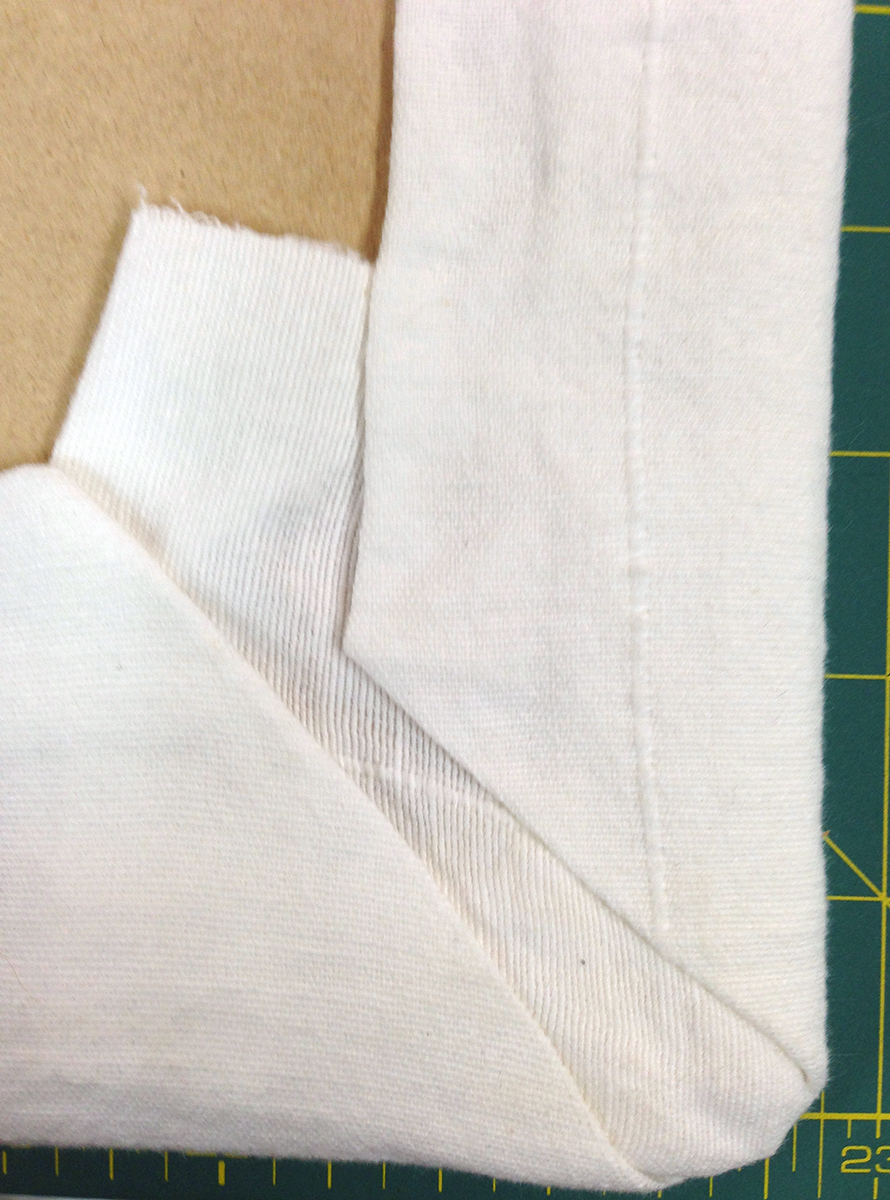
To make the pressing surface, just lay you batting out and centre the MDF on top of it. Fold in the sides of the batting and glue or staple them to the MDF on all four sides. Cut off some of the excess batting at the corners and mitre fold the corners in and glue them too.

 
You probably won't get a perfectly mitered corner, but at least it will look neat

You probably won't get a perfectly mitered corner, but at least it will look neat


You'll repeat this process with the fabric and once you're done, that's it! Your pressing surface is already to go! 

 
Pressing Surface back.jpg
 

To see how I made a smaller pressing surface, just click on the image below to view a video on my YouTube channel that explains the entire process.

What do you use for a pressing surface: your ironing board or something else? Leave me a comment below to let me know.

Creatively,

Kim's signature small aqua.jpg
 

Did you know that you can sign up to receive FREE emails full of quilting goodness? Just click here to receive FREE content directly in your email inbox every few weeks from Chatterbox Quilts. I know you'll be glad you did!

Vodka in the Quilt Studio

Vodka in the Quilt Studio

I'm sure you've heard the advice that a glass of wine can help relax you when you are free motion quilting: how about vodka? Not your usual quilt studio cocktail, but why not? Okay, while I'm using vodka in the quilt studio, it's not for drinking, it's for making an alternate version of the Multi-Purpose Quilt Spray. 

Spring has Sprung with Janome

Did you see my recent project in the Janome Life blog? I created a quick spring project using the Janome Artistic Edge digital cutter as well as the Janome Memory Craft 500E embroidery machine. 

 
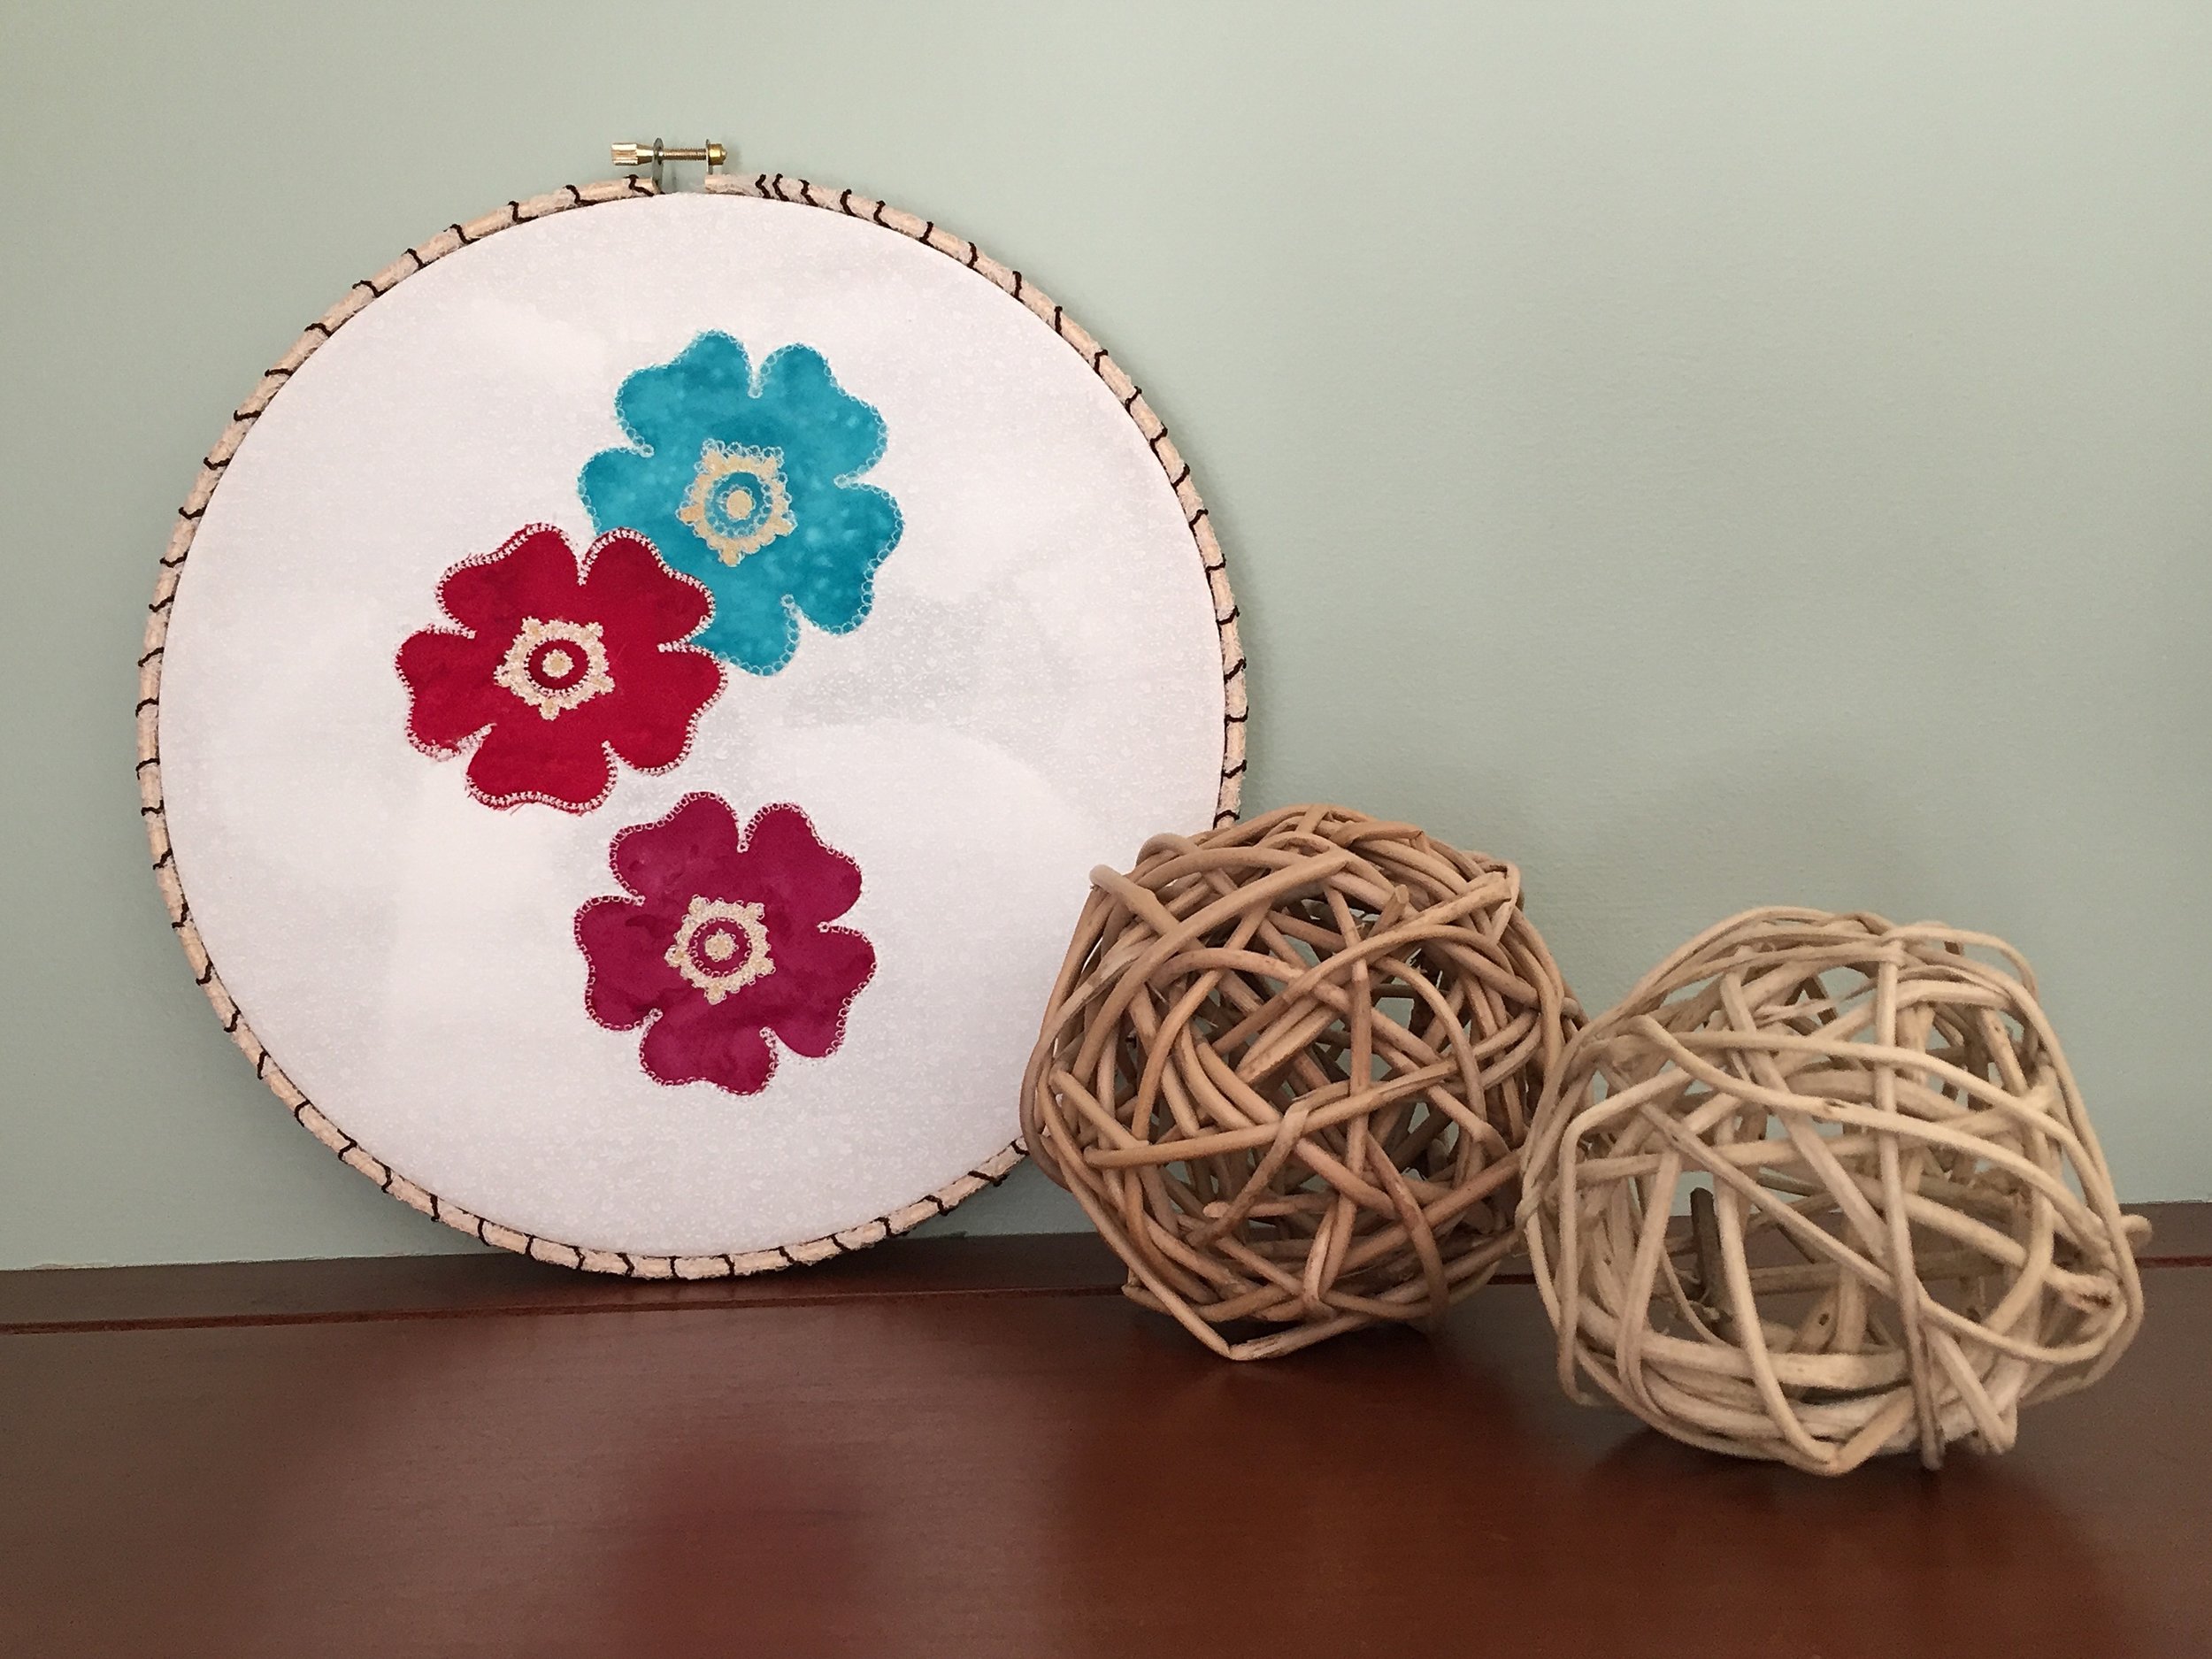
I kept the project really simple by popping it into an embroidery hoop.

I kept the project really simple by popping it into an embroidery hoop.


I wanted to keep this project simple and knew that the Artistic Edge would make cutting out the intricate appliqué shapes so easy and accurate - and I was right! While I could've spent lots of time drafting up a design on my own, I opted to use a design that was already available in the Simple Cut software that was bundled with the Artistic Edge. 

 
Accurate cuts with the Janome Artistic Edge digital cutter

Accurate cuts with the Janome Artistic Edge digital cutter


Once I had refined my design I chose some decorative stitches to use with the Memory Craft 500E to finish off the appliqué edges. It is so much fun to choose from the hundreds of stitches available in the Simple Cut software. You can lengthen or widen these stitches to create your own version of them. I had to be careful not to play around too much with the stitches or I might never have completed the project!

 
Just a few of the decorative stitches available with the Simple Cut software

Just a few of the decorative stitches available with the Simple Cut software


I wrote two articles for the Janome Life blog (one in February and the follow up in March). Click on the photos to read them.

 
Ready to cut out appliqué shapes on the Janome Artistic Edge digital cutter

Ready to cut out appliqué shapes on the Janome Artistic Edge digital cutter


Final project looks great on my fireplace mantle

Final project looks great on my fireplace mantle


If you have any questions about this project or how to create one that is similar, post them in the Comments below and I'll be happy to help you out.

Creatively,


P.S. Please join the private Chatterbox Quilts Facebook group where we carry on lively discussions on vintage sewing machines and quilting related topics. I'll see you there!