3 Tips for Accurate Fabric Cutting

If you have trouble getting precise cuts when cutting your fabrics, let me give you my 3 best tips for safer, more accurate fabric cuts.

Tip #1

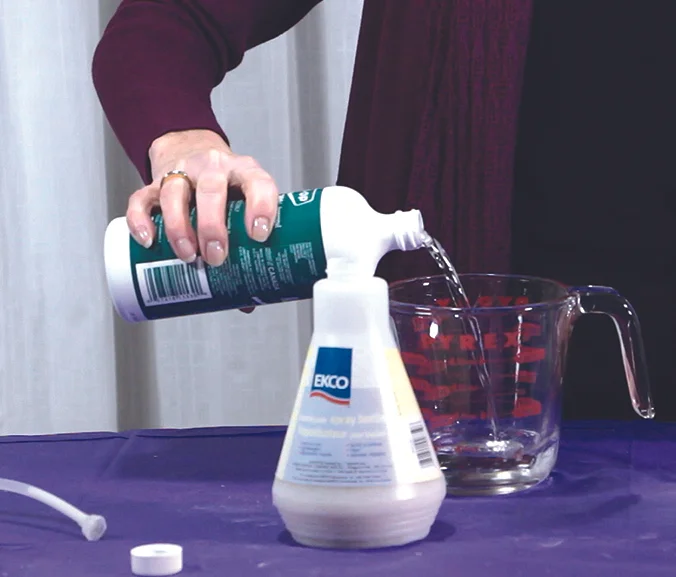
You’ll get the best cuts from your fabric if it is starched – a lot! Starching your fabric (or using a starch alternative) will make your fabric stiffer and more paper-like. This will lock the fibres in the fabric together and help to prevent stretching when you are cutting. I find my Multi-Purpose Quilt Spray works really well to make my fabrics stiff (haven’t tried this yet? Click here to get the recipe).


Tip #2

Keep your ruler from slipping as you cut by applying a produce like Invisi Grip to the back of it. This vinyl-like product keeps your ruler steady when you cut. Some rulers, such as Creative Grids or Quilter’s Select, have texture dots on them that keep them from sliding around.


 Tip #3

Move your hand along as you cut. Your hand should always be next to your rotary cutter when you are cutting fabric. Once the rotary cutter goes past your hand it’s time to stop and reposition your hand. You want that pressure on the ruler to be next to where you are cutting.

 
Kim cutting fabric for TQW.jpg
 

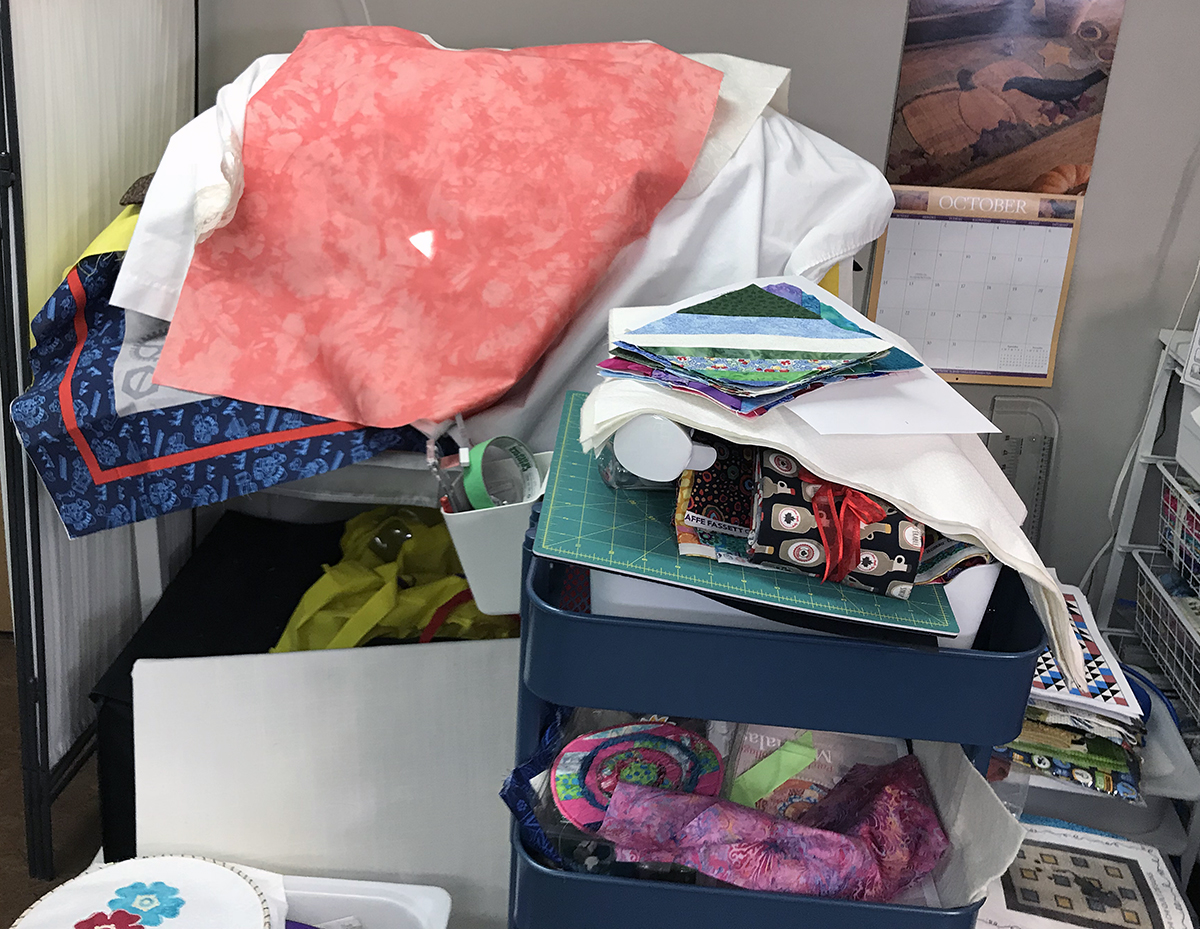
Click on the image below to watch a video showing you more about getting those important accurate fabric cuts.

Try using these 3 tips to make safer, more accurate fabric cuts.

Creatively,

Kim's signature small aqua.jpg
 

Note: I am an Amazon affiliate and, if you purchase items by clicking through the links in this post ,I will receive a small amount of commission. You won’t pay any more $$ for these items, but it will help me to continue creating free content for you. Thanks!

P.S. Do you want to enhance your quilting and become the best quilter you can be?  If you answered “yes” to this question, you need to join The Quilter’s Way. The Quilter’s Way is the only quilting membership site that includes both training and an active, supportive online community. Don’t wait another day! Join now.

P.P.S. Did you know that you can sign up to receive emails full of FREE quilting goodness? Click here to receive FREE content directly in your email inbox every few weeks from Chatterbox Quilts. I know you'll be glad you did!

Avoid Distractions and Stay Focused When Quilting

Did you know that distractions can affect your efficiency in your quilt studio? And by distractions, I’m not necessarily talking about getting a notification every time one of your friends posts on Facebook or Instagram – although that can be a huge distraction. Let’s talk about what other types of distractions can be affecting your quilting productivity and how to avoid them.

Take a look around your quilt studio. Is everything in its place or are there WIP’s, fabric and books lying around? Okay, maybe that’s just my studio, but I’m sure that yours is sometimes in this state too. If having a messy studio bothers you, it can affect your ability to be efficient in your studio.

 
Distractions Projects and Fabric.jpg
 

If there is fabric on my pressing surface that has been there ever since I bought it at the quilt show a month ago, this is a major distraction for me. I might be stitching away on a project, but once I catch a glimpse of this fabric pile, I start getting distracted. This visual distraction prevents me from working on my current project as I keep thinking, “I really need to fold this fabric and get it into my fabric stash”. This desire to put away the fabric is in the back of my mind as I am trying to work on my quilt project, distracting me which makes me less efficient. If I wanted to avoid this scenario, I should really put this fabric away as soon as I get home from the quilt show, but this never happens. It languishes on my cutting or pressing surface, getting moved around whenever I need these areas for their proper activities.

This also happens with books, patterns and magazines in my studio. I may’ve leafed through them, but I want to take a closer look when I have more time, so I leave them out on my sewing table or another area in my quilt studio. I’m afraid that if I put them away, I’ll forget about them or forget which book or magazine had that fantastic pattern in it. Again, I really should put them away after making a note of the books or magazines that I want to refer back to when I have the time.

 
Distractions Fabric and cart.jpg
 

Leaving items like these out, rather than putting them away, not only takes up working space, but creates a visual distraction. Seeing them takes your mind away from your current project and can make you feel guilty or overwhelmed. These are one type of visual distraction that can be easily remedied, by putting them away, but there is another type of visual distraction that isn’t so easily dealt with.


The décor of your quilt studio can also be a visual distraction. If you’re the type of person who needs clean space around you, yet have lots of decorative items in your studio, this might be causing you to be distracted and unable to focus on your current project. If you have a large window in your quilting space, this can provide wonderful lighting, but if you are constantly looking to see what’s going on outside, this distraction can interrupt your quilting time.

Click on the image below for a video on distractions in your quilt studio and how to avoid them.

You may be interested in the guide “Time Saving Tips for Quilters” where I have compiled a list of time saving tips. Click here is you want more information.

Creatively,

Kim's signature small aqua.jpg
 

P.S. Do you want to enhance your quilting and become the best quilter you can be?  If you answered “yes” to this question, you need to join The Quilter’s Way. The Quilter’s Way is the only quilting membership site that includes both training and an active, supportive online community. Don’t wait another day! Join now.

P.P.S. Did you know that you can sign up to receive emails full of FREE quilting goodness? Click here to receive FREE content directly in your email inbox every few weeks from Chatterbox Quilts. I know you'll be glad you did!


Create New Fabric with Decorative Stitches

If you have a Janome MC9400 or other type of modern sewing machine, you probably have a lot of decorative stitches on it. As quilters we don’t often get to take advantage of these decorative stitches, which is a shame. There are so many decorative stitches to choose from on most machines, and, on some machines, you can also change the orientation of the stitch and adjust the width and length of it. This makes for an almost limitless number of decorative stitches and, if you want to design your own stitches on the Janome MC9400, you can use the included Stitch Composer to do that. Not sure what the Stitch Composer is and how to use it? Not to worry, I’m working on a course to show you all about it and you’ll be the first to be notified when it’s released if you belong to my Chatterbox Quilts’ Facebook group (click here to join if you aren’t already a member). 

I really wanted to be able to use some of the decorative stitches on the Janome MC9400 in my quilting and I’ve found a way to do so by creating my own fabric with them.

You can make your own personalized fabric too using the decorative stitches on your sewing machine. You’ll need a few things:

Fabric – a solid colour fabric works best

Fabric Stabilizer – you’ll need one or two sheets of lightweight tearaway or other type of fabric stabilizer

Thread – I used Aurifil Mako 50/2 cotton thread in a colour close to my fabric colour

Sewing machine with decorative stitches, of course 

The first thing you need to do is to choose which decorative stitches you want to use on your fabric. I chose ones that were similar in that they stitched out in bars. I didn’t choose any wavy or long stitches, but you can choose any that you like.

Next, you should always stitch out a sample of your chosen stitches on the same fabric, ensuring that you have a fabric stabilizer behind your fabric. This is when you can decide if you want to use the stitch’s default settings or want to make some changes. Be sure to write down the stitch number and any changes that you have made to it on your sample fabric so you’ll easily find these stitches on your sewing machine when you want to create your fabric.

 
Decorative Stitches with samples 2.jpg
 

Now comes the fun part! You’re going to make your own fabric! I like to use my walking foot when I stitch, ensuring that the zigzag needle plate is on the sewing machine. With my Janome MC9400, I can either use the standard walking foot (AD Dual Feed foot) that came with the machine or I can use the optional narrow walking foot [VD or AcuFeed Foot with Foot Holder (Single)]. I like to use my walking or even feed foot because it keeps everything stitching along nicely and I can use the edge of my walking foot when I want to stitch the next row. I move my fabric over and align the edge of my walking foot with the line of previous stitches. This gives me the same distance between each row of stitching.


I stitched my decorative stitches on a diagonal for an interesting effect, but you could certainly stitch them in straight rows if you’d like.


For more information on how to use decorative stitches on the Janome MC9400 to create your own fabric, click on the image below.

Wondering when you’d use this created fabric? Why not try it as fabric in your pieced quilt blocks or in tote bags, purses or pouches? The fact that you can personalize this fabric makes it so versatile and so you.


Do you have any ideas on how you might use this fabric created using the decorative stitches on your sewing machine? Post them in the Comments below.

Creatively,

Kim's signature small aqua.jpg
 

P.S. Do you want to enhance your quilting and become the best quilter you can be?  If you answered “yes” to this question, you need to join The Quilter’s Way. The Quilter’s Way is the only quilting membership site that includes both training and an active, supportive online community. Don’t wait another day! Join now.

P.P.S. Did you know that you can sign up to receive emails full of FREE quilting goodness? Click here to receive FREE content directly in your email inbox every few weeks from Chatterbox Quilts. I know you'll be glad you did!

How to Get Accurate Half-Square Triangles

Do you have problems getting accurate half-square triangles? I’ve found a tool that really helps me to get precise half-square triangles. Let me tell you about it.

There are various methods to make a half-square triangle and I’ve tried just about every one – and still wasn’t pleased with the results. I love the look of half-square triangle designs, but didn’t like my results when I used them in my projects. I’ve finally found the perfect tool to give me accurate half-square triangles every time: the Tucker Trimmer.

 
HST's Tucker Trimmer - 1.jpg
 

The Tucker Trimmer by Studio 180 Design is an acrylic tool that comes in several sizes but the one I use the most is the Tucker Trimmer 1. You can make half-square triangles from 1” to 6” with this particular size of the Tucker Trimmer. Since I usually make small half-square triangles, this size works well for me.

The Tucker Trimmers can be used by right and left handed quilters and instructions are given for both. You can make half-square triangles in whole number sizes (1”, 2”, etc.) or in fractions (1½”, 2½”, etc.). I like it when a tool can be used for a variety of sizes as this makes it very practical and eliminates the need for purchasing a tool for every size.

The idea behind the Tucker Trimmers is that you make a half-square triangle a little bit bigger than you want the actual size to be and then you trim it down to the desired size. For example, if I want a 2½” half-square triangle, I might be starting out with one that is 2¾”. Yes, you will be cutting a little bit off each side, but this is how you get that super precise half-square triangle that will make such a difference in your project.

To see exactly how to use the Tucker Trimmer 1, click on the image below.


Have you ever used one of the Tucker Trimmers to make your half-square triangles? Let me know your perfect method for creating half-square triangles in the Comments below.

Creatively,

Kim's signature small aqua.jpg
 

Do you want to enhance your quilting and become the best quilter you can be? If you answered “yes” to this question, you need to join The Quilter’s Way. The Quilter’s Way is the only quilting membership site that includes both training and an active, supportive online community. Don’t wait another day! Join now.

P.S. Did you know that you can sign up to receive emails full of FREE quilting goodness? Click here to receive FREE content directly in your email inbox every few weeks from Chatterbox Quilts. I know you'll be glad you did! 

How to Stitch the Same Seam Length Over and Over

There is a feature on the Janome MC9400 that you may not know about: it’s the memorized quilt seaming feature. This feature can be very handy for specific stitching circumstances, such as when stitching partial seams.

 
Memorized Seam Quilting - Rows.jpg
 

If you wanted to use this feature when piecing a quilt top on the Janome MC9400, this is how you would do it.

 
Memorized Seam Quilting - Display Screen.jpg
 

You would go into the Sewing application (t-shirt icon), choose Patchwork and then Straight Stitch (#1) and stitch a seam. When you had finished stitching, you would notice a message on the display screen asking if you wanted to stitch another seam with the same size. You could click on “OK” and when you next started stitching, the machine would stitch a line of stitching exactly the same length as the one you had just previously stitched. If you didn’t want to stitch a seam the same length, just choose the “X” and you could then stitch any length of seam you wanted.

 
Memorized Seam Quilting - Screen when done.jpg
 

The memorized quilt seaming feature would be helpful for stitching partial seams in quilt blocks or other situations where you want to repeat the same length of stitching.

Click on the image below to see how to set up and use the memorized quilt seaming feature on the Janome MC9400.


See page 90 in your manual for more information on the memorized quilt seaming feature.

Creatively,

Kim's signature small aqua.jpg
 

DID YOU KNOW? Enrolment in The Quilter's Way is now open. If you want the solution to your quilting problems and become the best quilter you can be, you need to be a member! Join here.

P.S. Did you know that you can sign up to receive emails full of FREE quilting goodness? Click here to receive FREE content directly in your email inbox every few weeks from Chatterbox Quilts. I know you'll be glad you did!