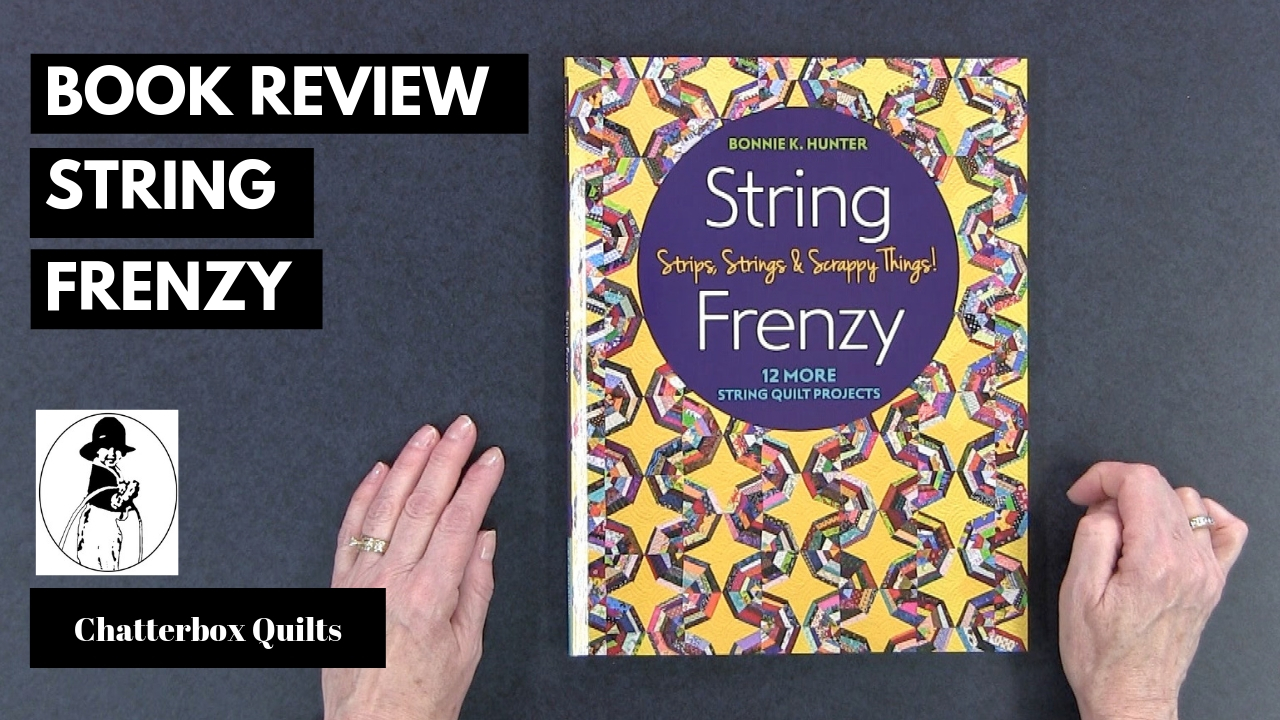
If you’ve been quilting for any time at all, you probably have fabric scraps, including strips and strings. If you’re looking for projects where you can use these bits and pieces, you need to check out the projects in String Frenzy by Bonnie K. Hunter.

Photo courtesy of C & T Publishing
This latest book by the scrap quilting queen is full of gorgeous patterns, all using leftover strips and strings of fabric. The quilts in this book are large, but could definitely be scaled down to make smaller projects, such as table runners or lap quilts.

Photo courtesy of C & T Publishing
If you’re familiar with any of Bonnie’s previous books, you’ll know how much information she includes on getting your scrap fabrics organized and ready to be used in projects. This information in itself is worth the price of the book! It’s definitely worth reading all of the helpful content in String Frenzy that Bonnie provides on getting a scrap system going so you can always have your extra fabric pieces ready to use in any project.
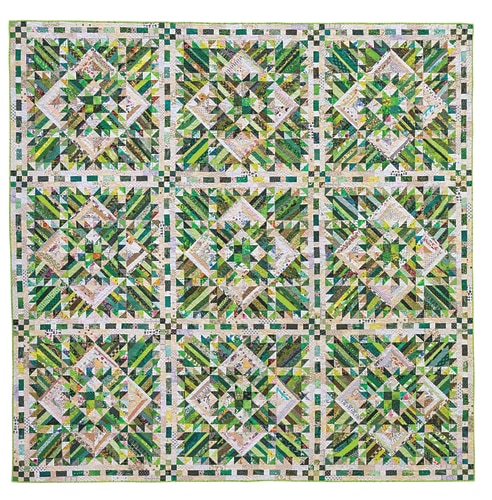
Photo courtesy of C & T Publishing
String Frenzy includes 12 projects from scrap fabric and each pattern follows a similar format with text as well as a section called “At a Glance” for visual instructions.
Click on the image below to see more detailed information on String Frenzy and the beautiful quilts in it.
Are you a scrap quilter? If so, give me a “yes” in the Comments below.
Get your own copy of String Frenzy at https://amzn.to/2I7kEw2 and start clearing out that scrap bin.
Creatively,

P.S. Are you serious about improving your quilting? Do you want to connect with other committed quilters in a supportive, safe environment? If you answered “yes” to these questions, you need to join The Quilter’s Way. The Quilter’s Way is the only quilting membership site that includes both training and an active, supportive online community. Don’t wait another day! Join now.
P.P.S. Did you know that you can sign up to receive emails full of FREE quilting goodness? Click here to receive FREE content directly in your email inbox every few weeks from Chatterbox Quilts. I know you'll be glad you did!
P.S. I am an Amazon affiliate and, if you purchase items by clicking through the links in this post, I will receive a small amount of commission. This doesn’t cost you any more $$$, but helps me to continue creating free content for you. Thanks!