I've discovered another hand embroidery book that I wanted to share with you.
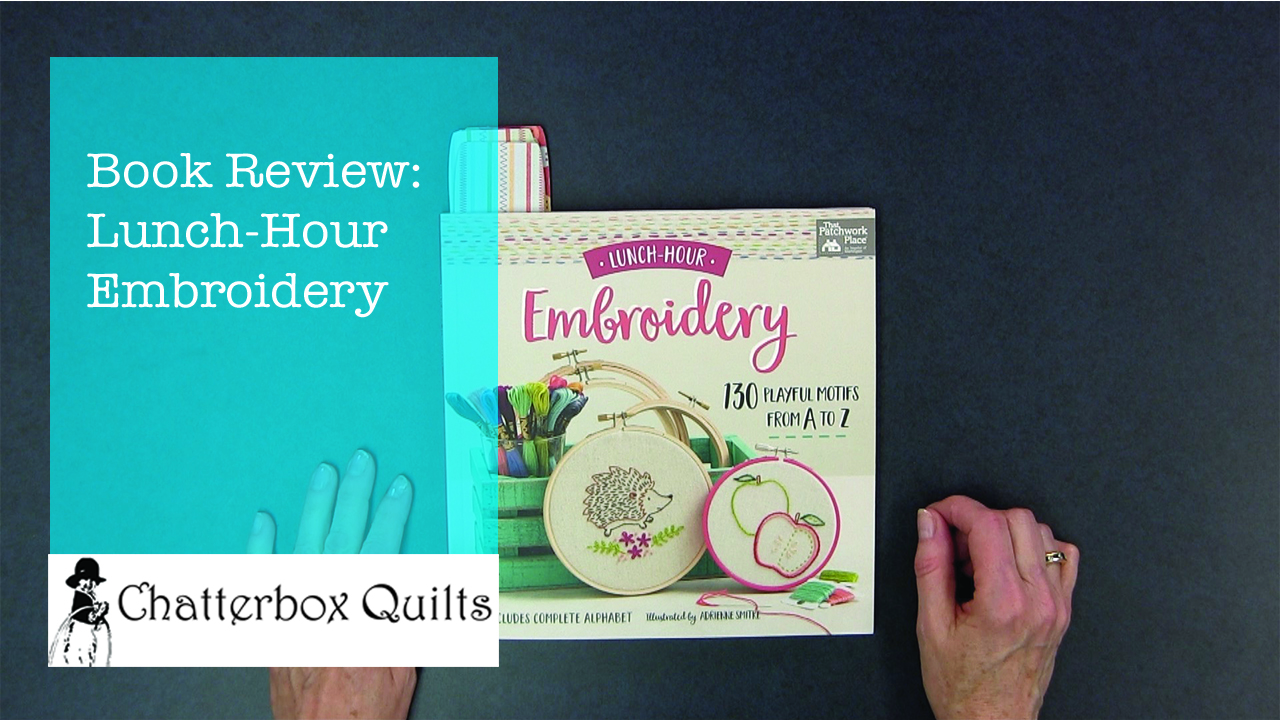
Lunch-Hour Embroidery by Adrienne Smitke is an A to Z of delightful designs.
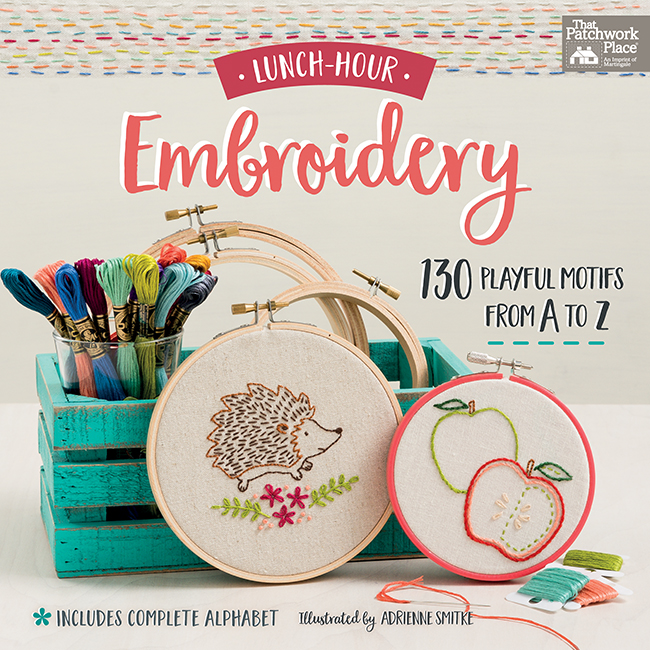
Image courtesy of Martingale
This book really is an A to Z as it has all of the letters of the alphabet in it along with whimsical designs.
Lunch-Hour Embroidery uses simple embroidery stitches to create the various designs in the book. This makes it easy for even those who are just starting out in hand embroidery to make any of the designs. The designs are perfect for both adults and children's projects and are simple enough to stitch up quickly - in a lunch hour perhaps ;)
The book is laid out with the designs shown stitched out on one side of the page and the template on the opposite page. I really like that the templates are at 100% (I really don't like having to enlarge a design to create it!). This gives you a very good idea of what the embroidery will look like once you stitch it out.

Image courtesy of Martingale
The letters in Lunch-Hour Embroidery are shown in both upper and lower case which allows you to use them to create words, if you want to do so. For example, you could stitch "Fox" and then embroider the fox design underneath it on a onesie or on a pillow or on... lots of fun project possibilities with Lunch-Hour Embroidery!
There are no projects in the book, however you could use these designs on just about anything from a small item embroidered on a child's t-shirt to an heirloom-worthy hand embroidered quilt. I actually like the fact that there aren't any projects in this book because it doesn't limit my ideas for what I can do with these embroideries.
For a closer look at Lunch-Hour Embroidery, click on the image below to watch a video on my YouTube channel that give you more detail.
Feel like doing some lunch-hour embroidery yourself? Get your own copy of Lunch-Hour Embroidery by clicking here.
Creatively,

P.S. This blogpost may contain affiliate links and I will receive a small amount of compensation if you purchase a product by clicking through links in this blogpost. This allows me to continue to provide you with FREE content each week. Thank you.