Top 5 Favourite Features of the Janome Horizon Memory Craft 9400 QCP

There are so many helpful features on the Janome Horizon Memory Craft 9400 QCP, that it is hard to just pick a few of them, but I'm going to try.


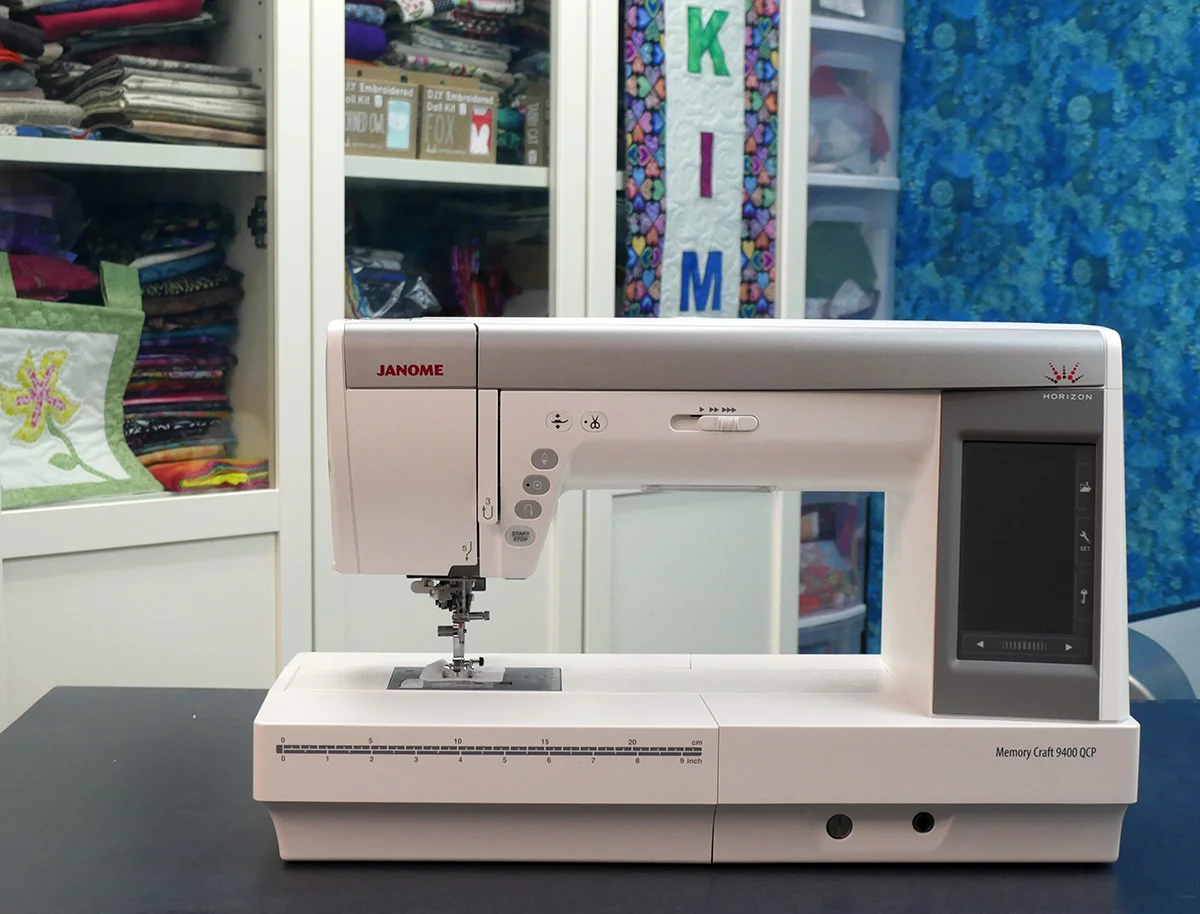
Here are my 5 Favourite Features of the Janome Horizon Memory Craft 9400 QCP:

1.    High LightI'm sure you know that as you get older you need more light to see. Did you know that "people in their 60s need three times more ambient light for comfortable reading than those in their 20s"?* I know, it's shocking and I'm noticing this need for more light already. Thankfully, the Janome 9400 has the High Light which you can pull out and adjust to focus that light exactly where you need it. This bright LED light has helped me immensely with my quilting (especially since I've become a one-eyed quilter). I especially love that I can angle the light so I can place it just where I need it. A huge help for aging - or any - eyes!

Can you find the High Light?

Can you find the High Light?

It's behind the Janome name! Just pull out and angle it for the best light on your project.

It's behind the Janome name! Just pull out and angle it for the best light on your project.

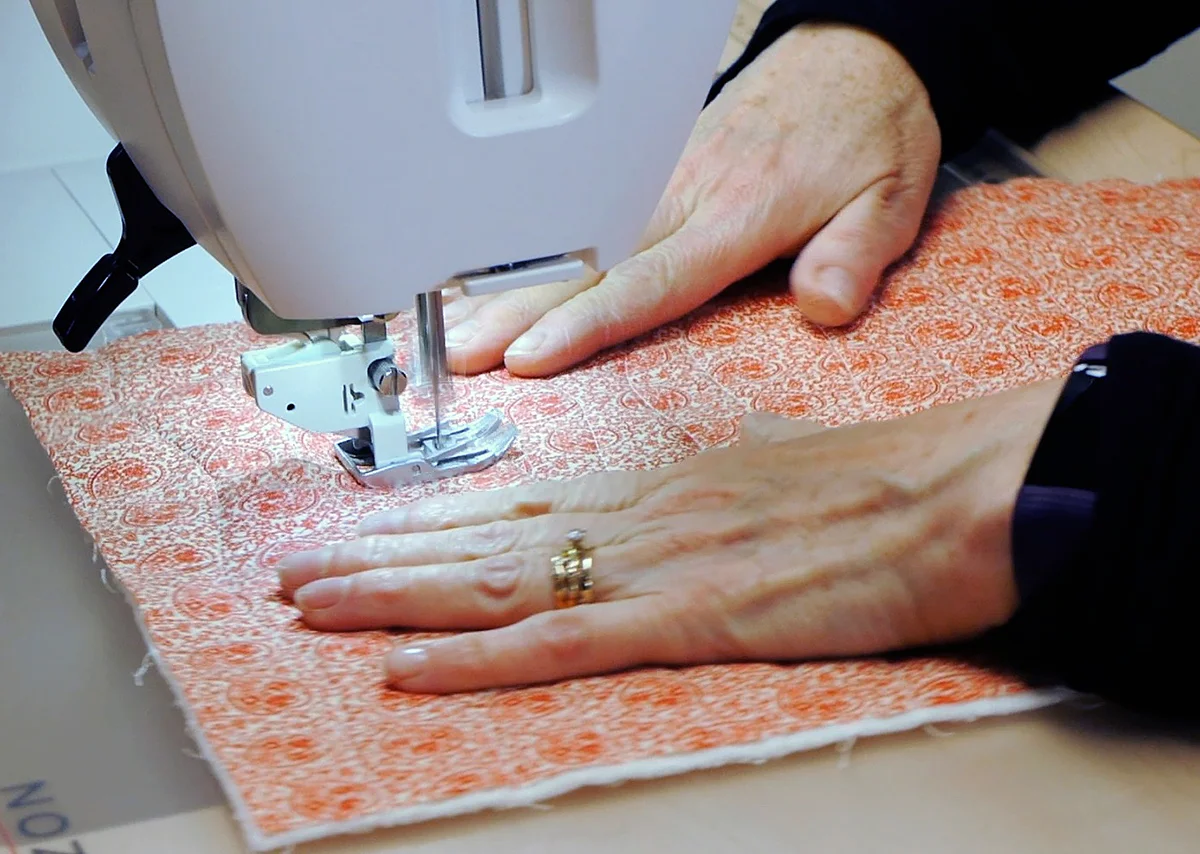
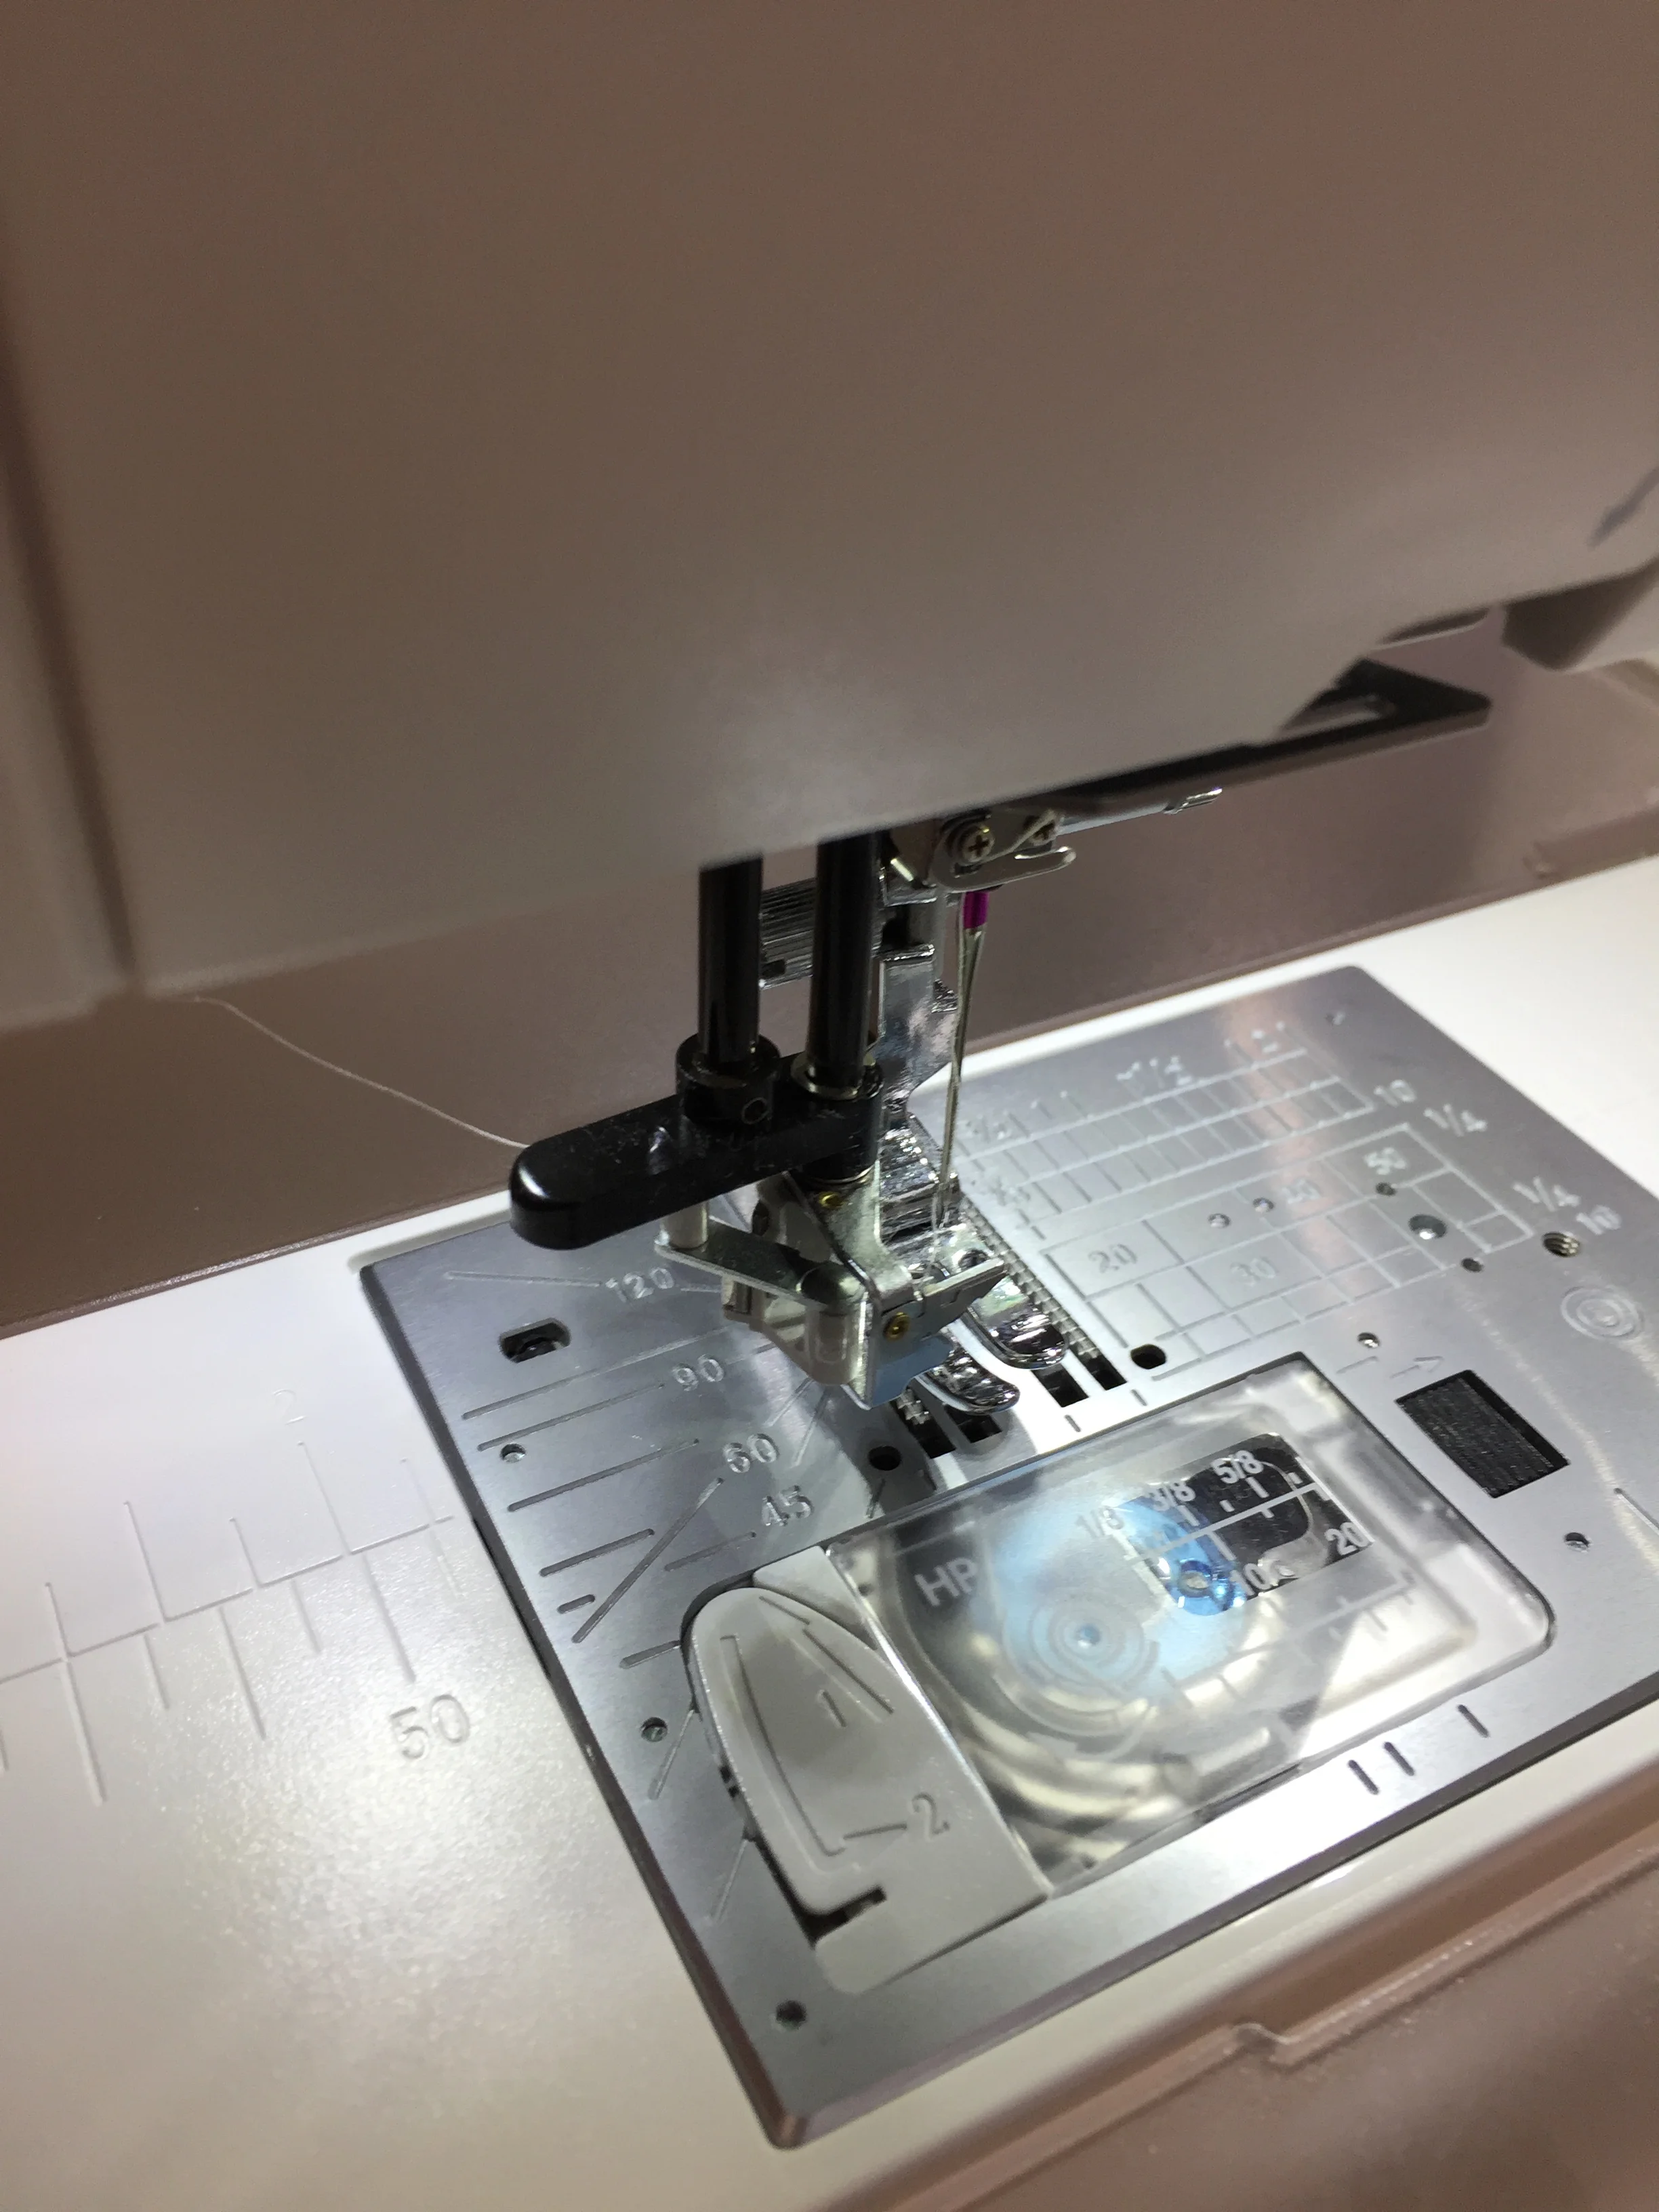
2.    HP Needle Plate and Foot – I’m a quilter and I can’t overemphasize how helpful this new needle plate and foot is for obtaining an accurate ¼” seam. It makes piecing effortless and accurate. I use this combination exclusively for my piecing now.


3.    One Step Needle Plate Conversion – If you have ever struggled with a screwdriver to remove the needle plate on your sewing machine, you are going to love this feature! No worried about stripping screws or gouging your needle plate – just push down on the lever at the front of the machine bed and your needle plate pops off. You can then replace it with the one you need to use (you have a choice of three of them!). This is such a time saver and it’s actually fun to pop off and push on the needle plates on this machine.

Press down on the lever and...

Press down on the lever and...

up pops the needle plate.

up pops the needle plate.

4.    Automatic Thread Cutter – I use this feature all of the time, especially when I’m piecing a quilt. It snips the thread so I don’t have to stop to grab scissors to do this. I can just start sewing afterwards and don’t have to worry about tangled threads on the back of my project. Such a timesaver!

 
Click on the scissors icon and the thread cutter automatically snips your top and bottom threads.

Click on the scissors icon and the thread cutter automatically snips your top and bottom threads.


5.     Superior Needle Threader – This is another feature that I really appreciate so I don’t have to struggle to thread my machine needle. With the new Superior Needle Threader, I just “lock” the machine, press down the needle threader lever on the side of the Janome 9400 and my needle is automatically threaded for me – every time.

Press down on the lever at the left hand side of the machine

Press down on the lever at the left hand side of the machine

and your needle is automatically threaded for you every time!

and your needle is automatically threaded for you every time!

I know that I was only going to tell you about my top 5 favourite features on the Janome 9400, but I just couldn’t help but add one more:

6.     Adjustable Speed Control – This feature is one of the big reasons I wanted this machine: I can adjust the top stitching speed. By sliding the Speed Control Lever, I can set the fastest speed at which the machine will stitch. This is extremely helpful when I’m free motion quilting: I can set the top stitching speed and press the pedal to the metal, knowing that the machine will only stitch as quickly as want it to. It takes this one element out of free motion quilting allowing me to focus on the design I am creating. 

Adjust your machine's stitching speed from very slow

Adjust your machine's stitching speed from very slow

to very, very fast!

to very, very fast!

Don't think that just because I've only mentioned 5 favourite features of the Janome 9400 that there aren't many more helpful features on it for simplifying and accuratizing (is that a real word?) your stitching. Whether you are a garment sewist or a quilter like me you'll appreciate the carefully chosen features that are included on the Janome Horizon Memory Craft 9400 QCP.

Creatively,


Download the free Get Out of the Ditch! guide to learn how to start free motion quilting by clicking here.

Did you know that you can sign up to receive FREE emails full of quilting goodness? Just click here to receive FREE content directly in your email inbox every few weeks from Chatterbox Quilts. I know you'll be glad you did!

*http://www.allaboutvision.com/over60/vision-changes.htm

Which Bobbin Case is Which?

Let's talk about an often neglected, but very critical component of the Janome Horizon Memory Craft 9400 QCP sewing machine: the bobbin case. There always seems to be lots of confusion when it comes to the choices in Janome bobbin cases. Red, blue or yellow* – which is the right one to use for this project? Don’t worry, it’s actually very simple and I’ll explain the differences and uses for each in today’s blogpost.

First, let’s talk about the red dot bobbin case, which is the one that came pre-loaded in your Janome Horizon Memory Craft 9400 QCP. This is the bobbin case that you will use whether you are sewing the hem on a garment or piecing together strips for a quilt. That was pretty easy, wasn’t it?

 
Janome red dot bobbin case.jpg
 

Now there are two other bobbin cases to discuss: the blue dot one and the yellow dot one. Both of these are optional bobbin cases that you would have to purchase for an additional fee.

The blue dot bobbin case is one that you will definitely want to buy if you are a quilter. It’s the one that you will want to have in the machine when you are free motion quilting as it has a looser tension than the standard red dot bobbin case. Okay, so you free motion quilters out there, be sure to have the blue dot bobbin case in your machine when you are free motion quilting. It makes a huge difference.

Janome blue dot bobbin case.jpg

Last, let’s take a look at the yellow dot bobbin case. This bobbin case has twice the tension of the standard red dot bobbin case. This one isn’t included with the Janome 9400 and you probably won’t need to buy it because it is used for machine embroidery. This bobbin case is standard with the Janome Memory Craft 500E, as it is an embroidery machine, but since the Janome 9400 doesn’t have an embroidery module, you won’t be needing or using the yellow bobbin case. So you can just forget about the yellow bobbin case when discussing the bobbin cases that you might want to consider when using the Janome Horizon Memory Craft 9400 QCP.

 
Janome yellow dot bobbin case.jpg
 

It really comes down to two bobbin cases for consideration when creating on the Janome 9400: the standard red dot bobbin case for most of your stitching and the blue dot bobbin case when you are free motion quilting.

To see more about the Janome bobbin cases, watch the video tutorial on my YouTube channel. Just click on the image below.

Do you use the blue dot bobbin case for your Janome Horizon Memory Craft 9400QCP? Let me know in the Comments below how you like free motion quilting with this bobbin case on your machine.

*You will sometimes hear these bobbin cases referred to as the blue (yellow or red) dot, blue arrow or just blue bobbin case - they are all referring to the same colour bobbin case.

Download the free Get Out of the Ditch! guide to learn how to start free motion quilting by clicking here.

Creatively,

Kim's signature small aqua.jpg
 

Did you know that you can sign up to receive FREE emails full of quilting goodness? Just click here to receive FREE content directly in your email inbox every few weeks from Chatterbox Quilts. I know you'll be glad you did!

Book Review: Lunch-Hour Embroidery

I've discovered another hand embroidery book that I wanted to share with you.

Lunch-Hour Embroidery by Adrienne Smitke is an A to Z of delightful designs.

 
Image courtesy of Martingale

Image courtesy of Martingale


This book really is an A to Z as it has all of the letters of the alphabet in it along with whimsical designs.

Lunch-Hour Embroidery uses simple embroidery stitches to create the various designs in the book. This makes it easy for even those who are just starting out in hand embroidery to make any of the designs. The designs are perfect for both adults and children's projects and are simple enough to stitch up quickly - in a lunch hour perhaps ;)

The book is laid out with the designs shown stitched out on one side of the page and the template on the opposite page. I really like that the templates are at 100% (I really don't like having to enlarge a design to create it!). This gives you a very good idea of what the embroidery will look like once you stitch it out.

 
Image courtesy of Martingale

Image courtesy of Martingale


The letters in Lunch-Hour Embroidery are shown in both upper and lower case which allows you to use them to create words, if you want to do so. For example, you could stitch "Fox" and then embroider the fox design underneath it on a onesie or on a pillow or on... lots of fun project possibilities with Lunch-Hour Embroidery!

There are no projects in the book, however you could use these designs on just about anything from a small item embroidered on a child's t-shirt to an heirloom-worthy hand embroidered quilt. I actually like the fact that there aren't any projects in this book because it doesn't limit my ideas for what I can do with these embroideries. 

For a closer look at Lunch-Hour Embroidery, click on the image below to watch a video on my YouTube channel that give you more detail.

Feel like doing some lunch-hour embroidery yourself? Get your own copy of Lunch-Hour Embroidery by clicking here.

Creatively,

Kim's signature small aqua.jpg
 

P.S. This blogpost may contain affiliate links and I will receive a small amount of compensation if you purchase a product by clicking through links in this blogpost. This allows me to continue to provide you with FREE content each week. Thank you.

Make Your Own Portable Pressing Surface

Every quilter needs some type of pressing surface. Some like to use their ironing boards, while others prefer a more rectangular surface. I used my ironing board for quite some time, until I decided that I needed a better type of pressing surface. So I decided to make one!

I actually have two different pressing surfaces, both of them portable: a large 24" x 48" one that is my main pressing surface and another smaller one that I take with me on retreats and that you've probably seen in my YouTube videos. Both are made the same way.

 
Kim and pressing surface.jpg
 

To make your own pressing surface, you'll need:

  • MDF (medium-density fibreboard) for the base, cut to the size you want your pressing surface to be

  • 100% cotton batting, cut about 2" - 3" larger on all sides than the MDF

  • 100% cotton fabric to cover the top of your pressing surface, cut about 2" - 3" larger on all sides than the MDF (I love Ikea fabric for this as it is 100% cotton and quite thick)

  • Wood glue or staple gun

The process is fairly easy to do and my favourite part of this type of pressing surface is that if (when!) the top gets stained, you can take the fabric and batting off the MDF and recover it.

To make the pressing surface, just lay you batting out and centre the MDF on top of it. Fold in the sides of the batting and glue or staple them to the MDF on all four sides. Cut off some of the excess batting at the corners and mitre fold the corners in and glue them too.

 
You probably won't get a perfectly mitered corner, but at least it will look neat

You probably won't get a perfectly mitered corner, but at least it will look neat


You'll repeat this process with the fabric and once you're done, that's it! Your pressing surface is already to go! 

 
Pressing Surface back.jpg
 

To see how I made a smaller pressing surface, just click on the image below to view a video on my YouTube channel that explains the entire process.

What do you use for a pressing surface: your ironing board or something else? Leave me a comment below to let me know.

Creatively,

Kim's signature small aqua.jpg
 

Did you know that you can sign up to receive FREE emails full of quilting goodness? Just click here to receive FREE content directly in your email inbox every few weeks from Chatterbox Quilts. I know you'll be glad you did!

Wavy Line Walking Foot Quilting

Recently I've been exploring walking foot quilting on the Janome Horizon Memory Craft 9400 QCP and have been loving the results!

 
Walking Foot quilting top.jpg
 

When you talk about quilting your projects, most people think that you are talking about free motion quilting, but that isn't always the case. You can get great results by using your walking foot to do your quilting.

In one of my previous blogposts, I showed my readers how to make a no binding self-metered placemat, perfect for setting your table or for gift giving. If you haven't read this blogpost yet, you can read all about it here. I quilted the centre of these placemats using my walking foot and I was thrilled with how quick and fun it was to do!

 
No binding placemat staged.jpg
 

I chose to do a wavy design both vertically and horizontally on the project. This was so easy as I really couldn't go wrong with this type of design.

 
No binding placemat full.jpg
 

I started by stitching a wavy line vertically in the centre of the placemat and then continued to stitch wavy lines on either side of it. Once I was finished stitching in this direction, I repeated this process horizontally. I didn't mark my lines, but just eyeballed the distances between each line. 

There are so many variations possible with just this wavy line quilting:

  • you could vary the waviness of the line to be tighter or looser

  • you could vary the distance between the lines vertically

  • you could vary the distance between the lines horizontally

  • You could do wavy line quilting diagonally across your project

There are just so many possibilities with this simple quilting design.

 
Back of top after quilting.jpg
 

To see how I quilted the placemat, just click on the image below to watch a video on my YouTube channel that provides more information.

Do you use your walking foot to do your quilting or do you prefer to free motion your quilts? Have you tried wavy line quilting with your walking foot? Leave me a comment below to let me know.

Creatively,

Kim's signature small aqua.jpg
 

Did you know that you can sign up to receive FREE emails full of quilting goodness? Just click here to receive FREE content directly in your email inbox every few weeks from Chatterbox Quilts. I know you'll be glad you did!