
CHATTERBOX QUILTS’ BLOG
Helping Quilters Learn and Improve

Easy Teacup Pincushion
Do you have a favourite coffee mug or tea cup that is chipped, but you just can’t bear to throw it out? Maybe you picked up a teacup at an estate sale (like that’s every happened to me!) just because you liked it and don’t know what to do with it. Let me show you how to make a pincushion out of it.

You’ll need:
Coffee mug or tea cup (saucer optional)
Fabric for the pincushion
Decorative trim
Polyester fill or similar stuffing
Glue gun
Needle and perle cotton or thick thread for basting
We’ll be cutting a circle out of the fabric that should be at least three times the diameter of the top of the mug or cup. This will vary depending on the mug or cup you are using.

Cut out the circle of fabric and run a basting stitch about ½” in from the raw edge. Be sure to knot your thread first and use large running stitches. Pull the thread out to the outside of the circle and do not knot it yet.
Pull the basting stitching a bit so that the pincushion is starting to form and so that you can stuff it.
Stuff the circle. You will need to pull the basting stitching in as you go along to contain it.
Once the circle is filled, pull the basting stitch tight and knot off.
Now get your glue gun fired up! Run a line of glue inside the cup, partway down the side – not too close to the top as we don’t want to see the glue. Press the pincushion down inside the cup or mug and squish it around until it is the way you like it. If you are using a teacup and have a saucer, glue the saucer to the bottom of the cup.
For extra decoration, you could glue trim or ribbon, bows, etc. around the top edge of the cup or mug – buttons or other decorative items.
For a step-by-step tutorial on creating a teacup or mug pincushion, click on the image below.

Enjoy your lovely personalized just for you pincushion!
Have you ever created a pincushion using a chipped mug or one that you’ve bought at the second hand shop? Leave me a comment below to tell me about your mug or teacup pincushion experience.
Creatively,

P.S. Are you serious about improving your quilting? Do you want to connect with other committed quilters in a supportive, safe environment? If you answered “yes” to these questions, you need to join The Quilter’s Way. The Quilter’s Way is the only quilting membership site that includes both training and an active, supportive online community. Don’t wait another day! Join now. The Quilter’s Way is the only quilting membership site that includes both training and an active, supportive online community. Don’t wait another day! Join now.
P.P.S. Did you know that you can sign up to receive emails full of FREE quilting goodness? Click here to receive FREE content directly in your email inbox every few weeks from Chatterbox Quilts. I know you'll be glad you did!
P.S. I am an Amazon affiliate and, if you purchase items by clicking through the links in this post ,I will receive a small amount of commission. This doesn’t cost you any more $$$, but helps me to continue creating free content for you. Thanks!
Book Review: Scrap-Basket Bounty
In Scrap-Basket Bounty, Kim Brackett shows you how to use your fabric scraps to create one block and then combine a number of these blocks to make a quilt. There is definitely an advantage to making one block several times to create a project. It allows you to get very good at your ¼” seams!

Image courtesy of Martingale Publishing
The projects in this book are lap-sized quilts or larger. Each of the projects uses a different block, but every block is square, with some being 8” x 8” or 10” x 10”, for example.
While there are 16 projects in Scrap-Basket Bounty, there are really many more patterns than this. Kim provides alternative design layouts with each project so you can decide which one you want to make. By simply turning the blocks, you create a totally different-looking design. I love this idea!

Image courtesy of Martingale Publishing
Kim shows you how to ensure that your quilt will turn out well using your scrap fabrics by explaining the importance of contrast between the main fabrics and the background fabrics. If you don’t have this contrast, the block design won’t be obvious – and all of your hard work won’t have turned out the way you wanted it to.
The designs in Scrap-Basket Bounty are easy enough that any level of quilter could make them and they’re a great way to use up scraps.

Image courtesy of Martingale Publishing
I really like Kim’s idea of taking one simple block and creating a variety of quilt designs from it. While Kim provides 3 layouts for every project, you will probably be able to come up with more on your own. You could even create totally different looking quilts just by switching up the light and dark fabrics in these designs.
To see more of Scrap-Basket Bounty, click on the image below.

If you like pieced quilts and have lots of fabric scraps, check out Scrap-Basket Bounty by Kim Brackett.
Creatively,
P.S. Are you serious about improving your quilting? Do you want to connect with other committed quilters in a supportive, safe environment? If you answered “yes” to these questions, you need to join The Quilter’s Way. The Quilter’s Way is the only quilting membership site that includes both training and an active, supportive online community. Don’t wait another day! Join now.
P.P.S. Did you know that you can sign up to receive emails full of FREE quilting goodness? Click here to receive FREE content directly in your email inbox every few weeks from Chatterbox Quilts. I know you'll be glad you did!
P.S. I am an Amazon affiliate and, if you purchase items by clicking through the links in this post ,I will receive a small amount of commission. This doesn’t cost you any more $$$, but helps me to continue creating free content for you. Thanks!
It's Here: the Tapering Feature on the Janome MC9450!
One of the new features on the Janome MC9450 is the tapering function. You’ll notice it right away when you turn on the machine as it’s the “new button on the block”, I mean, on the display menu.

I was quite excited when I found out that the Janome MC9450 had this feature and was eager to try it out to see how it worked. Let me explain what it is and how to use it.
The tapering function works with some of the decorative stitches on the Janome MC9450, allowing you to taper the beginning and/or end of the stitch at a specific angle.
While you can’t use the tapering feature with every decorative stitch, you can use it with 40 of them. As with any decorative stitch, you have the ability to increase or decrease the stitch width or length, although there are some limitations when doing this. The nice thing about using the tapering feature is that you can preview it on the display screen on the Janome MC9450 before you stitch it out.
It’s difficult to accurately explain the various choices you can make when using the tapering feature and how well it works, so click on the image below to learn all about it.

You might wonder when you would use this feature. Well, if you are a quilter who likes to do appliqué, you’re going to love the tapering function! Rather than having to decrease your stitch width as you approach a corner or a point, you’ll be able to use the tapering feature and have it automagically come to an angle and then start up the next side, matching the first part of the stitch to where it previously finished. It’s just like magic!

If you are a garment sewist, you’ll be able to use the tapering feature in a similar way when adding decorative stitches to a garment. You could also “create” new stitches by using the tapering feature to end a line of stitching and then start it again with the same angle – sort of a narrow and then expand again look. You could also use the tapering feature to create a frame around a specific part of a garment or around a particular design in the fabric.
Once you’ve created a decorative stitch using the tapering feature, you can actually save it on your Janome MC9450 or on a USB stick. You can also mirror the stitch that you have created.
I’d love to know what uses you can think of for the tapering function on the Janome MC9450. Let me know in the comments below.
Creatively,
P.S. Are you serious about improving your quilting? Do you want to connect with other committed quilters in a supportive, safe environment? If you answered “yes” to these questions, you need to join The Quilter’s Way. The Quilter’s Way is the only quilting membership site that includes both training and an active, supportive online community. Don’t wait another day! Join now. The Quilter’s Way is the only quilting membership site that includes both training and an active, supportive online community. Don’t wait another day! Join now.
P.P.S. Did you know that you can sign up to receive emails full of FREE quilting goodness? Click here to receive FREE content directly in your email inbox every few weeks from Chatterbox Quilts. I know you'll be glad you did!

Pros and Cons of Quilt Kits
Do you buy quilt kits? Many quilters absolutely love picking up kits, while others don’t like them at all. There are advantages and disadvantages to quilt kits, so let’s explore these.
PROS:
1. KITS CAN HELP WITH FABRIC SELECTION AND COLOUR CHOICE
If you’re a beginner quilter, you may not have much confidence in putting fabrics together. You may just be starting to develop your colour sense and kits can help you with this. All of the fabrics are already chosen for you and you can be sure that they will all work well together. Fabrics selected for a kit can help you learn how to put various colours and fabrics together effectively.
2. KITS CAN SAVE YOU MONEY
If you are working on a pattern that requires a lot of different fabrics, but only a small amount of each of them, kits can be a real money-saver. Take a look at any patterns by McKenna Ryan or Toni Whitney and you will see that there are a lot of fabrics needed to make any of their projects. Yes, you could buy all of the different fabrics, but it would probably cost you quite a bit more money than purchasing a kit as you can’t typically buy a very tiny piece of fabric.
3. KITS CAN SAVE YOU TIME
As all of the fabrics for the pattern are already selected for you, you don’t need to spend time choosing fabrics at the quilt store or from your stash. Of course, that cuts down on some of the fun of browsing through a quilt shop, but you could be making progress on the project with the saved time.
While there are lots of good reasons to buy quilt kits, there are also some disadvantages. They are:
CONS:
1. THE KIT MIGHT BE SHORT ON FABRIC
Kits are either created by the fabric manufacturer or the quilt shop and depending on whether or not they took mis-cuts into account when cutting the various fabrics, you might find that you are in trouble if you cut a piece incorrectly. It can be difficult to replace a fabric in a kit if you need to do so.
2. KITS AREN’T UNIQUE
Typically kits are mass produced and all contain the same fabrics so your project will look the same as anyone else’s who bought that kit. Sometimes there may be more than one colourway in a kit, but this isn’t typical. If you want to have a totally unique project, kits might not be your best choice.
3. IT’S DIFFICULT TO ASSESS KIT QUALITY
Since you haven’t chosen the fabric yourself, it can be difficult to determine the quality and quantity of the fabrics in a kit. If you are choosing a kit in a quilt shop, I suggest that you ask the staff to open it up so you can check on the fabric quality and quantity. This can be difficult to do if you are purchasing it from an online source. Check the return policy on kits in case you aren’t satisfied with the quality of the fabric or the amount included. You’ll also want to check out the pattern included to ensure that the instructions are clear and complete. I always check out patterns before purchasing them – in a kit or separately.
For more information on whether or not quilt kits might be for you, click on the image below.

If you are considering buying a kit, keep these points in mind and it will help to ensure that you aren’t disappointed in your purchase.
Creatively,
Download the free Get Out of the Ditch! guide to learn how to start free motion quilting by clicking here.
P.S. Are you serious about improving your quilting? Do you want to connect with other committed quilters in a supportive, safe environment? If you answered “yes” to these questions, you need to join The Quilter’s Way. The Quilter’s Way is the only quilting membership site that includes both training and an active, supportive online community. Don’t wait another day! Join now. The Quilter’s Way is the only quilting membership site that includes both training and an active, supportive online community. Don’t wait another day! Join now.
P.P.S. Did you know that you can sign up to receive emails full of FREE quilting goodness? Click here to receive FREE content directly in your email inbox every few weeks from Chatterbox Quilts. I know you'll be glad you did!
P.S. I am an Amazon affiliate and, if you purchase items by clicking through the links in this post ,I will receive a small amount of commission. This doesn’t cost you any more $$$, but helps me to continue creating free content for you. Thanks!

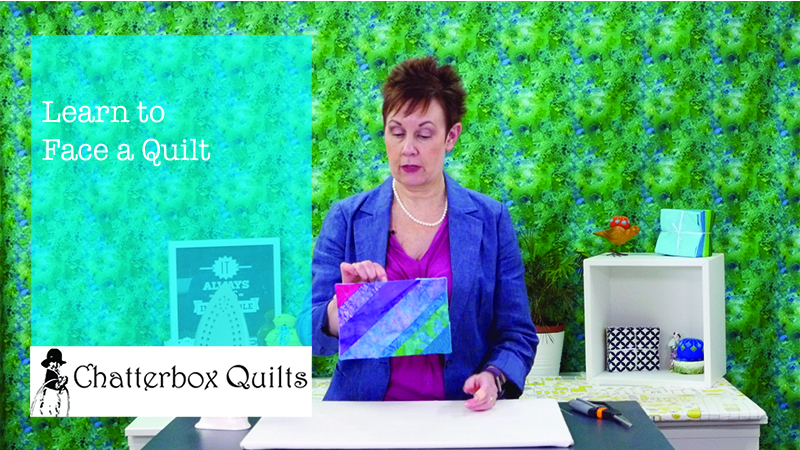
Skip the Binding and Face Your Quilt!
I hate to bind my quilts. If you have been following me for awhile, you’ve probably heard me say this once or twice (at least!). I recently found a method to use facing on a quilt, rather than binding. Robbi Joy Eklow had a blogpost on this and I tried it and have used it on several projects so far with great results.
I hate to bind my quilts. If you have been following me for awhile, you’ve probably heard me say this once or twice (at least!). I recently found a method to use facing on a quilt, rather than binding. Robbi Joy Eklow had a blogpost on this and I tried it and have used it on several projects so far with great results.
I’ve found several reasons to love this method of finishing my quilt edges:
it’s also a great way to use up leftover binding strips. The facing strips are 2½”, so leftover binding strips work perfectly.
It’s a great way to use up scrap fabric. The facing strips don’t have to be all the same fabric, so you can use up lots of your scraps using this method. You can even stitch scrap fabric strips together to get the facing strip length that you need.
This method saves time. The facing strips don’t go all the way around the quilt edge, so there is less hand sewing to do. Yes!!
This is the perfect way to finish your quilt edges when you don’t want the “frame” that binding creates.
This method automatically creates hanging corners so you don’t need to add a hanging sleeve.
With so many advantages, I know you’re going to want to try out this technique so let’s find out how to face a quilt.
You’ll need:
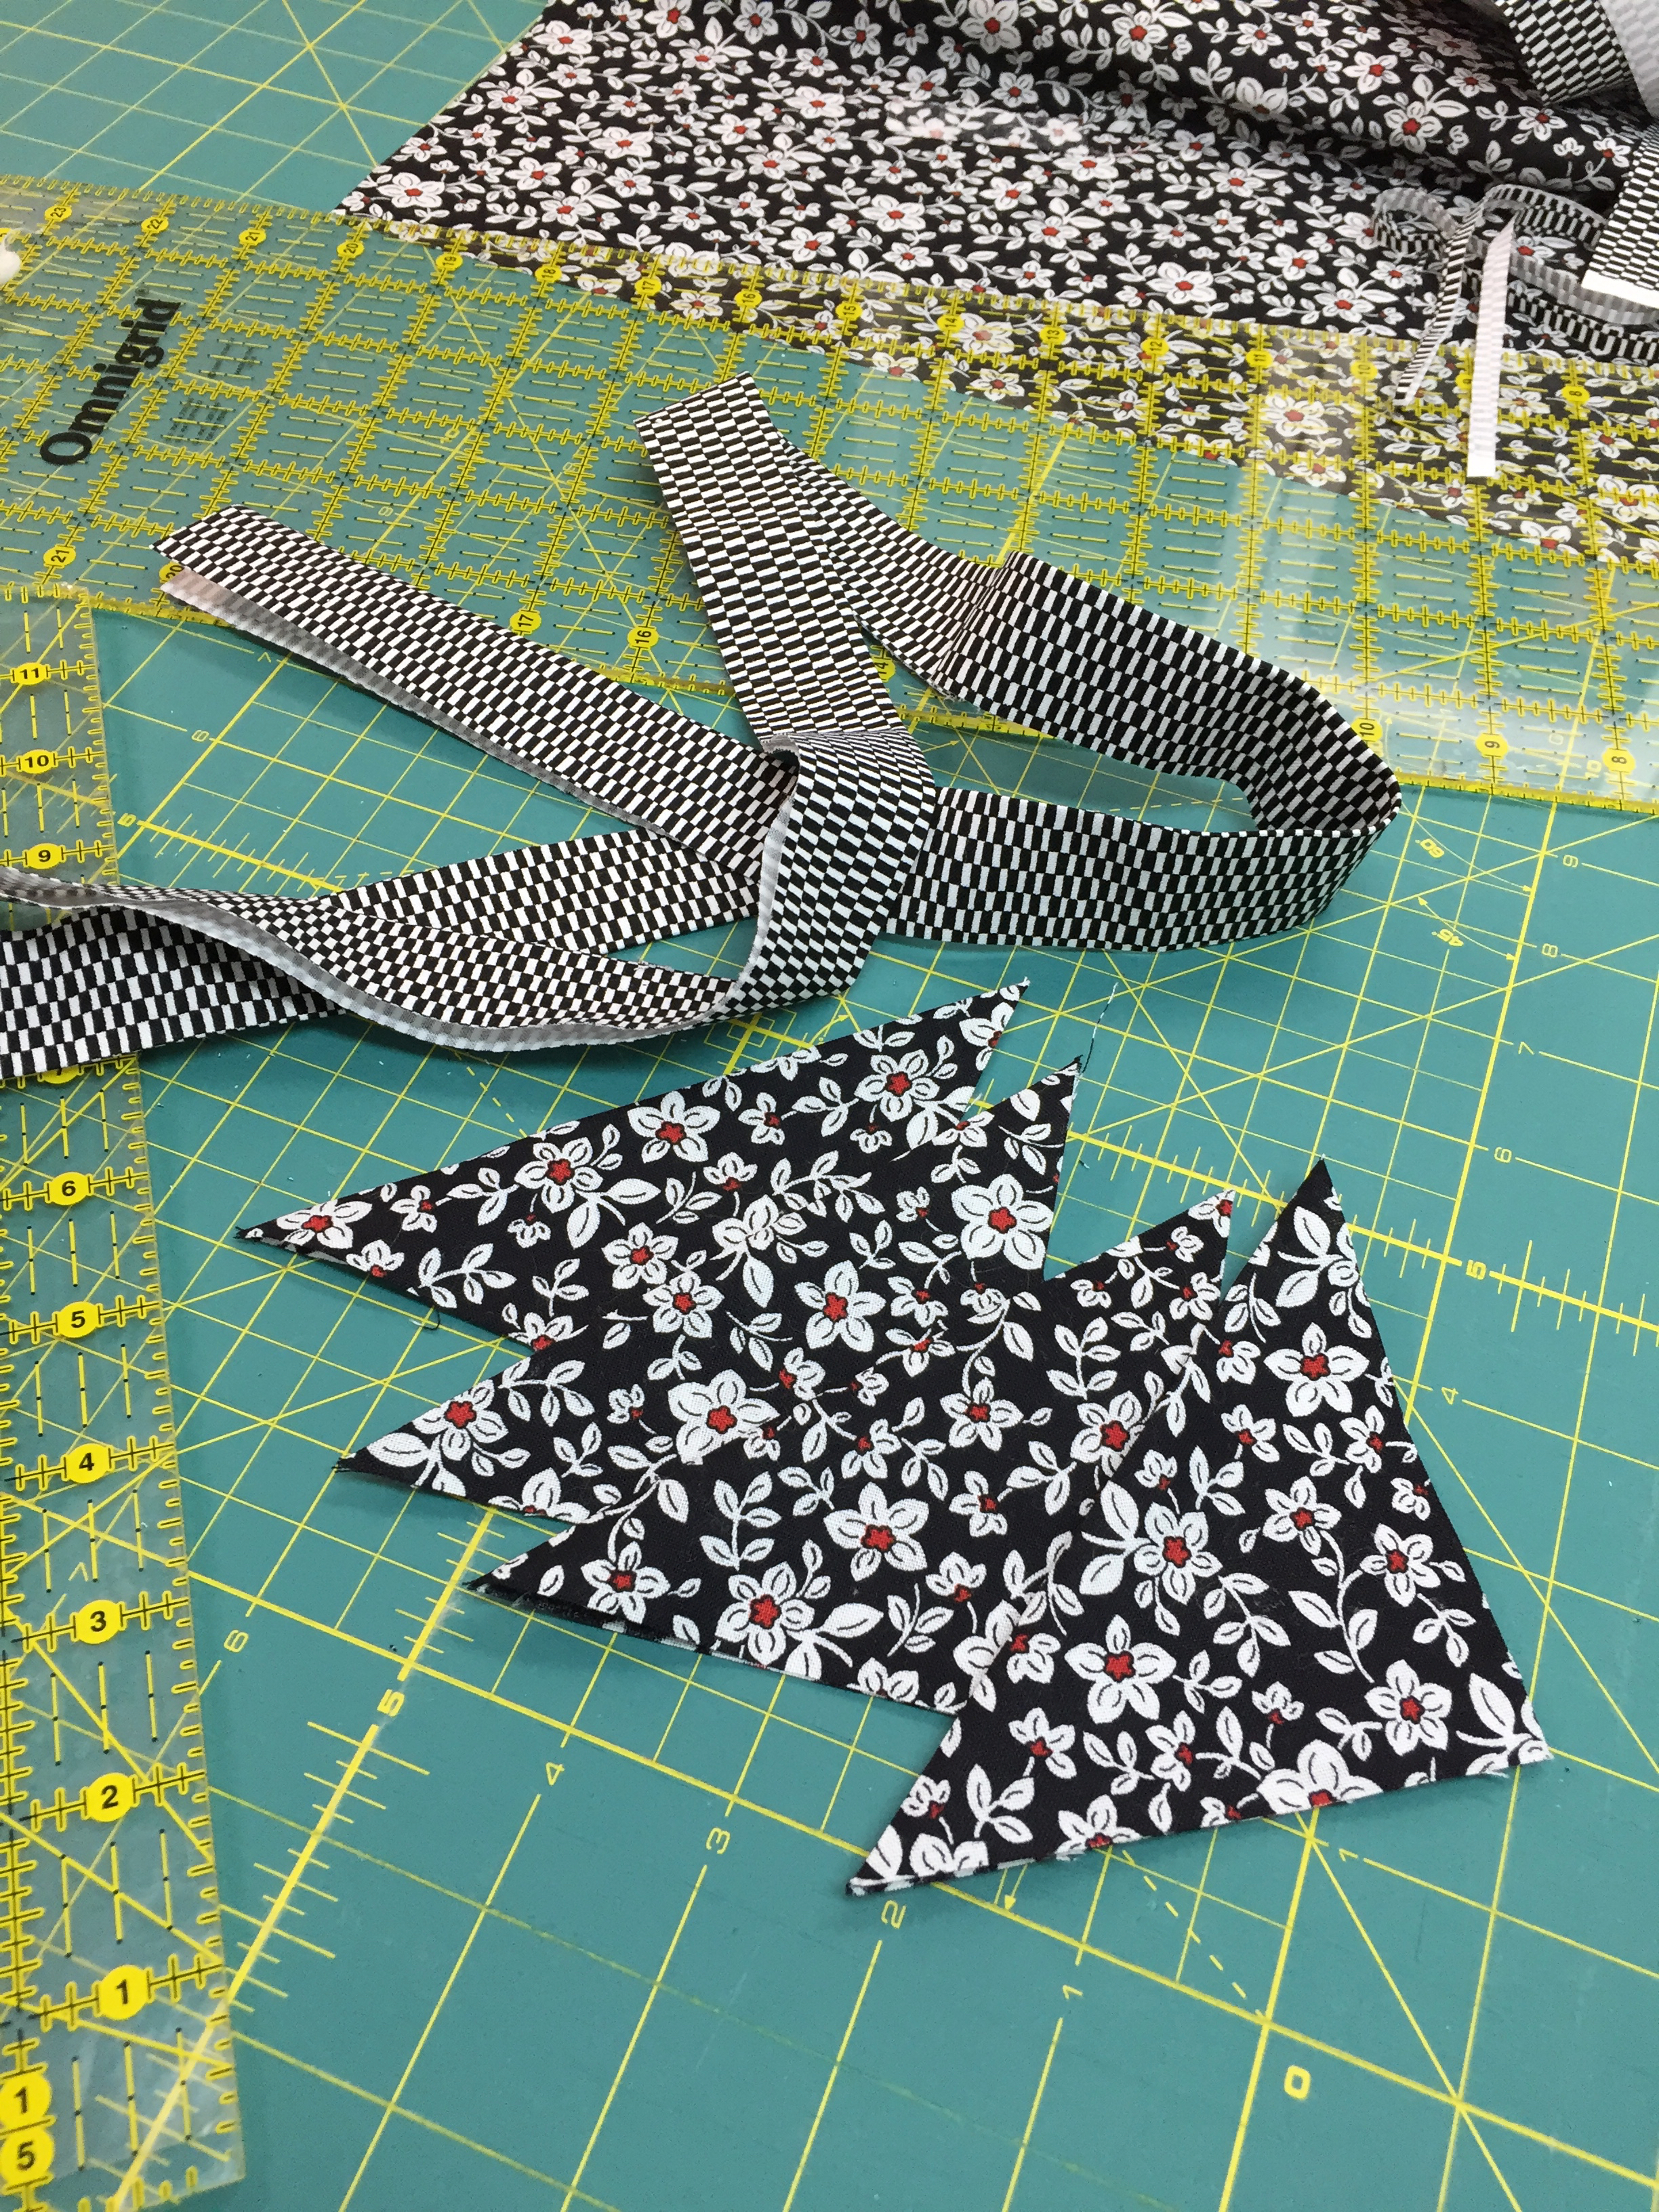
2½” strips of fabric that are the length of each of the project sides, less 2”. You can cut the strips in advance or cut them as you stitch along. The fabric doesn’t have to match for the 4 strips nor does it have to coordinate with the project front as you won’t see the facing. Prepare this fabric as you would for a binding – fold it in half and press.
4 – 3” or 4” squares of fabric for the corners. You might see this fabric a bit on the front, so use the same fabric for all the squares. Fold the squares on the diagonal to form triangles, wrong sides together, and press.
Let’s face our quilt!
At one corner on the top of the quilt, match the raw edges of the folded fabric square with the raw edges of the project. Pin in place. Repeat for the other corners.
Starting on one side of the project, pin a 2 ½” strip about 1” in from the corner on the front of the project. The strip should cover part of the folded fabric square. Start at the quilt’s edge and stitch the facing strip using a ¼” seam. Cut the facing strip about 1” from the corner (if you haven’t already cut it to size), covering part of the next folded fabric square. Continue stitching to the corner. Stop stitching and break thread.

Continue adding the 2½” facing strips on all of the other sides, starting the strip about 1” in from the corner and ending it 1” in from the far corner. Be sure that the 2½” facing strips cover part of the folded fabric squares (now triangles) in each corner.
Once all of the 2½” facing strips have been sewn on, go back to where the stitching crosses each other in the corners and stitch diagonally through this juncture a few times to reinforce the stitching.

Now it’s time to do some ironing. Using steam, press the facing strips out towards the edge of the quilt project. They will be heading over to the back side of the quilt, so be sure to press them well.
To help ease these strips towards the back of the quilt, you can top stitch the facing strips. Stitch a scant ¼” in from the seam line on the facing strips. Moving your needle position over so that you are stitching a scant ¼” inch will help.

Next, trim off the excess fabric towards the corners. There is quite a bit of bulk with this method, so trimming off the corner fabric will help. Starting at the end of one of the facing strips, angle your scissors towards the corner and cut off the fabric, batting, etc. Be sure you don’t clip through that diagonal stitching you did at each corner!

Let’s get those facing strips to the back where they belong! Use your iron and plenty of steam to press the facing strips to the back of the quilt. You can gently pull on the facing strips as you press to help. If some of the quilt top shows on the back, that’s okay. You just don’t want the facing strips to show on the front.
Once you have them all pressed to the back, you can flip the folded fabric squares to the back too. Press out the corners with a blunt object – I like to use That Purple Thang to do this.
You now have a perfectly faced quilt project and the folded fabric squares can be used to hang the project.

The final step is to hand stitch the facing strips to the quilt (yes, there is still some hand stitching to be done with this method), but if you don’t get to this right away, no worries as there aren’t any raw edges that might fray to worry about.
For a step-by-step tutorial on this technique, click the image below.
Click here if you would like to see my favourite quilting tools.
Creatively,
Download the free Get Out of the Ditch! guide to learn how to start free motion quilting by clicking here.
P.S. Are you serious about improving your quilting? Do you want to connect with other committed quilters in a supportive, safe environment? If you answered “yes” to these questions, you need to join The Quilter’s Way. The Quilter’s Way is the only quilting membership site that includes both training and an active, supportive online community. Don’t wait another day! Join now.
P.P.S. Did you know that you can sign up to receive emails full of FREE quilting goodness? Click here to receive FREE content directly in your email inbox every few weeks from Chatterbox Quilts. I know you'll be glad you did!
P.S. I am an Amazon affiliate and, if you purchase items by clicking through the links in this post ,I will receive a small amount of commission. This doesn’t cost you any more $$$, but helps me to continue creating free content for you. Thanks!

Welcome! I’m Kim Jamieson-Hirst of Chatterbox Quilts, a YouTube creator and host of The Quilter’s Way. I believe that quilting is more than just a 1/4” seam and that practice makes improvement and you are improving every day!
Contact me at kjh@chatterboxquilts.com.


Want to improve your quilting and have fun doing it? Join The Quilter's Way, a private online membership site that creates successful quilters.

Check out my favourite books and tools.
As an Amazon Associate I earn from qualifying purchases from links that you may find on the Chatterbox Quilts’ website.