I recently had the opportunity to interview Gammill Quilt Artist and long arm quilter extraordinaire, Sharon Blackmore of Love Shack Quilts, Sharon is a local long arm quilter, specializing in custom quilting, and is the host of the Prairie Quilt Militia and How do I Quilt This? Facebook group.

Sharon has been free motion quilting for about 20 years and long arm quilting (always on a Gammill) for about 12 of those years. Her secret to her amazing quilting is that she quilts every day. Yes, practice definitely makes progress towards perfection!
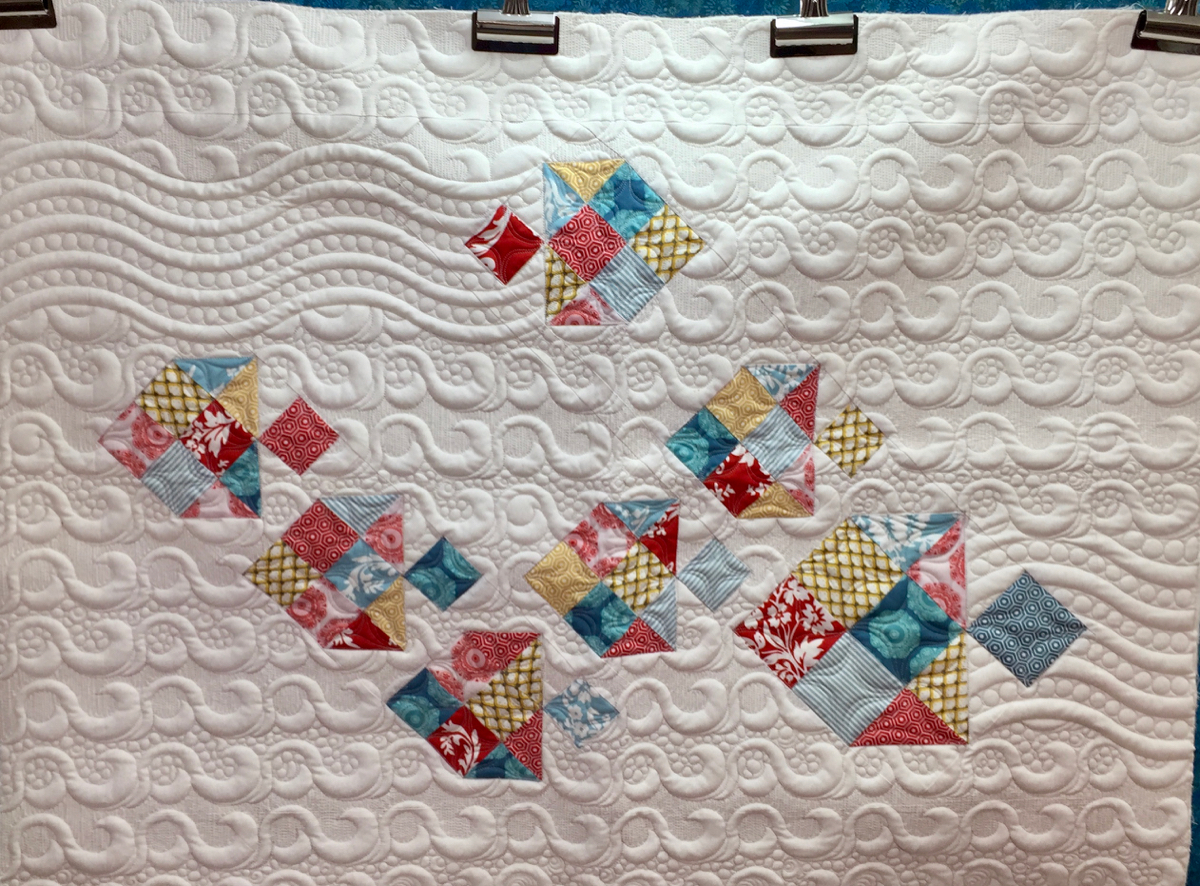
Sharon loves to challenge herself and this is also how she has improved her skills over the years. She believes that it’s important to challenge yourself and try projects outside your comfort zone to improve your quilting skills. Recently she has been quilting on leather and cork and the results are incredible!
As a Gammill Quilt Artist, Sharon has been teaching in Canada and the US on the Quilting with Confidence tour. Sharon loves teaching and appreciates the opportunity to learn from the other Gammill insructors on the tour.
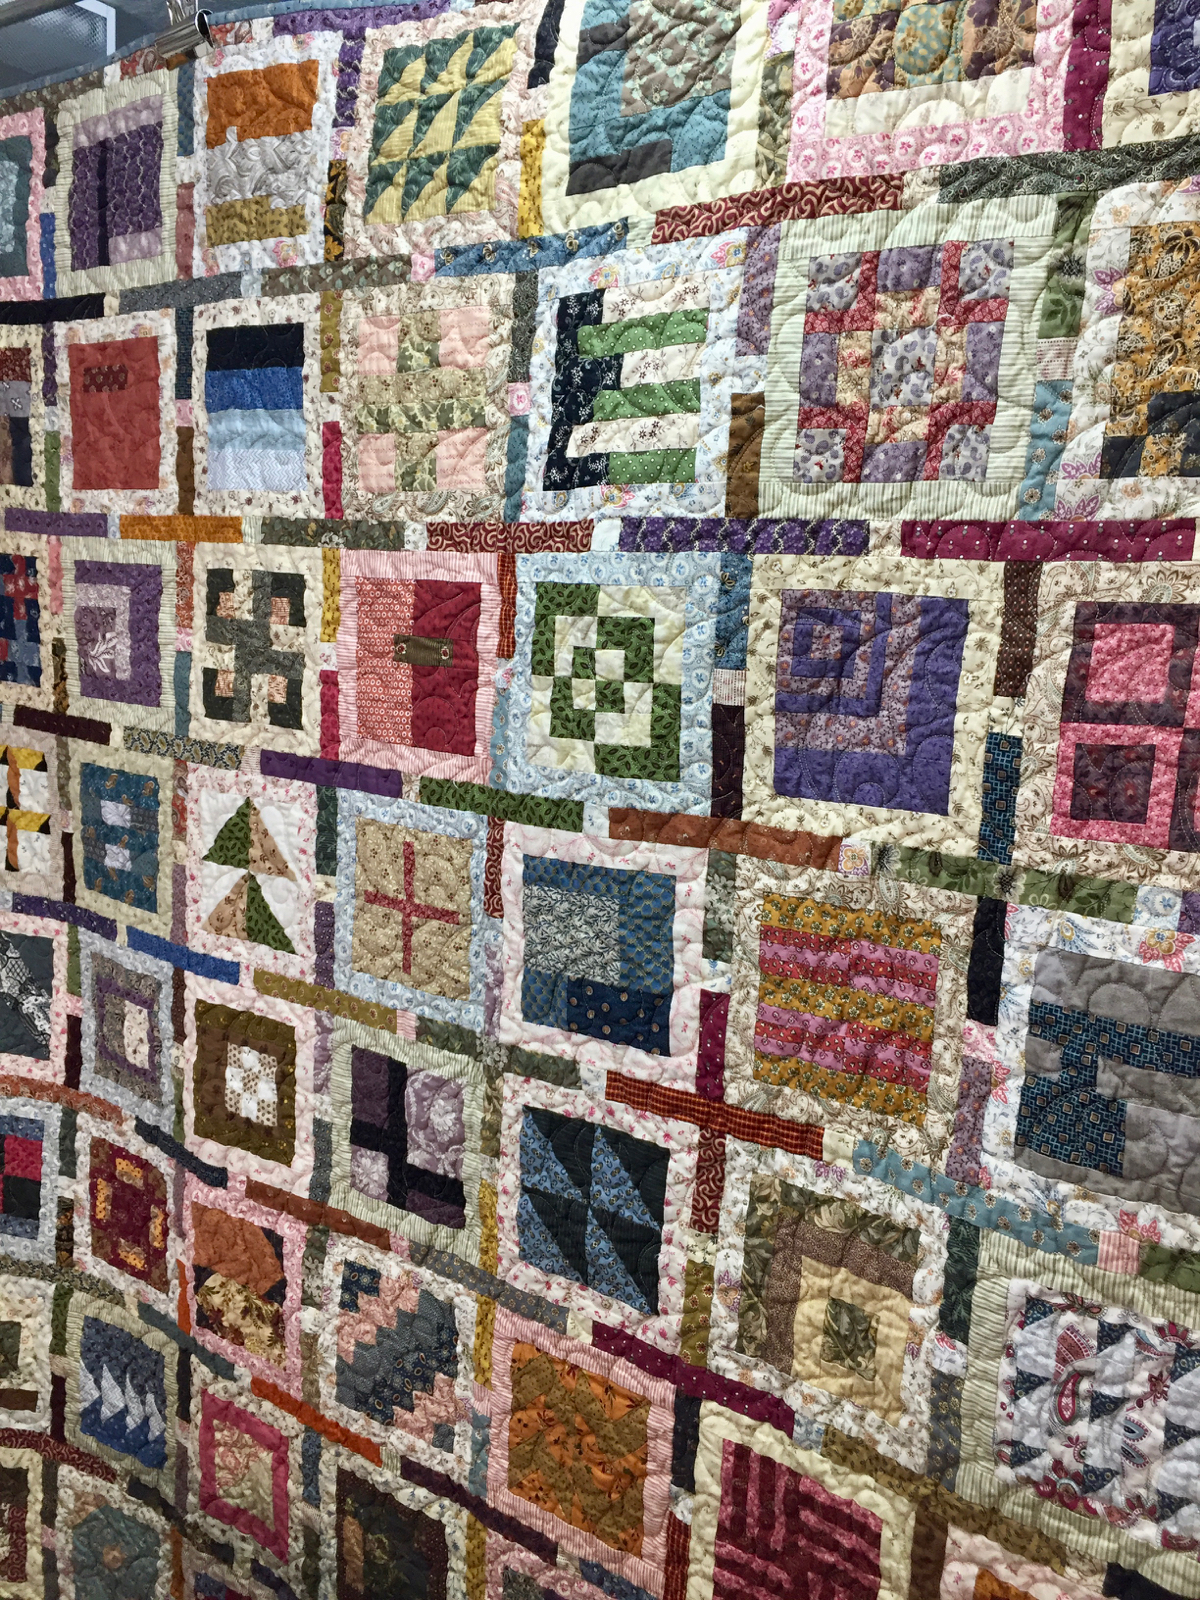
The Rebel, designed and quilted by Sharon Blackmore
Click on the image below to learn more about Sharon and her quilting journey.

After we filmed this interview, Sharon and I recorded several more videos where Sharon shared quilting tips and advice on free motion quilting and went in-depth on how she quilted several of her quilts. These videos are available exclusively for members of The Quilter’s Way. Not yet a member, check it out here.
Click here to learn more about the Prairie Quilt Militia and the How do I Quilt This? groups.
Creatively,

P.S. Are you serious about improving your quilting? Do you want to connect with other committed quilters in a supportive, safe environment? If you answered “yes” to these questions, you need to join The Quilter’s Way. The Quilter’s Way is the only quilting membership site that includes both training and an active, supportive online community. Don’t wait another day! Join now.
P.P.S. Did you know that you can sign up to receive emails full of FREE quilting goodness? Click here to receive FREE content directly in your email inbox every few weeks from Chatterbox Quilts. I know you'll be glad you did!
P.S. I am an Amazon affiliate and, if you purchase items by clicking through the links in this post, I will receive a small amount of commission. This doesn’t cost you any more $$$, but helps me to continue creating free content for you. Thanks!